The sails are only the introduction
A windmill is easy to recognise and surprisingly easy to misunderstand. Four large sails invite a tidy explanation: wind turns the sails, and the mill grinds flour. Sometimes it did. In other places, the turning motion served a different job altogether. The familiar outline tells us where the power begins, but not necessarily what happens inside.
That is what makes windmills rewarding subjects for models and drawings. A repeated silhouette can hide different mechanisms, materials and purposes. Looking beyond the sails turns a postcard image into a useful question about work.
Start with Dutch working heritage
The Zaanse Schans windmill guide introduces mills with different functions in a Dutch heritage setting. Its examples widen the picture beyond grain: wind-powered machinery also helped process materials and saw timber. A mill’s name, location and machinery matter when explaining what it did.
The site’s history of the Zaan district describes the relationship between mills and industry, including a crankshaft converting rotation into a sawing movement. That small mechanical change makes a good point to pause over. Turning is useful, but many jobs require something to move back and forth instead.
Water gives another landscape its shape
For the water-management story, look at UNESCO’s Kinderdijk-Elshout mill network. It places the mills within a broader landscape of channels, embankments and pumping arrangements. The system matters as much as the individual building.
This also guards against muddling Dutch sites together. Zaanse Schans and Kinderdijk offer different contexts. A sawmill photograph is not evidence for how a particular drainage mill worked, however similar the sails appear from a distance.
A model has a narrower promise
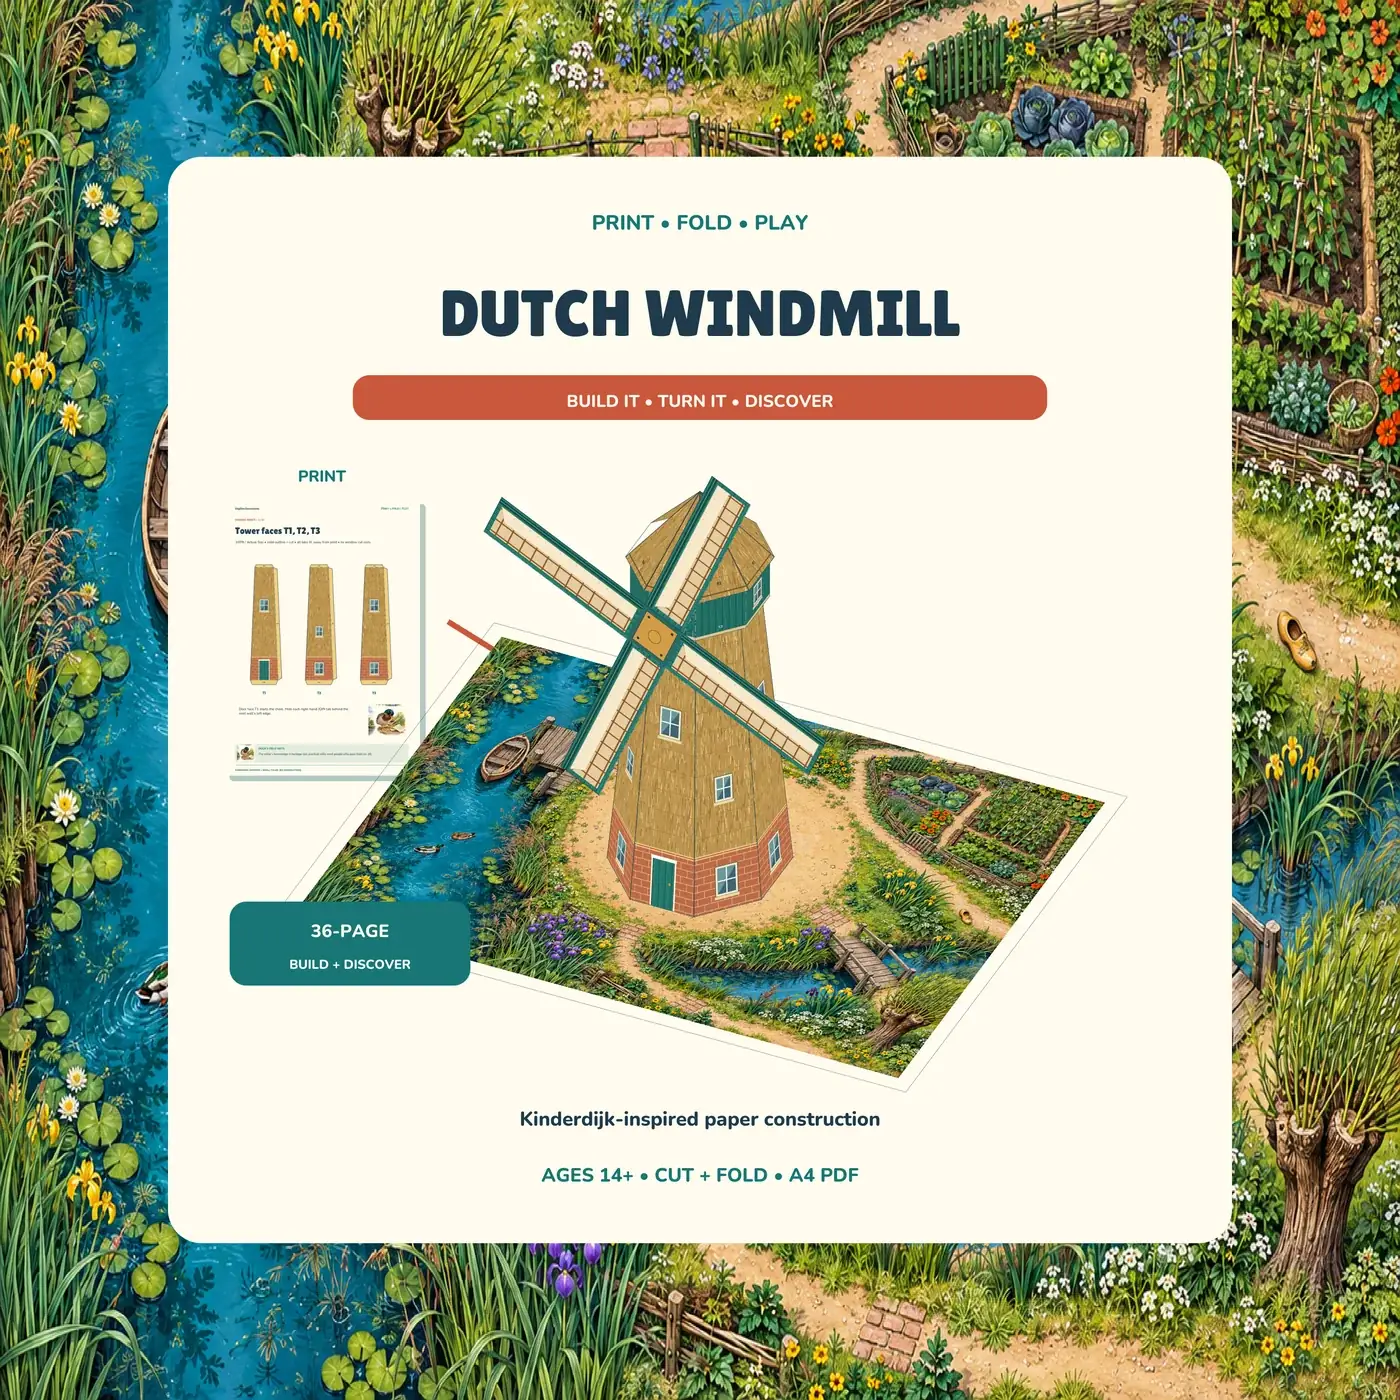
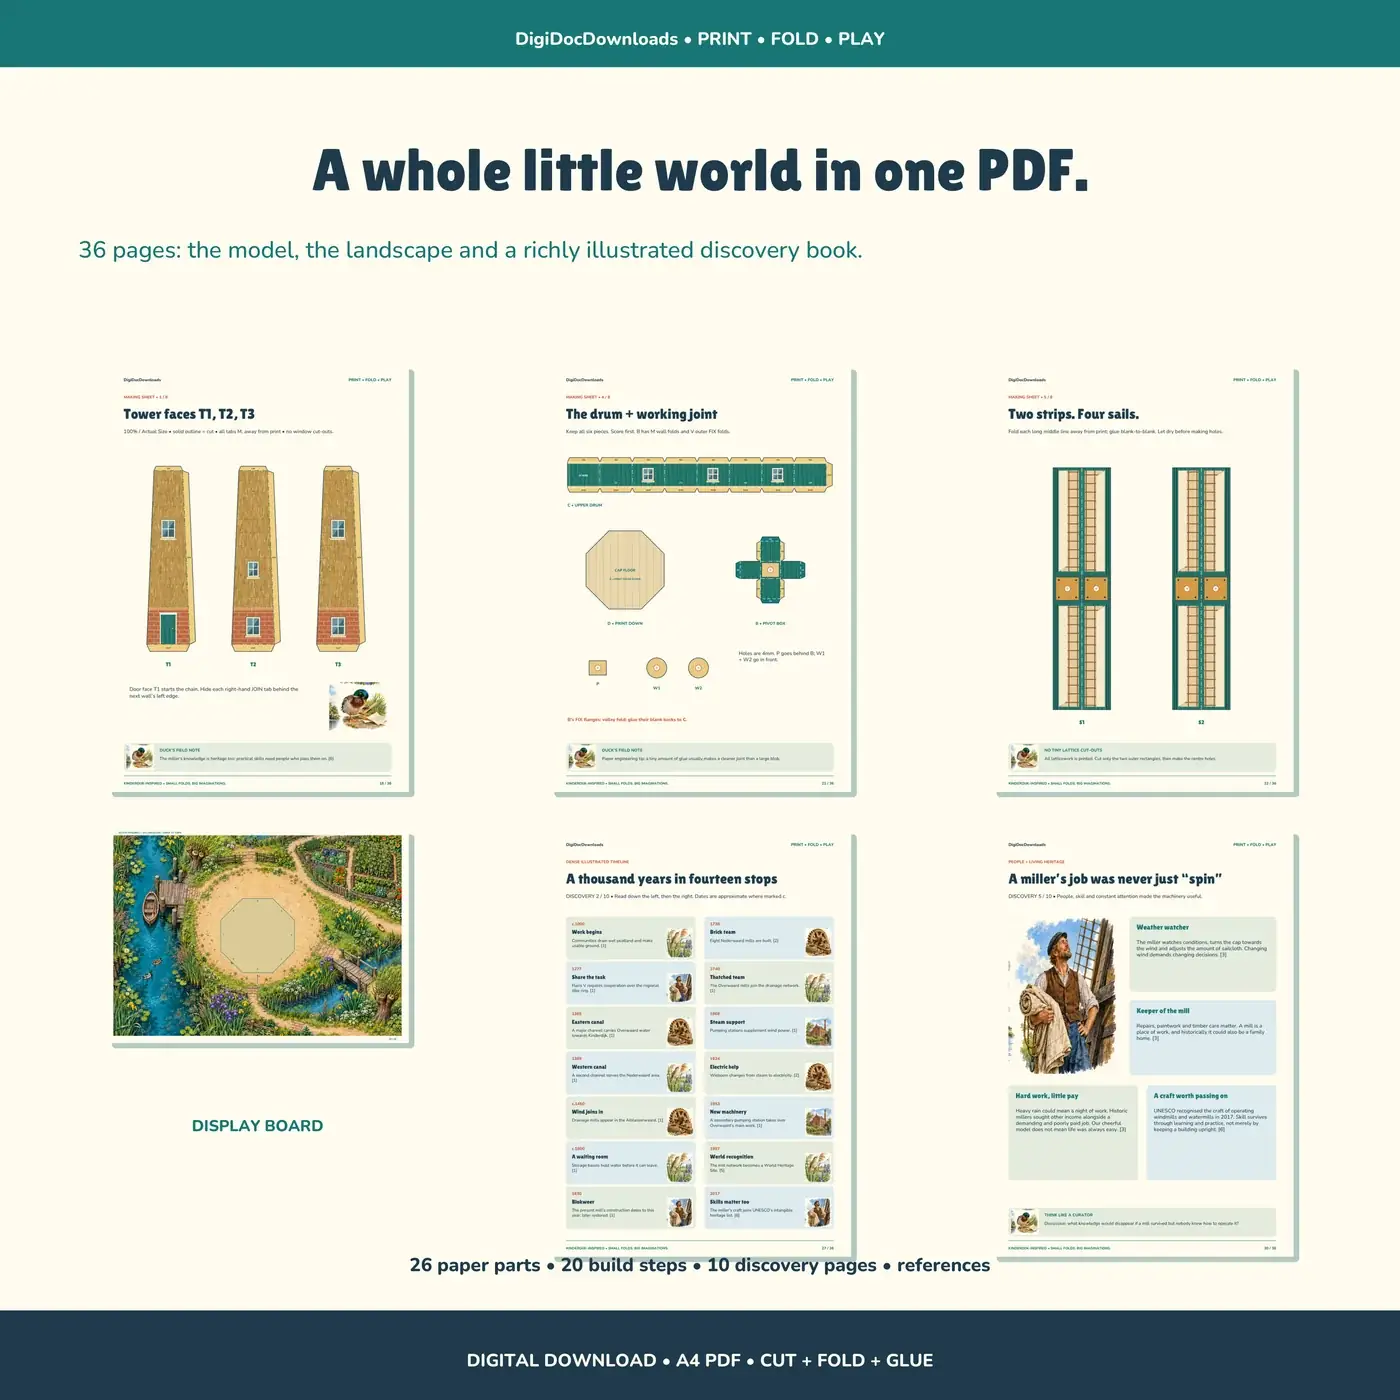
Our Dutch Windmill paper kit is inspired by Kinderdijk. It includes a tapered tower, lift-off roof, hand-turned sails and a canal garden, alongside two maps, a fourteen-event timeline, engineering facts and a quiz. Those included learning pages help keep the miniature connected to its subject.
The sails turn gently by hand; the model does not pump water. Say so when showing it. It demonstrates an attractive arrangement of moving and stationary parts, not a complete working mechanism. It is a historically inspired display model rather than a measured reconstruction of a named mill.
Watch how a moving part meets a fixed one
That modest mechanical feature is still useful. Hold the tower steady and turn the sails slowly, noticing where the fastener allows movement and where the structure needs support. A freely moving joint and a firm body have different requirements; gluing everything tightly is not always an improvement.
The kit is an advanced, three-to-five-hour project for patient makers aged 14+, plus drying. Its guide specifies the card, hole and split-pin dimensions. Our moving paper-model parts guide explains the checks around that joint while keeping the supplied assembly sequence in charge.
Give the finished mill an honest label
Add a short description beside the model: “Inspired by Dutch drainage mills; sails turn by hand.” Include one source link and a sketch showing how a real mill’s job differs from the paper feature. That is more informative than a dramatic label promising working engineering.
The next time a windmill appears in a photograph, the useful question is no longer simply “Where is it?” Ask what its turning motion was meant to accomplish. The sails have introduced themselves; the job is the interesting part.
More to read, make and discover
A few useful, interesting and checked routes into the subject.
- Further readingZaanse Schans: windmills
Dutch heritage interpretation of mills with different jobs.
- Further readingZaanse Schans: history
The industrial landscape and the role of wind-powered machinery.
- Further readingUNESCO: Kinderdijk-Elshout mill network
The water-management landscape inspiring the model.