1. Identify the moving and fixed pieces
Before assembly, find the diagram showing which part rotates and which part supports it. A paper joint needs both a firm structure and enough clearance for the intended movement. Glue that is helpful on a fixed seam may stop a moving surface completely.
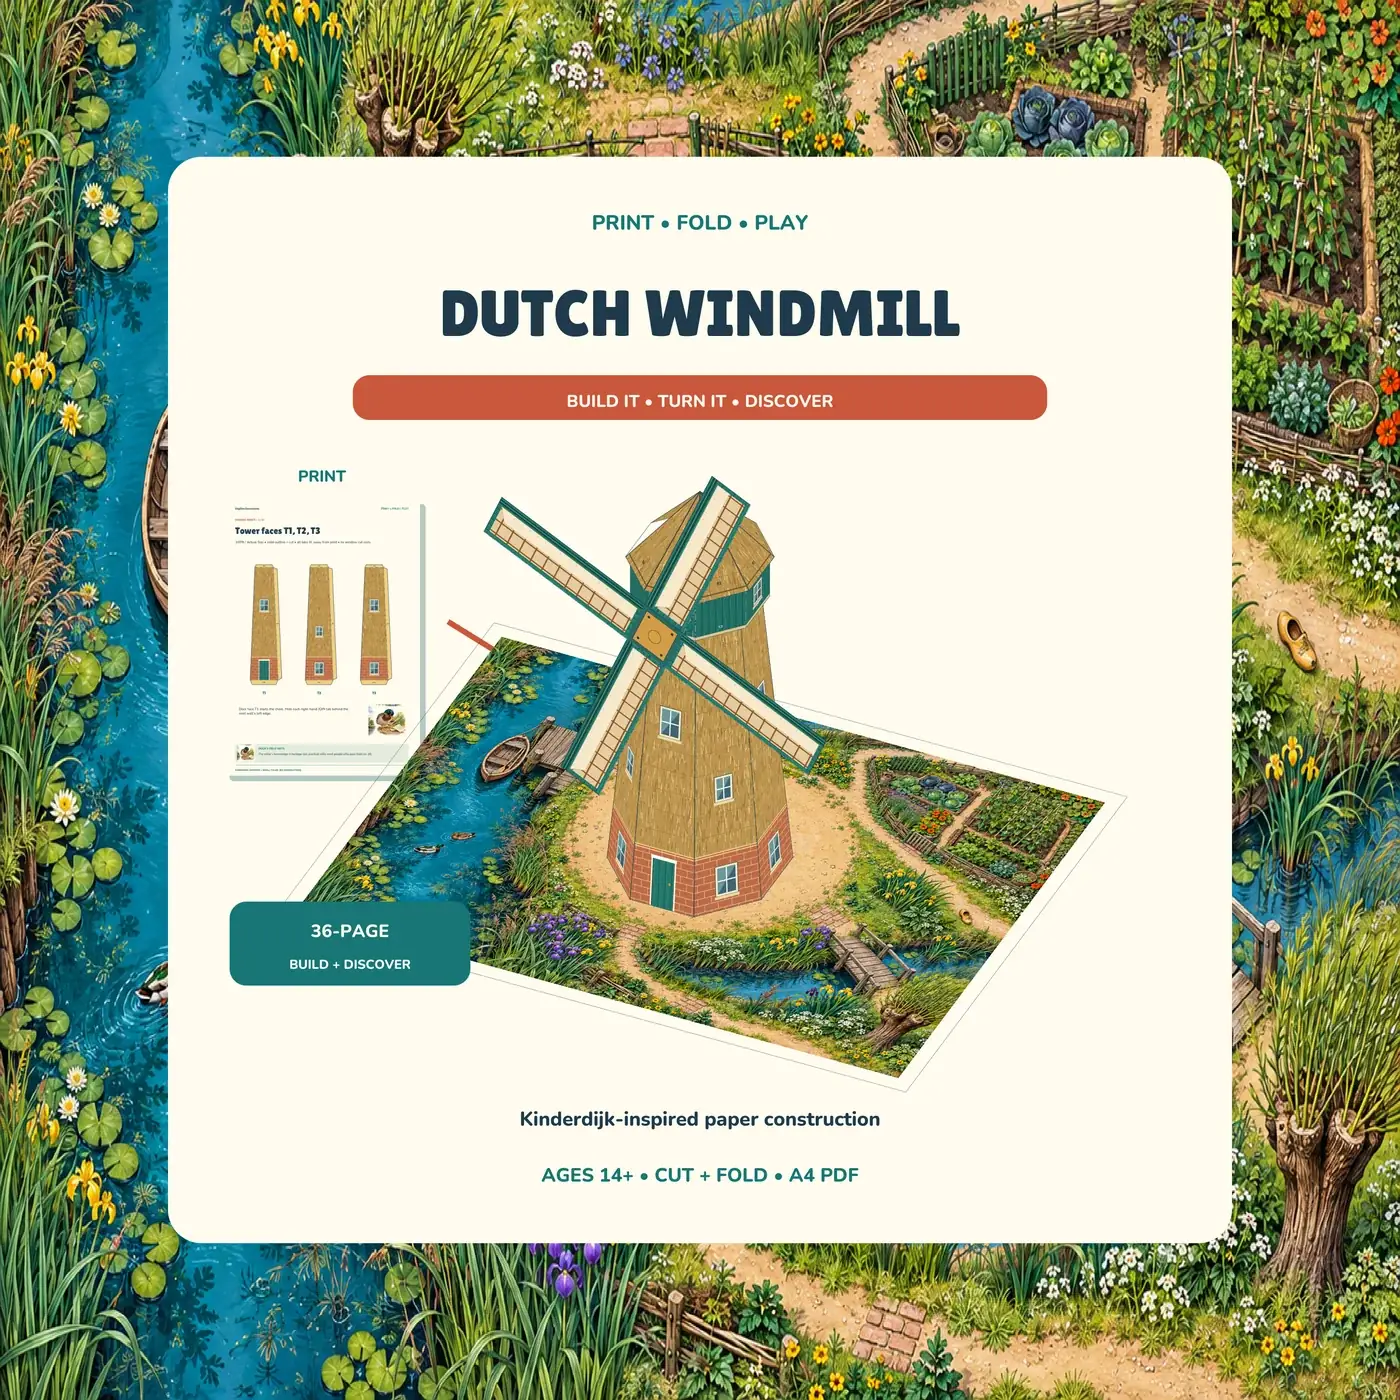
In our Dutch Windmill kit, the sails turn gently by hand while the tower supports them. The thirty-six-page pack includes twenty assembly steps, and its stated fastener dimensions govern the joint. Use this guide as a checking routine alongside those instructions, not as a replacement mechanism.
2. Match the specified materials

The kit calls for printer-compatible 160–200 gsm A4 card, a 4 mm hole-making tool and a small 8 mm split-pin fastener; the full dimensions are explained in the PDF. Check the actual fastener against that specification before making holes. A different head or shank size may change how the joint fits.
Gather a ruler, glue and blunt scorer as directed. The advanced project is intended for patient makers aged 14+, with adult help where piercing is needed. Work on a protected surface and keep loose fasteners away from younger children and pets.
3. Prepare the holes without improvising
Follow the printed hole locations and assembly order. Support the card properly while an adult uses the suitable tool where required. Do not push a fastener through unprepared card and hope that the tear will become a neat bearing surface.
Before inserting the pin, check that the layers are in the correct order and the intended holes align. If the card is already torn or crushed, stop and assess whether the piece should be replaced. A moving joint will not become stronger merely because the damage is hidden by its fastener.
4. Test gently at the instructed stage
Open or position the fastener only as directed, then hold the supporting structure while moving the sails slowly by hand. Look for catching, rubbing or an incorrectly trapped layer. The goal is the kit’s intended gentle movement, not the longest possible free spin.
If the joint is too tight, compare it with the diagram before making an adjustment. Do not widen holes or bend pieces repeatedly without understanding the cause. If it is too loose, avoid introducing extra washers, glue or parts that the design has not allowed for; consult the supplied construction guidance.
5. Explain what the movement represents
The Zaanse Schans windmill guide shows Dutch mills with different practical jobs. Its history page adds context for how turning motion could power machinery. Those sources help distinguish a demonstration of rotation from a complete model of a real mill’s mechanism.
For the drainage landscape inspiring this particular kit, use UNESCO’s Kinderdijk entry. The paper sails do not pump water. Our Dutch windmill story explains why that distinction makes the model easier to discuss accurately, rather than less interesting.
6. Display and handle it as a paper model
Let glued parts dry fully before repeated handling. Put the finished mill on a stable surface, and show another person where to support it before turning the sails. A hand-turned moving feature is not designed for forceful spinning or exposure to outdoor wind.
Keep a note of the model name and the supplied fastener specification with any spare parts. If the joint later needs attention, the original instructions remain the best reference. A careful little mechanism should be allowed to do its modest job without being asked to drain a canal.
More to read, make and discover
A few useful, interesting and checked routes into the subject.
- Further readingZaanse Schans: windmills
Dutch heritage interpretation of mills with different jobs.
- Further readingZaanse Schans: history
The industrial landscape and the role of wind-powered machinery.
- Further readingUNESCO: Kinderdijk-Elshout mill network
The water-management landscape inspiring the model.