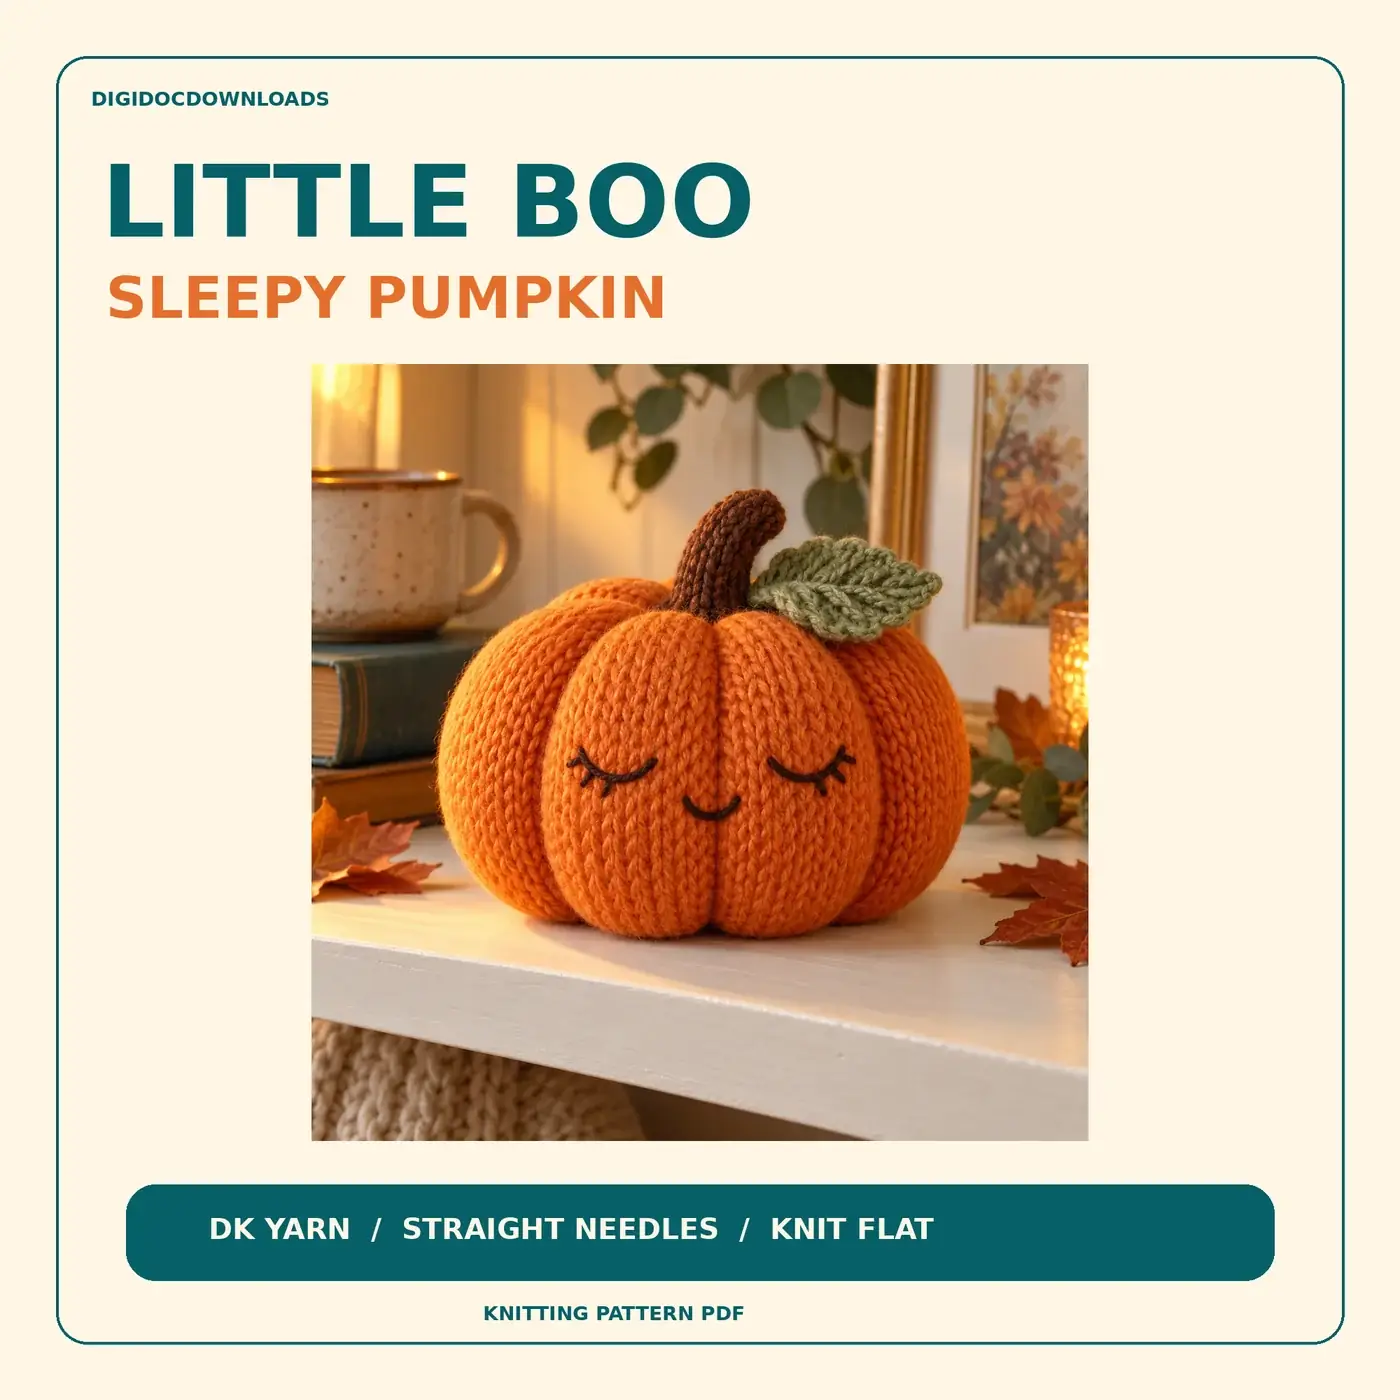
A knitted pumpkin begins as fabric and becomes recognisably pumpkin-like only after several small finishing decisions. The fabric needs to be firm enough to hold filling, the seam needs to disappear into the shape, and the sculpting strands need to divide the body evenly. None of those jobs is difficult in isolation. Doing them in a sensible order is what keeps the result soft, balanced and pleasantly squashy rather than unexpectedly geological.
Little Boo is worked flat in smooth DK yarn on straight needles. Its eight-page A4 pattern supplies the complete 60-stitch, 36-row body, a printable row tracker, seaming and gathering diagrams, six-lobe shaping, a knitted stem, an optional leaf and sleepy-face embroidery. This guide concentrates on planning and finishing; use the pattern for its exact rows, yarn allowances and placement diagrams.
Choose a smooth yarn that lets the stitches be seen
A smooth DK yarn makes the knit-and-purl texture and the embroidered face easier to read. Very fluffy yarn can soften the surface, but it can also hide where the tapestry needle should enter and make it harder to judge whether a shaping strand sits in the intended channel. For a first pumpkin, a yarn that shows each stitch clearly is the calmer choice.
Keep the yarn label with the project and make a note of the colour and fibre. The Craft Yarn Council's yarn-label guide explains the standard weight symbols used alongside names such as DK. The pumpkin is an indoor decoration rather than a toy, and any care decision needs to take the yarn, embroidery and filling into account. If a different yarn is used later, treat it as a fresh experiment rather than assuming that the original needle size and finished proportions will remain unchanged.
Make the gauge sample earn its keep
Little Boo starts with 3.5 mm straight needles and gives a target gauge of 22 stitches and 30 rows per 10 cm in stocking stitch. The purpose is not to win a small mathematical prize. Stitch gauge affects the body's width, row gauge affects its height, and both influence the amount of filling and the distance the shaping strands must travel. The Craft Yarn Council's gauge guide explains why the two measurements belong together.
Measure a relaxed sample without stretching it into agreement. If the fabric is loose enough for pale filling to show between stitches, try a smaller needle and sample again. If it is stiff and difficult to work, try the next sensible adjustment. Record the yarn, needle and result beside the pattern; the useful sample is the one that prevents an entire pumpkin from becoming the next sample.
Track the body before it becomes difficult to count
Use the included 36-row tracker from the first row and mark each completed line once, not when several rows have accumulated. Place a removable marker on the right side if the fabric's texture makes the two faces easy to confuse. Before casting off, compare the stitch count, row count and relaxed dimensions with the pattern. Finishing can shape the correct piece; it should not be asked to correct a missing row.
Sew one even seam, then gather the base
Lay the body out in the orientation shown in the pattern and bring the matching side edges together. Sew with a steady tension so the seam closes without forming a hard ridge or shortening the edge. The Craft Yarn Council's finishing guide notes that a joining thread pulled too tightly can pucker the work. Check the seam from both sides after every few centimetres; correcting a short section is easier than reopening the whole join.
Gather the lower edge as instructed and close it securely before filling. Turn the work so the intended outside is visible, settle the gather flat and make sure the seam runs cleanly from base to top. A small dimple at the centre is useful; a bulky knot on the surface is not.
Add filling in small pieces
Break the filling into small, light pieces and place them around the outer wall first, then build towards the middle. Rotate the pumpkin while working so one side does not become firm while the other remains hollow. The goal is an even body that can still be compressed by the shaping strands. If the stuffing is packed into one solid ball, the surface will be harder to smooth and the lobes will have less room to form.
Pause before the top becomes crowded. Check the base, seam and overall outline, then add or redistribute filling where needed. The finished size varies with gauge, filling and sculpting, so the pattern's approximate pre-seaming measurements are a guide to construction rather than a promise that every pumpkin will have identical dimensions.
Form six lobes by balancing opposite sides
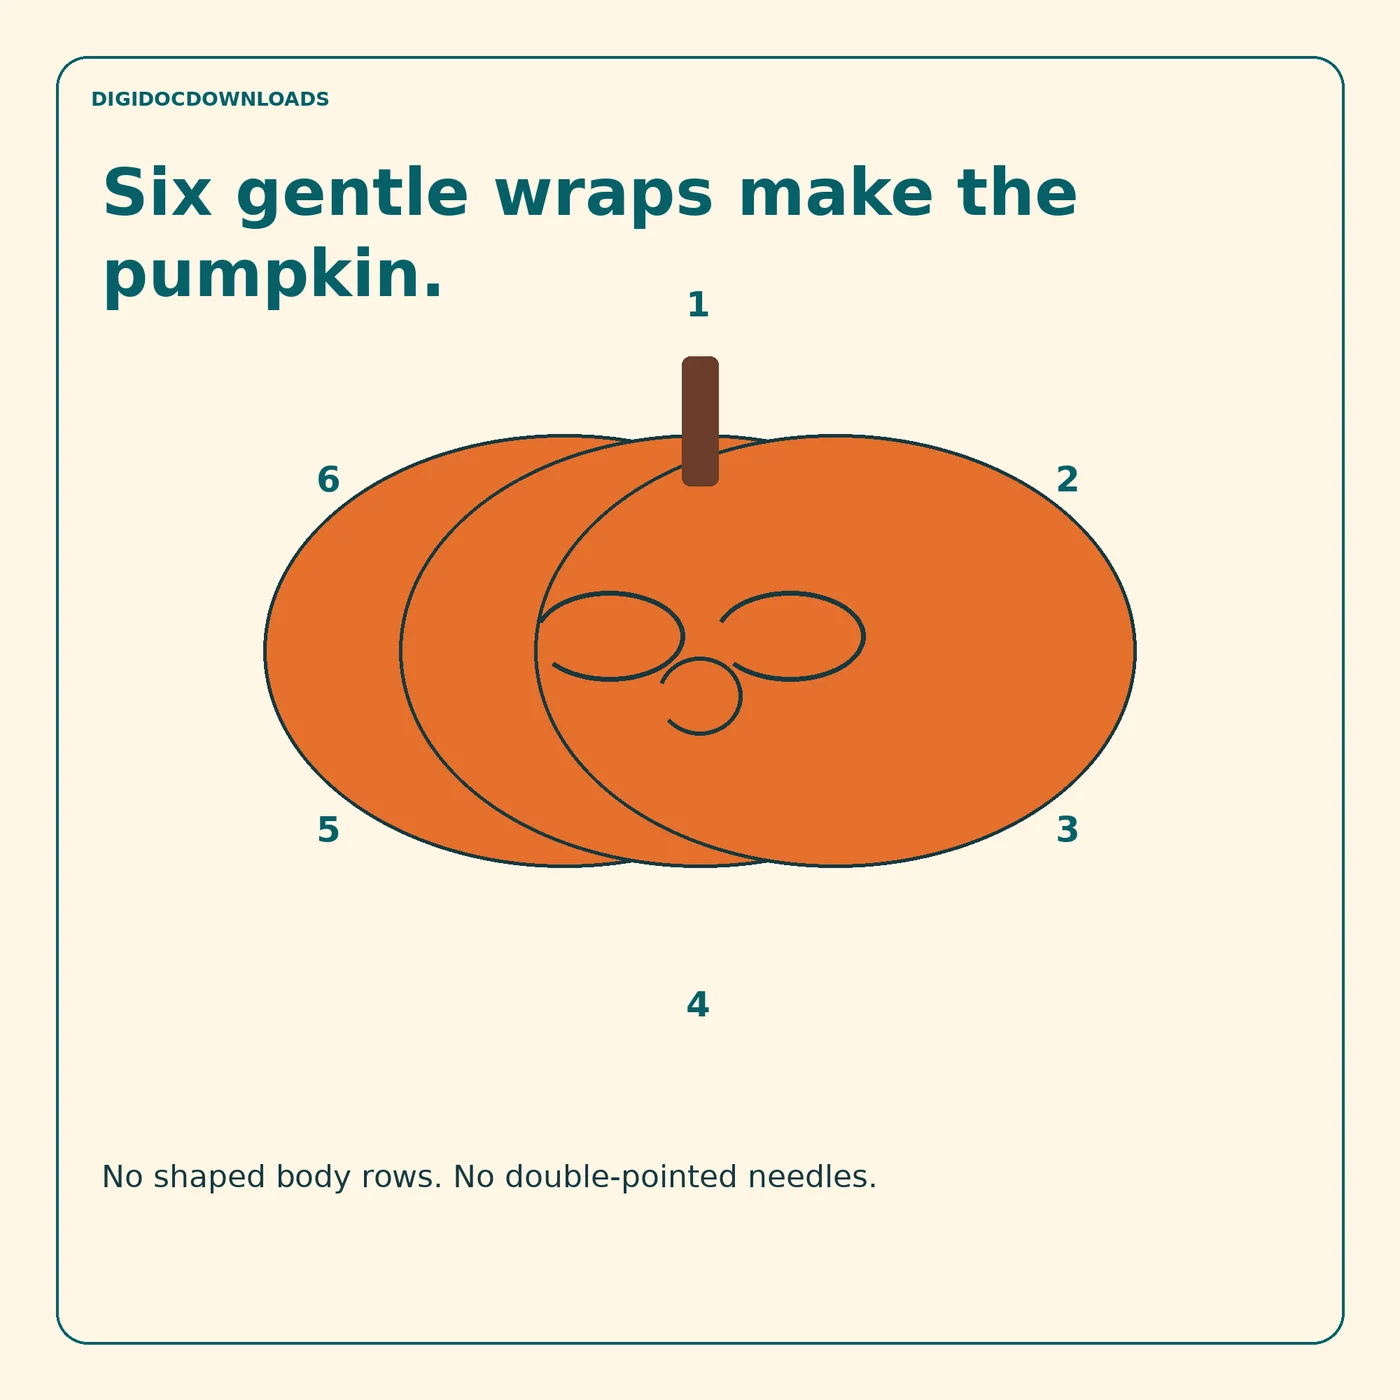
Close the upper gather according to the pattern, then use the six removable markers to plan equally spaced channels before tightening any shaping strand fully. Work in opposite pairs: establish one channel, turn the pumpkin and place the channel across from it, then divide the remaining spaces. This gives the eye useful reference points and reduces the chance of five narrow lobes having to make room for one rather surprised wide one.
Increase the tension gradually, moving around the pumpkin rather than finishing one channel as tightly as possible. Compare the depth of each groove and the height of the lobes from above and from the side. Stop when the sections are distinct and balanced. The strands are there to sculpt the filling, not to cut deeply into the knitted fabric. Secure them exactly as the pattern directs.
Shape the pumpkin a little at a time; symmetry is easier to invite than to retrieve.
Place the stem and leaf after the silhouette is settled
Make the knitted stem and optional leaf from the pattern's instructions, then pin them temporarily before sewing. Look from the front, side and above. A stem that appears central on the top can still lean towards one lobe when viewed from the front. Attach it only after the shaping strands are secure, because adjusting the lobes can change the apparent centre.
The optional leaf introduces kfb increases and k2tog decreases. Work it slowly, count after the shaping rows and keep its final tail long enough for the specified attachment. Leaving the leaf off is also a complete choice; the six-lobe pumpkin and brown stem do not require extra greenery to explain themselves.
Embroider the sleepy face when the pumpkin is fully shaped
Use the pattern's placement guidance on the finished body rather than trying to predict the face on the flat rectangle. The lobes alter the spacing and curve of the surface. Mark the main points with removable markers or short contrast-yarn guides, then compare both eyes before making the lines permanent. A millimetre matters more on a small face than it would on a jumper.
Keep the embroidery tension relaxed enough that the stitches sit on the surface without pulling the knitted fabric inward. Finish the ends securely inside the work as directed. If a plain autumn decoration suits the room better, omit the face: Little Boo's listing includes that option, and the knitted shape remains the main piece of work.
Check the finished decoration from every side
- The base sits steadily without a large knot or loose gather showing.
- The seam is closed and does not form a tight ridge.
- Filling is even, with no pale fibres visible through the fabric.
- Six lobe channels are spaced and tensioned consistently.
- The stem is secure and the optional leaf lies as intended.
- Embroidery sits on the surface without distorting the stitches.
Little Boo is described as a confident-beginner project for knitters comfortable with knitting, purling, casting on, casting off and sewing a seam. The body is straightforward; the character arrives through measured finishing. Once the first pumpkin is complete, keep the yarn, needle and gauge notes with the row tracker. A second version can then change colour or expression while preserving the construction decisions that worked.
More to read, make and discover
A few useful, interesting and checked routes into the subject.
- Knitting standardsCraft Yarn Council: understanding gauge
Explains why both stitch and row gauge affect the dimensions of knitted fabric.
- Knitting techniqueCraft Yarn Council: Knit 911 finishing and seams
Practical finishing guidance, including keeping a joining seam even and avoiding an over-tightened seam that puckers the fabric.
- Yarn standardsCraft Yarn Council: yarn label information
Explains the standard yarn-weight symbols used on labels and how they relate to the weight named in a pattern.