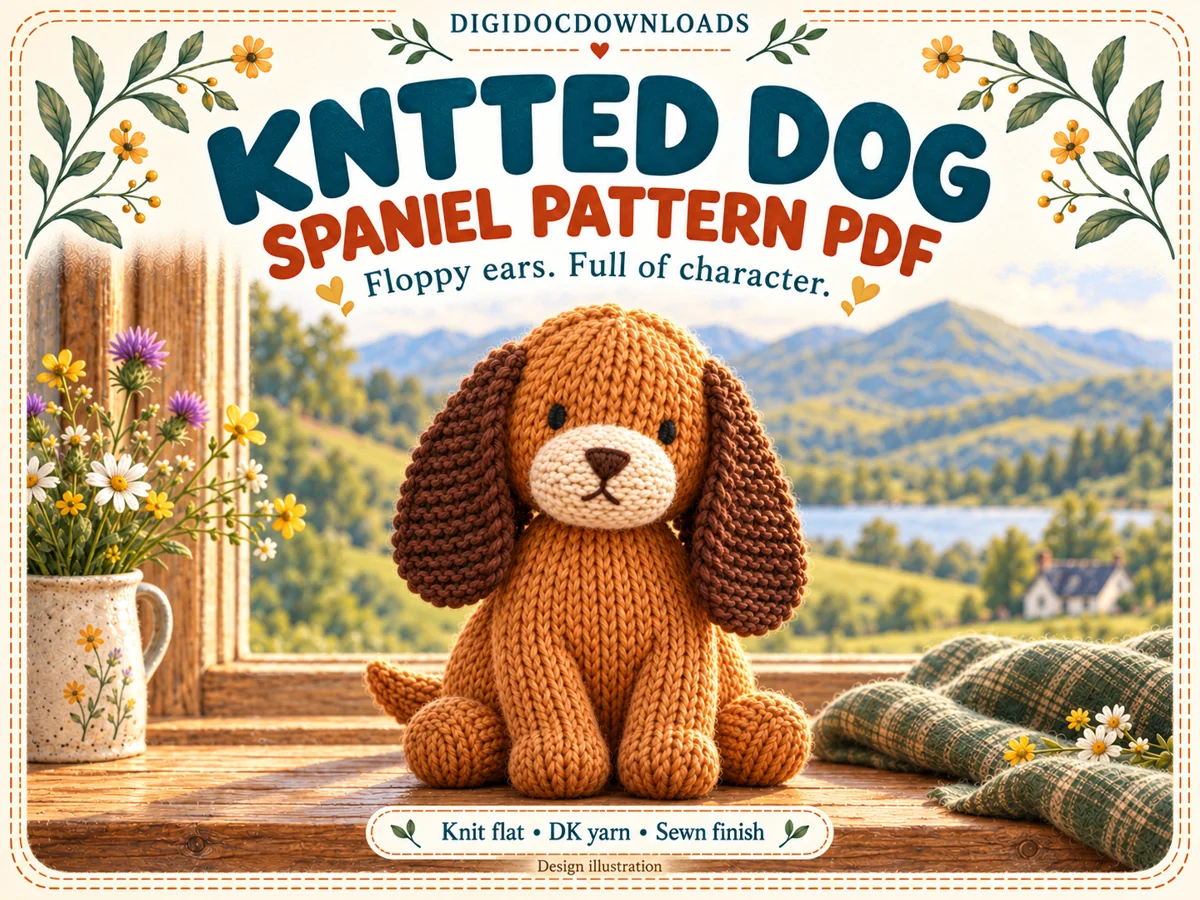
A knitted dog can be made from modest shapes, yet the final character depends on decisions that happen between the last cast-off and the first photograph. Two legs that began from the same instructions can finish at slightly different lengths; a muzzle can migrate while it is being pinned; one ear may develop ambitions of its own. None of this is a disaster. It is simply the assembly stage asking for a little more attention than a cushion seam.
This guide concentrates on the practical details that make a small seated dog look balanced and friendly. The Knitted Dog Pattern - Floppy-Eared Spaniel provides the complete rows, stitch counts, shaping, diagrams and attachment instructions for ten pieces knitted flat in DK yarn on 3 mm needles, with an expected sitting height of about 16–18 cm. Here, we are looking closely at preparation, matching pairs, stuffing, placement and finishing rather than repeating the pattern itself.
Begin with the yarn label and a useful swatch
Choose a smooth DK yarn that lets the shaping and embroidered features remain visible. Keep the labels until the dog is finished: the Craft Yarn Council's yarn-label guide explains the weight, fibre, care and needle information commonly printed there. If two colours come from different yarn ranges, compare their thickness and spring rather than trusting the shared word DK to make them identical twins.
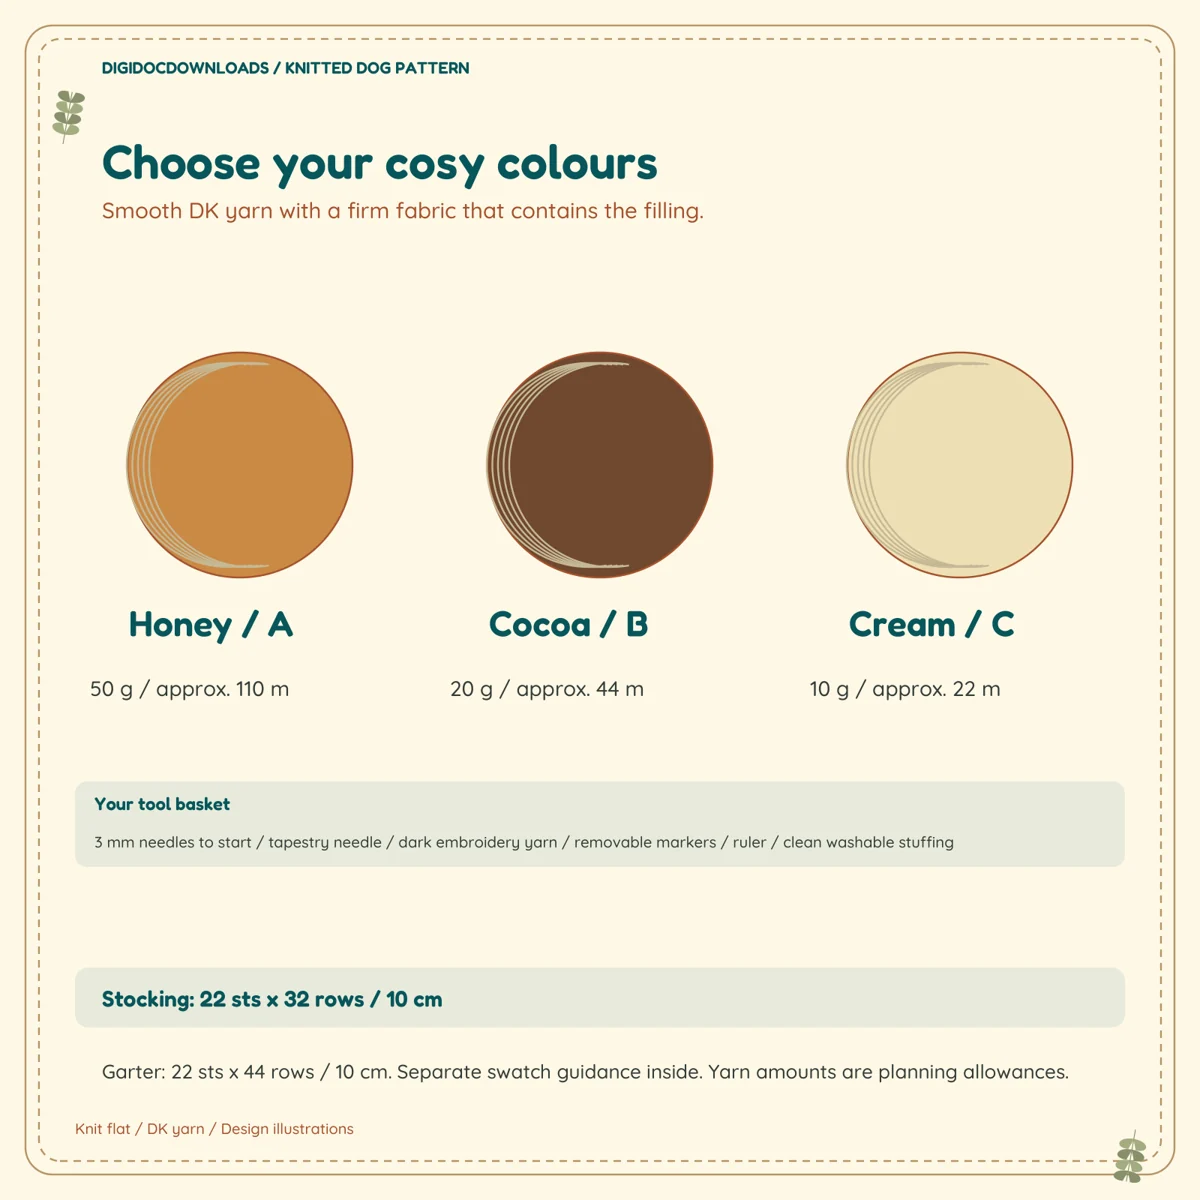
Make the gauge swatch described in the pattern and measure it after letting the fabric rest. The Craft Yarn Council's guide to knitting a gauge swatch notes that gauge determines the finished measurements and recommends checking before the project begins. For a stuffed animal, also hold the swatch over a pale piece of filling. If white fibres show readily between the stitches, use a smaller needle or adjust until the fabric is firm enough to contain the stuffing without becoming stiff as toast.
Give every piece a name as it comes off the needles
Use removable labels or short loops of contrasting scrap yarn to identify the body, head, muzzle, tail and each pair of legs and ears. Mark the cast-on edge or right side if the construction makes that useful. A label saves repeated detective work later, especially when two small brown shapes are both perfectly capable of claiming to be the second ear.
Count the pieces before sewing anything: ten for this spaniel. Lay them on a plain towel in their approximate positions and compare the pairs. Check row direction, decrease edges and tail orientation against the pattern drawings. This dry arrangement is also the best moment to notice an unworked yarn end, a missed stitch or a piece that deserves to be remade before stuffing gives it a permanent job.
Knit paired legs and ears under the same conditions
Make the second leg soon after the first, using the same needles, yarn, light and general state of calm. Keep a row counter or make a clear tick beside each completed row. If your tension changes over a long interval, alternating between the two pieces every few rows can help, provided the instructions make that practical and you keep the balls and labels orderly.
Before assembly, place each pair side by side without stretching. Match the cast-on edges, then compare the shaping points and cast-off edges. A small difference can often be eased into the seam; a persistent extra row or a visibly different width is better corrected now. Do not trim a longer piece or pull the shorter one fiercely into line. Knitting is forgiving, but it does remember being bullied.
Prepare the fabric before it becomes three-dimensional
If the yarn and pattern permit gentle blocking, shape the flat pieces to their intended dimensions without stretching away the natural texture. Let every part dry completely before assembly. The Craft Yarn Council's Knit 911 finishing guidance covers blocking, joining and weaving in ends, and cautions against pulling seams so tightly that the work puckers. Follow the care instructions for the yarn you actually chose.
Weave in only the ends that will not be useful for seaming or placement. Keep attachment yarns long enough to sew comfortably. If a colour change sits close to an edge, secure it neatly on the reverse without creating a knot that will turn into a mysterious lump beneath the stuffing.
Sew slowly and stuff in several small rounds
Use the seam method specified by the pattern and a blunt tapestry needle. Match row to row or stitch to stitch, checking the outside every few centimetres. A seam should hold the edges together without forming a hard ridge or gathering the fabric. Leave the stated opening for stuffing; an opening that becomes too small encourages heroic prodding and very little judgement.
Add small tufts of filling rather than one large bundle. Push each tuft into the furthest corner, then build the shape evenly. The head needs enough support to keep its form, but the embroidered face should not sit over a drum-tight surface. Legs should feel equally filled from end to end. Roll each one lightly between your palms, compare the pair again, and adjust before closing the openings.
Stop regularly and set the pieces down. What feels symmetrical in the hand may look different on a flat surface. Keep filling out of the seam allowance so the closing stitches can meet cleanly, and keep loose fibres away from children and pets while you work. This design is intended as an adult decorative display rather than a toy.
Build the seated pose from the centre out
Join the central body and head as directed, checking the side view as well as the front. Pin the legs before sewing them permanently. Place the dog on a level surface, support it gently, and move the pins until the front paws read as a pair and the seated base feels stable. Measure from a central seam or count visible rows when your eye needs a second opinion.
Attach each leg with a few temporary stitches, stand the dog up again and look from several angles. Correct a lean at this stage rather than disguising it with a strategically placed book later. Small handmade differences are appealing; a pose that continually tips forward is merely inconvenient.
Position the floppy ears as a pair, not as separate events
Find the centre line of the face first. Mark matching ear attachment points with pins, using the same number of rows from the crown and the same distance from the side seam. Pin both ears completely before sewing either one. Then look at the head from the front, top and side. The lower ends may hang naturally, but the upper attachment lines should agree.
Sew each ear along the indicated edge with even, flexible stitches. Pause after the first few stitches and compare again; it is easier to move three stitches than an entire ear. The cocoa-coloured ears on this spaniel are intentionally long and soft-looking, so avoid stretching their garter texture flat while attaching them.
Embroider the expression after testing it with pins
Pin the cream muzzle in place and use small temporary markers for the eyes and nose. Set the dog down at normal viewing distance. Tiny changes in eye spacing or nose height can shift the expression from curious to surprised, so inspect before threading the embroidery needle. A photograph on a phone can make an imbalance easier to notice, even if the dog appears personally offended by the audit.
Use the dark embroidery yarn and placement in the pattern. Work through the knitted fabric without pulling so tightly that the face dimples. Secure ends inside the head where possible and check that no long loops remain on the surface. Embroidered details avoid loose facial components, but the finished piece should still be kept away from babies, young children and pets.
Make a final circuit before putting the needle away
Check every attachment by sight and gentle touch: head, muzzle, ears, four legs and tail. Look for gaps in the seams, exposed filling, loose yarn ends and a paw that has quietly rotated during the face work. Set the dog on a shelf-height surface and view it from the angle at which it will usually be seen. Adjust only where an attachment is insecure or the pose genuinely needs it; perfectly manufactured symmetry is not the aim.
Record the yarn, needle size, gauge and any small change you made on the project page while the details are still fresh. If this dog is becoming a gift, Small knitted gifts: the useful details that make them thoughtful has practical ideas for care notes, presentation and keeping handmade items personal without making them fussy.
Knitted dog finishing checklist
- Keep the yarn labels and make the pattern's gauge swatch before beginning.
- Label all ten flat-knitted pieces and mark useful edges or sides.
- Compare paired legs and ears before any stuffing or permanent joining.
- Block only as suitable for the chosen yarn and let pieces dry fully.
- Sew without pulling the seam into puckers.
- Add stuffing in small tufts and compare the paired pieces repeatedly.
- Pin all four legs, then check the seated pose on a level surface.
- Pin both ears at once and inspect the head from three directions.
- Test the facial placement with markers before embroidering.
- Check seams, attachments, loose ends and the final balance before display.
The most convincing knitted dog is not the one assembled fastest. It is the one given several quiet chances to sit on the table, look back at its maker and reveal which ear or paw needs moving by half a row. Match the pairs, stuff gradually and pin before committing; the character will arrive without needing to be forced.
Explore Knitted Dog Pattern - Floppy-Eared Spaniel
More to read, make and discover
A few useful, interesting and checked routes into the subject.
- Knitting standardsCraft Yarn Council: Why & how to knit a gauge swatch
Explains how gauge affects finished measurements and why a swatch should be checked before beginning a project.
- Finishing guidanceCraft Yarn Council: Knit 911 finishing
Practical finishing guidance covering blocking, joining seams, avoiding puckering and weaving in ends.
- Yarn informationCraft Yarn Council: Yarn label information
A guide to the information and standard yarn-weight symbols commonly found on yarn labels.