Basketweave looks more elaborate than its ingredients suggest. The texture is built from orderly groups of knit and purl stitches, with their positions changing after a set number of rows. Once the repeat is visible, the work becomes pleasantly rhythmic. The real craft lies in making fabric that suits a cowl, keeping your place and finishing the join so the blocks continue to do the talking.
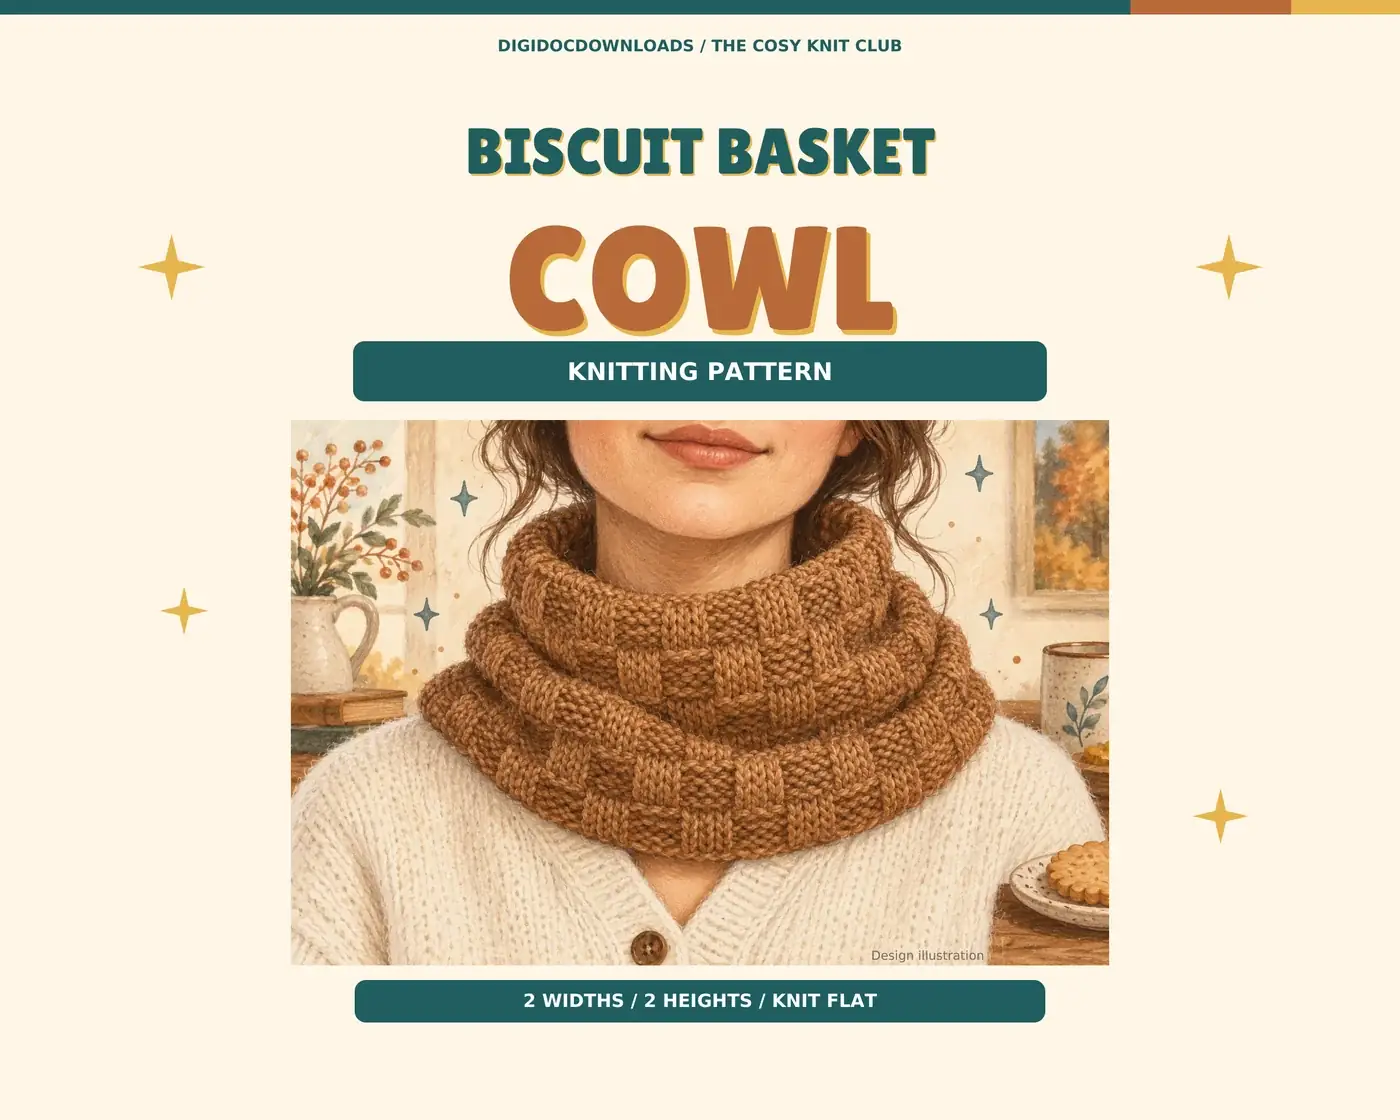
Biscuit Basket is an eight-page A4 pattern for a checker-textured cowl knitted flat in chunky yarn and joined at the short sides. It includes two opening widths, two heights, every row written out, an optional stitch chart, construction and seaming guidance, custom-sizing notes and a row tracker. This guide explains the decisions around the pattern; use the pattern itself for its exact stitch counts and repeat.
Choose the opening before the height
A cowl must pass comfortably over the head before it can sit attractively at the neck. Measure around the widest part of the wearer's head without pulling the tape tight, then compare that measurement with the pattern's finished openings. Biscuit Basket provides a Classic opening of 58.7 cm and a Roomy opening of 69.3 cm. Choose the opening that can pass over the head with ease; the smaller number is not automatically the tidier fit.
Next choose the height. The Short version finishes at 16.7 cm and the Tall version at 23.3 cm. A paper strip cut to the proposed height is a useful, low-drama fitting tool: hold it at the neck and fold or scrunch it as the knitted fabric might sit. The taller option gives more fabric to arrange, while the shorter one makes a lighter collar. These are finished pattern measurements, not promises that every knitter's fabric will emerge identical without checking gauge.
Swatch in the actual basketweave pattern
Make the gauge sample in the stitch pattern named by the pattern, using the intended chunky yarn. Stocking stitch can tell you something about a yarn, but it cannot show how your alternating knit-and-purl blocks draw in, spread or relax. The Craft Yarn Council's gauge guidance explains why the number of stitches and rows in a measured area affects finished size and why more than one swatch may be needed.
Biscuit Basket gives 6 mm (US 10) needles as a starting point, not a commandment carved into the ball band. Measure the washed and dried swatch as directed in the pattern. If it is larger than required, a smaller needle may bring the stitches closer; if it is smaller, a larger needle may open them. The Craft Yarn Council needle table is useful when translating metric and US sizes, but the fabric decides which needle works.
Do not chase the stitch count while ignoring the cloth. A cowl should bend and gather comfortably, and the raised blocks should remain distinct. If the swatch feels board-like on the correct measurements, reconsider the yarn as well as the needle. If it is loose enough to lose the checker texture, try a firmer fabric. Record the yarn, needle, washed gauge and feel; memory is an unreliable filing cabinet, particularly when several promising swatches are on the table.
Read the fabric as well as the row
Basketweave is easier to track when you understand what the stitches are doing. Knit stitches show smooth V shapes on the side facing you; purl stitches present horizontal bumps. Several rows stack those textures into one block. The next part of the repeat swaps their positions, so a smooth block grows above a bumpy one and vice versa.
Before starting each row, check three things: whether you are on the right or wrong side, which row of the repeat comes next, and whether the first block should be knit or purl. Mark the completed row only after working it. Biscuit Basket writes out every row and supplies a tracker, so you can use the full wording while learning and the chart once the pattern is visually familiar.
Place a removable marker or a contrasting thread at the start of a complete repeat if that helps, but do not add markers so densely that moving them becomes the main activity. Pause at the end of each block of rows and look across the work. The checker arrangement should alternate cleanly. Catching one misplaced row now is considerably more cheerful than discovering it after an evening's knitting.
Fix a lost place with evidence
If you put the work down without marking the row, begin with the fabric rather than guessing. Count the visible horizontal ridges in the current purl blocks and compare them with the repeat. Look at the smooth columns beside them, then check which side of the work faces you. A small sample knitted in spare yarn can become a reference swatch: label its right side and the first row, and keep it beside the project.
For a single incorrect stitch, decide whether it can be corrected safely in the current column or whether it is better to unknit to the error. Basketweave's clarity is useful here because an unexpected V in a field of bumps is conspicuous. Stop before improvising across several rows. A deliberate short retreat is usually quicker than disguising an error that changes the next block as well.
Keep the cast-on and cast-off compatible
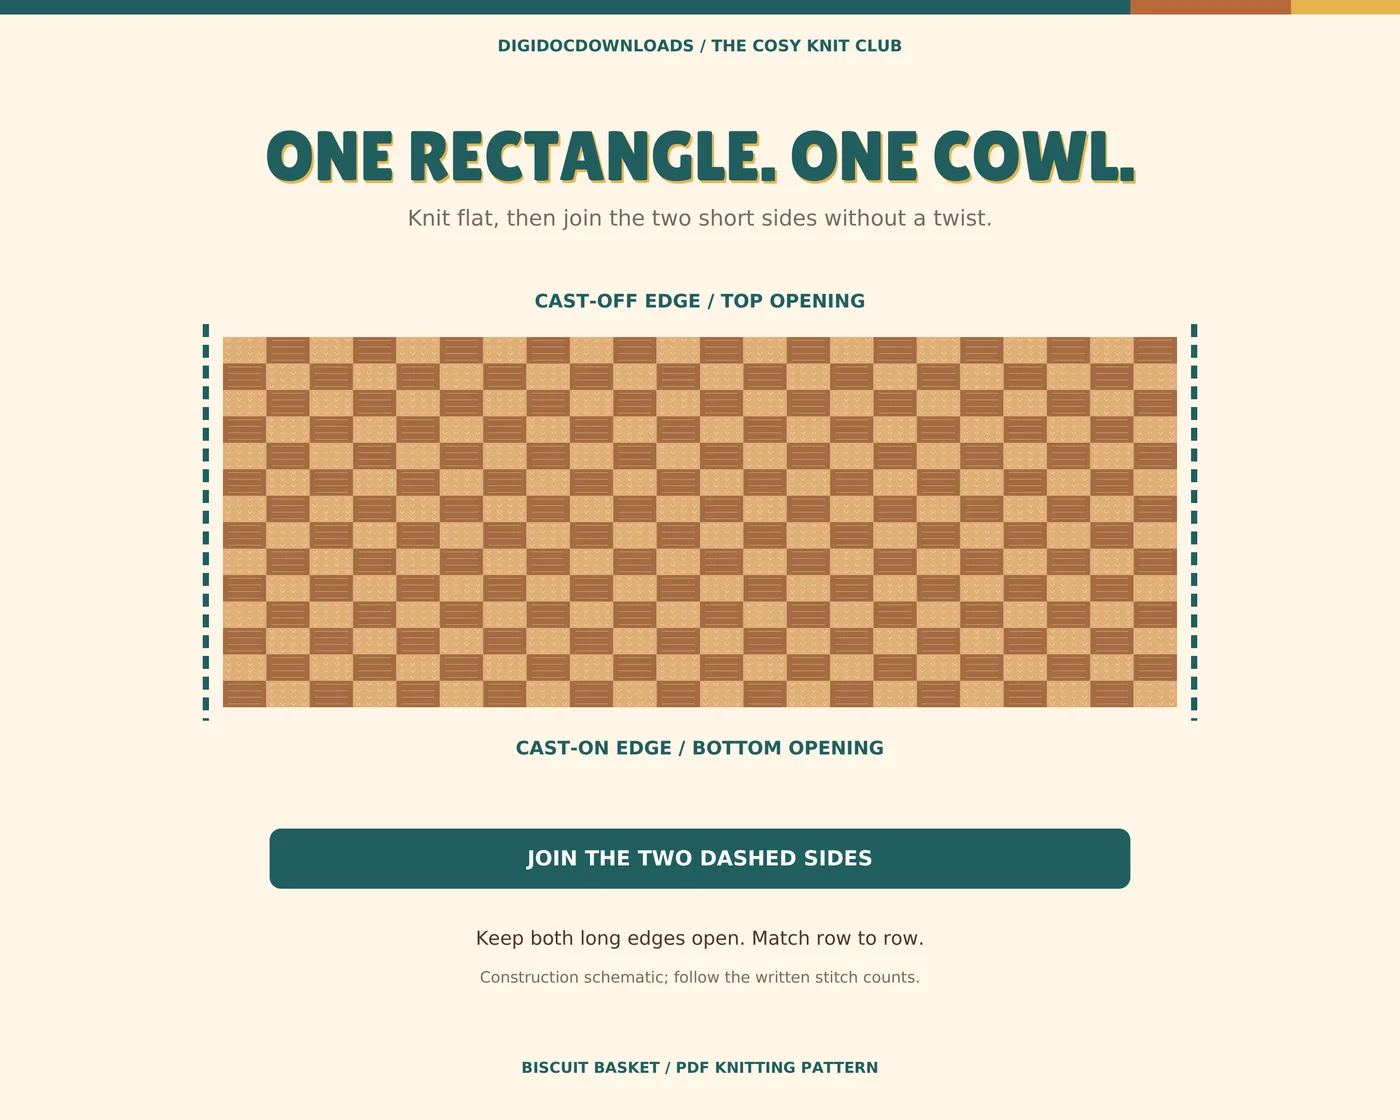
The two short ends will become neighbours, so their tension matters. A tight cast-on paired with a loose cast-off can produce a visible step at the seam. Work both edges as the pattern directs and compare their widths before joining. If the cast-off edge flares or pinches, redo it while the remedy is still one row rather than asking the seam to absorb the difference.
Keep a generous yarn tail for sewing, but avoid an enormous length that abrades as it repeatedly passes through the fabric. Join a fresh piece if necessary. Matching yarn makes the seam discreet; good light makes the job less theatrical. Lay the rectangle flat first and confirm that it is not twisted before bringing the short edges together.
Sew the seam without making a rigid ridge
Align corresponding rows at the two short edges and pin or clip them at a few intervals. Sew in the manner specified by the pattern, working steadily from one end and checking the outer surface every few centimetres. Pull each section firm enough to close the gap but not so tightly that the seam shortens. The aim is a flexible join with rows meeting at the same height.
When the seam is complete, try passing the cowl over the head before weaving in the final tail. Check that the join stretches with the rest of the fabric and does not form a hard vertical bar. If one section puckers, ease the sewing yarn back through the neighbouring stitches. Finish the tails securely on the inside without building a small, determined knot where it will rub.
Wash and dry the finished cowl as one piece
Follow the yarn label and pattern care instructions. Support the wet cowl rather than lifting it by one edge, then arrange it to the intended measurements without stretching the checker blocks flat. UK Hand Knitting's tension and blocking advice is a useful reminder that a tension square and the finished fabric both deserve measured treatment.
Let the cowl dry completely before judging its fit. Note any change from the swatch and keep that information with the pattern. If you make another size, the recorded washed gauge is far more useful than remembering that the first one was 'about right'.
A pattern is a conversation across time
Written rows and charts are two ways of carrying the same structure from one knitter to another. The V&A's short history of knitting patterns in Britain traces a shift from skills shared by watching and doing to manuscript and printed instructions, including older terms for familiar stitches. A modern row tracker may be less romantic than a nineteenth-century notebook, but it serves the same civilised purpose: helping the next set of loops land where intended.
Final checks before wearing or gifting
- The opening passes over the intended wearer's head without strain.
- The checker blocks alternate consistently and no loose loops remain.
- The seam is flexible, aligned and comfortable against the neck.
- All yarn tails are secure and hidden on the inside.
- The finished measurements and care instructions are recorded.
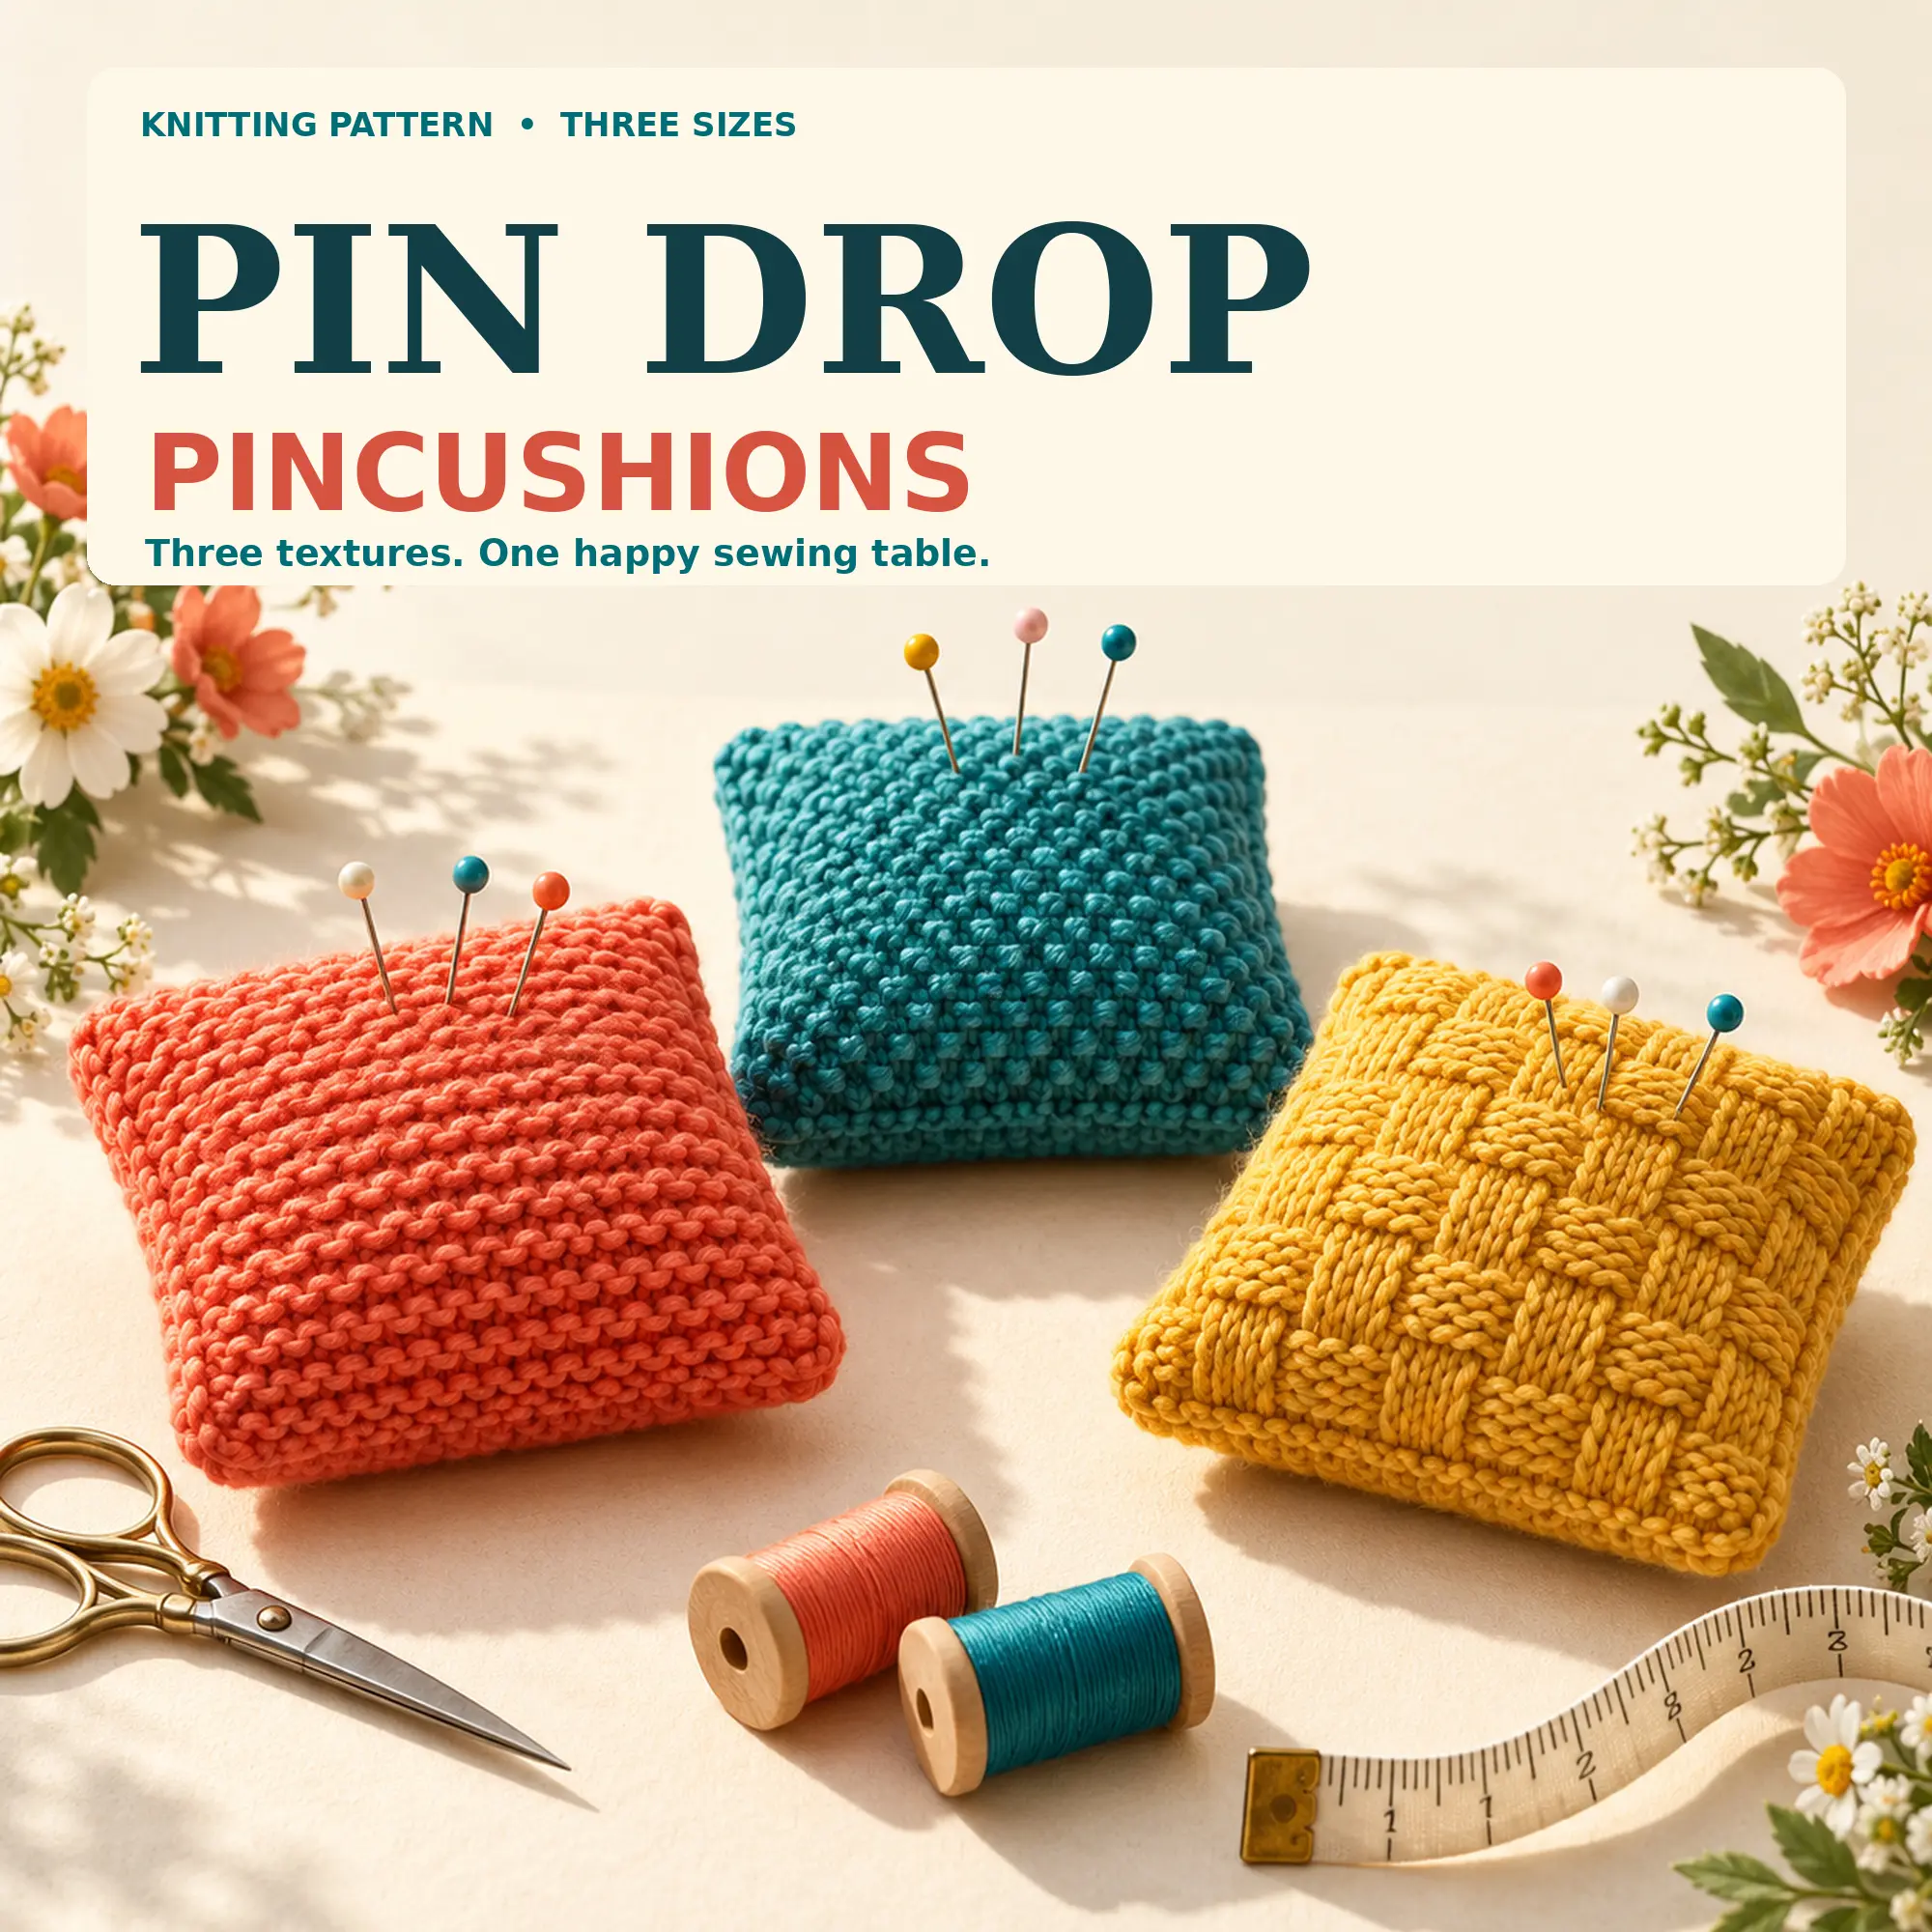
For another small textured project, Pin Drop combines knitted panels with a completely sewn fabric liner; the accompanying pincushion guide focuses on row gauge, matching panels and careful assembly. If you prefer a flat project with a practical finish, browse the wider knitting collection.
More to read, make and discover
A few useful, interesting and checked routes into the subject.
- Knitting guidanceCraft Yarn Council: gauge and why it matters
Explains that gauge affects finished size and may require more than one swatch.
- Needle standardsCraft Yarn Council: hooks and needles
Provides metric and US needle equivalents and guidance on changing needle size after checking a swatch.
- Knitting guidanceUK Hand Knitting: frequently asked questions
Recommends knitting a tension square and covers blocking knitted fabric.
- Museum collectionV&A: a short history of knitting patterns in Britain
Shows how knitters moved from shared practical knowledge to printed instructions and charts.