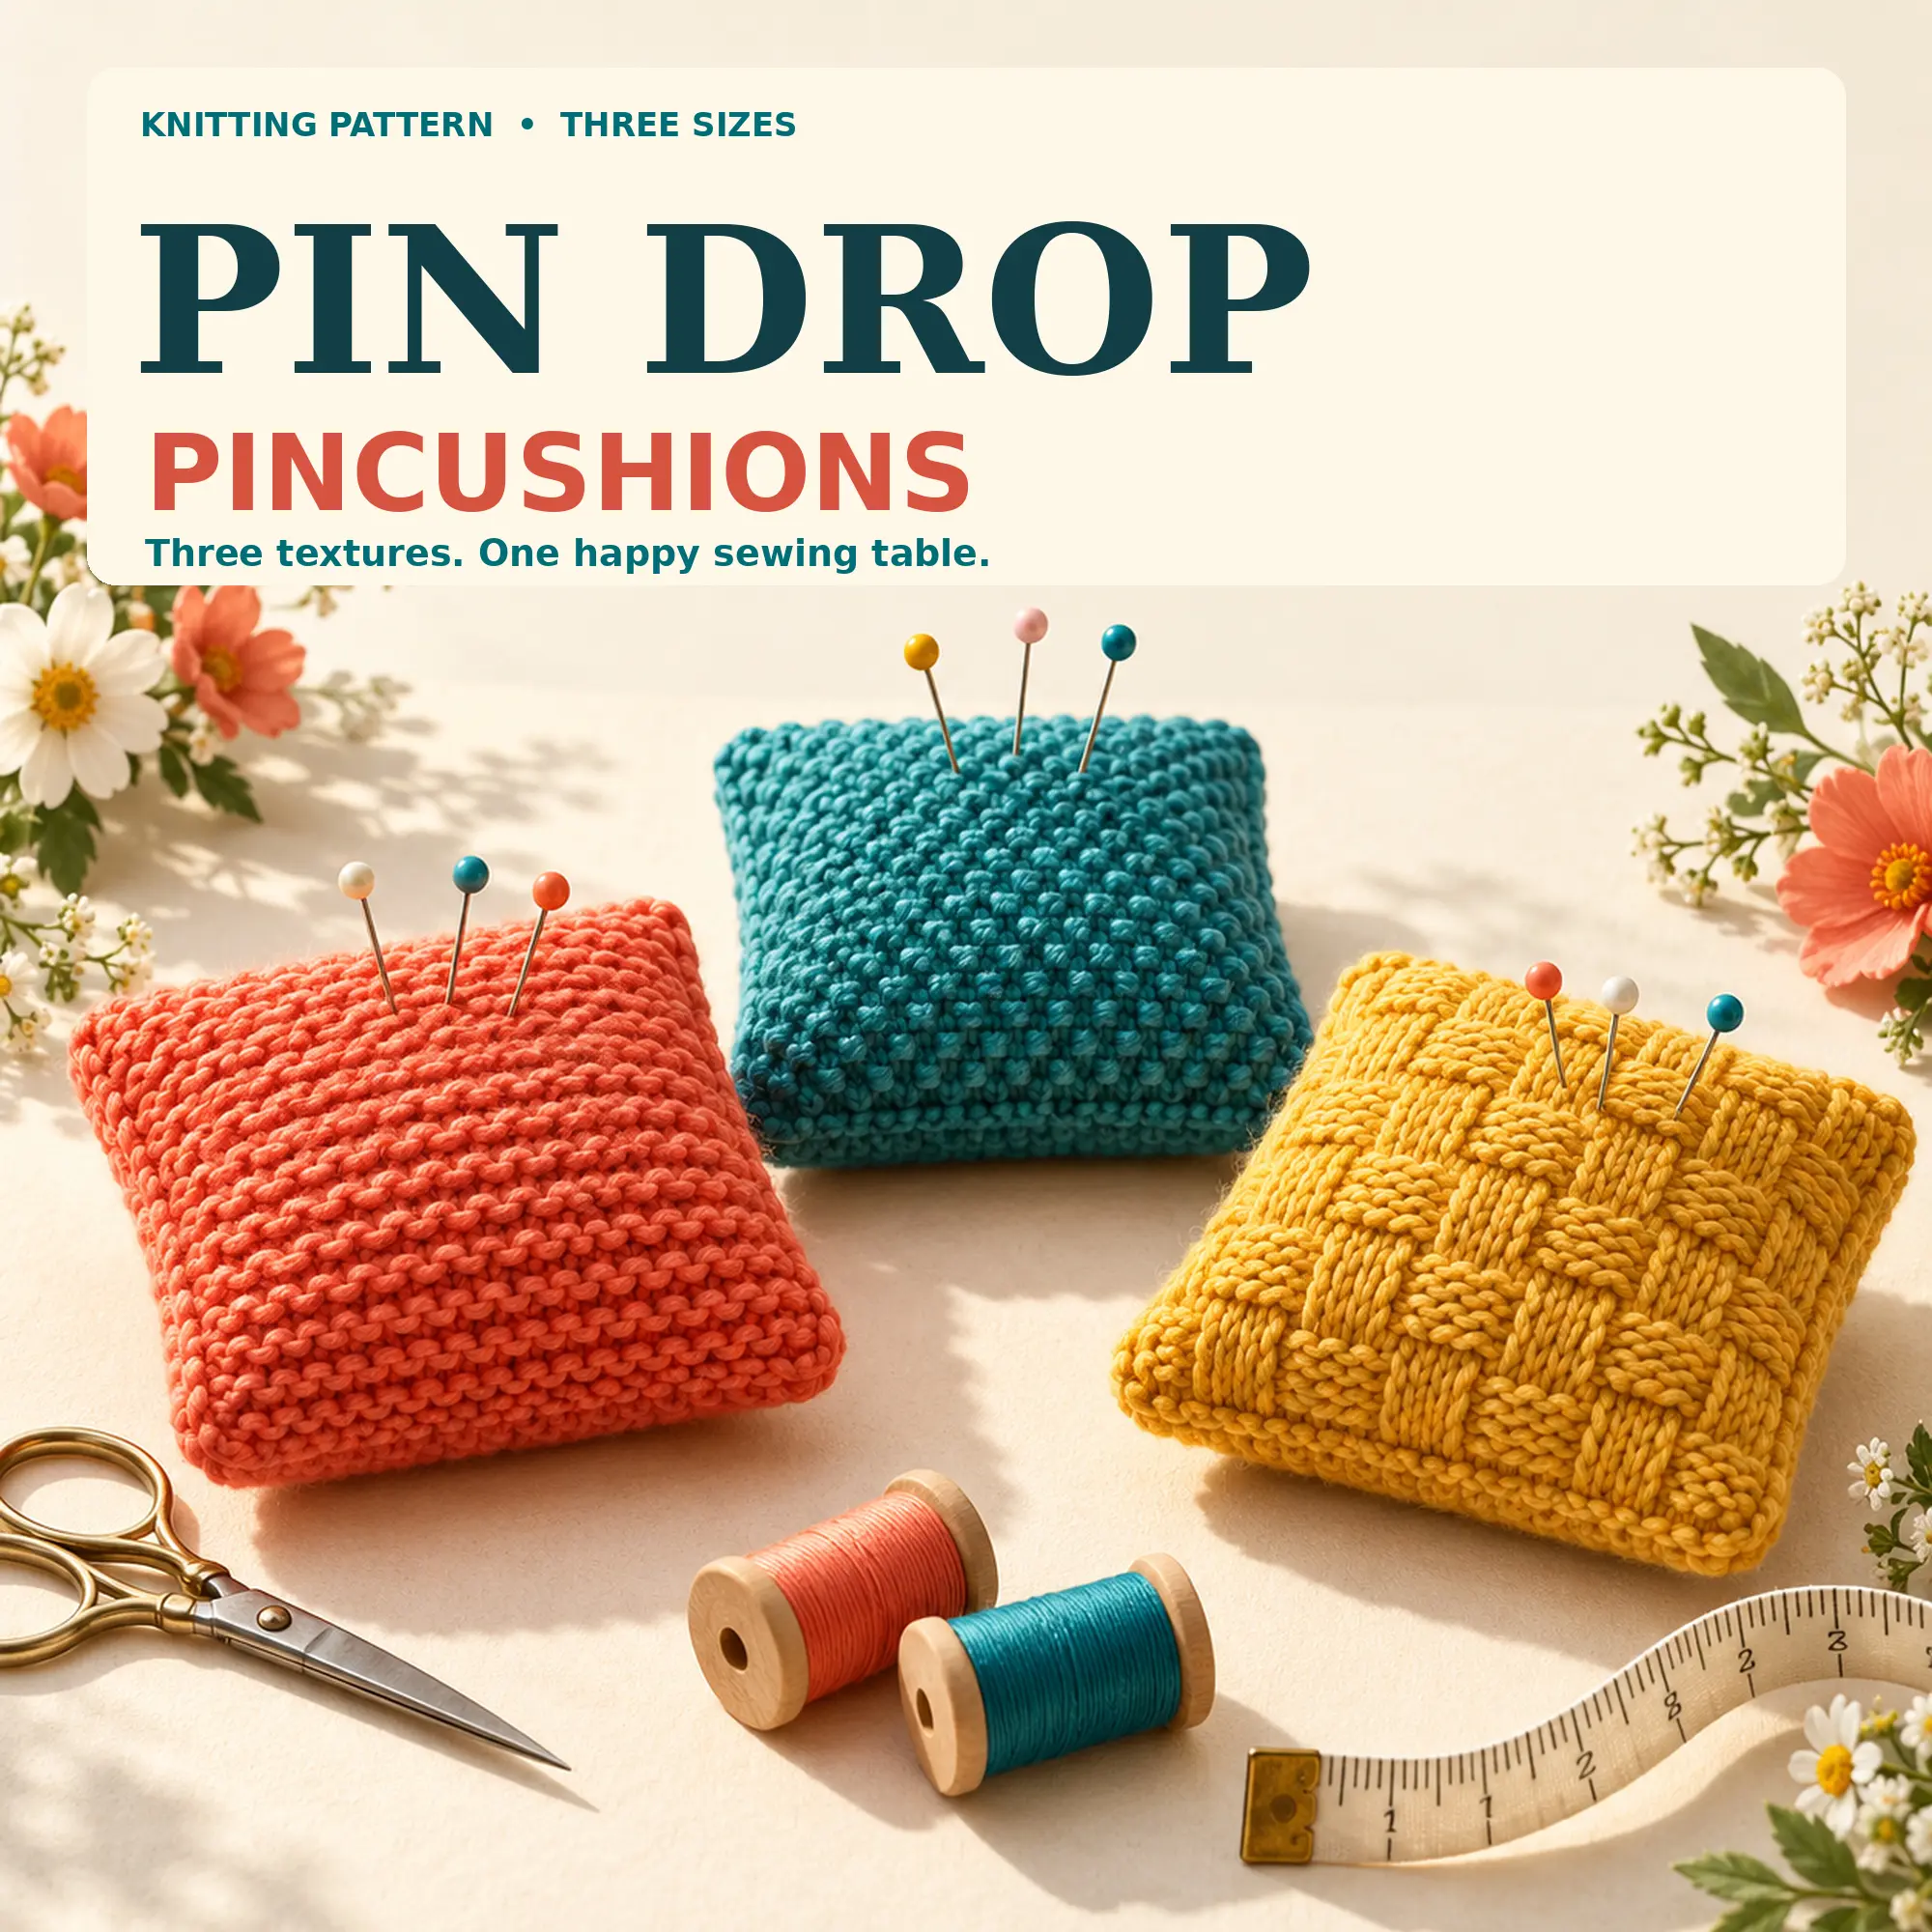
A knitted pincushion is a small project with an important hidden layer. The knitting supplies the colour and texture; a completely sewn fabric liner holds the filling. Treat them as two separate pieces of work and the assembly becomes much easier to plan. The attractive outside should not have to do the inside's job as well.
Pin Drop uses two matching panels knitted flat in DK cotton, with garter ridges, seed-stitch bumps or a basket texture. Its eight-page A4 pattern includes three sizes, the stitch and row counts for all nine combinations, fabric cutting sizes and illustrated assembly. This guide helps you choose a version and organise the making; use the pattern for its exact counts, repeats and seam instructions.
Choose the texture before choosing the colour
Start with the kind of knitting you would like to do. Garter is the straightforward choice when you want to concentrate on consistent tension and tidy edges. Seed stitch asks you to keep track of knit and purl stitches, while the basket texture makes its arrangement of blocks part of the appeal. Pin Drop includes a striped option for the garter version; follow that option rather than assuming its colour changes apply to every texture.
For a first version, choose one texture and make both panels alike. A three-texture set can follow once you have tried the construction. A plain colour is a useful starting point if you want to see the stitch structure clearly. If a decorative yarn makes it difficult to recognise the stitches, practise the repeat in a more legible yarn before committing the panels.
Choose the size for the space you actually have. Set a paper square beside your sewing project or inside the compartment where the cushion will live. That simple footprint test tells you more than a product photograph. Remember that a filled cushion also needs height; a square that fits the bottom of a shallow box is not automatically a good fit with the lid closed.
Gather the liner materials as well as the yarn
Put smooth DK cotton, the needles specified as a starting point in your pattern, cotton fabric, sewing thread, a sewing needle, a yarn needle, scissors and soft polyester stuffing together before beginning. Add a ruler and a way to record rows. The liner belongs in the plan from the start, rather than being the small sewing job discovered after the knitting is finished.
Keep the yarn label with the project. The Craft Yarn Council's yarn questions explain the useful information it carries, including fibre content, yarn length and care instructions. Check the care information for the fabric and filling too; the finished object combines all three materials. Do not assume that the care instructions for cotton yarn alone describe the whole pincushion.
Pin Drop specifies soft polyester filling inside a sewn cotton liner. Loose grain, emery, sand or other weighted fillers are not equivalent substitutions for this construction. Nor does this pattern promise to sharpen pins or provide a weighted base. Keep the first version faithful to the specified materials before considering any redesign.
Check stitch gauge and row gauge in your chosen texture
Make the pattern's gauge sample in the texture you intend to use. The Craft Yarn Council's explanation of gauge identifies both stitches and rows as part of sizing. Pin Drop supplies separate row gauges for its textures, so a sample in one texture does not settle the measurements for another.
Record the needle size, stitches across the specified distance and rows over the specified distance. Here, the two measurements have clear jobs: stitch gauge helps determine the panel's width, and row gauge helps determine its height. Matching only the width can still leave a panel that is taller or shorter than intended.
Lay the sample flat for measuring and avoid stretching it to obtain the required result. If the measurements differ, adjust the needles and make another sample before working the pair of panels. If you are customising the size, use the worked example included in Pin Drop and preserve the selected texture's repeats. Quietly adding a few stitches to one edge is liable to give the second panel an unexpected problem to solve.
Yarn names are useful starting points, not proof of a match. The Craft Yarn Council's yarn-standard FAQ explains why yarns in the same weight category still need a swatch: the resulting fabric can differ as well as its gauge. For this project, stay with the specified smooth DK cotton and check the actual fabric you make.
Make a genuinely matching pair of panels
Use the same size, texture, stitch count and row count for both panels. Write those choices down while the first panel is still on the needles. A small project is easy to put aside; it is less easy to remember which variation seemed obvious three evenings ago.
Keep a row tally beside the work and mark the repeat position if your chosen texture needs one. When the first panel is finished, record its relaxed width and height. Compare the second panel before starting the seams. If one has an extra row, a missed repeat or noticeably different tension, resolve that now. The seam should join matching edges, not persuade two different rectangles to agree.
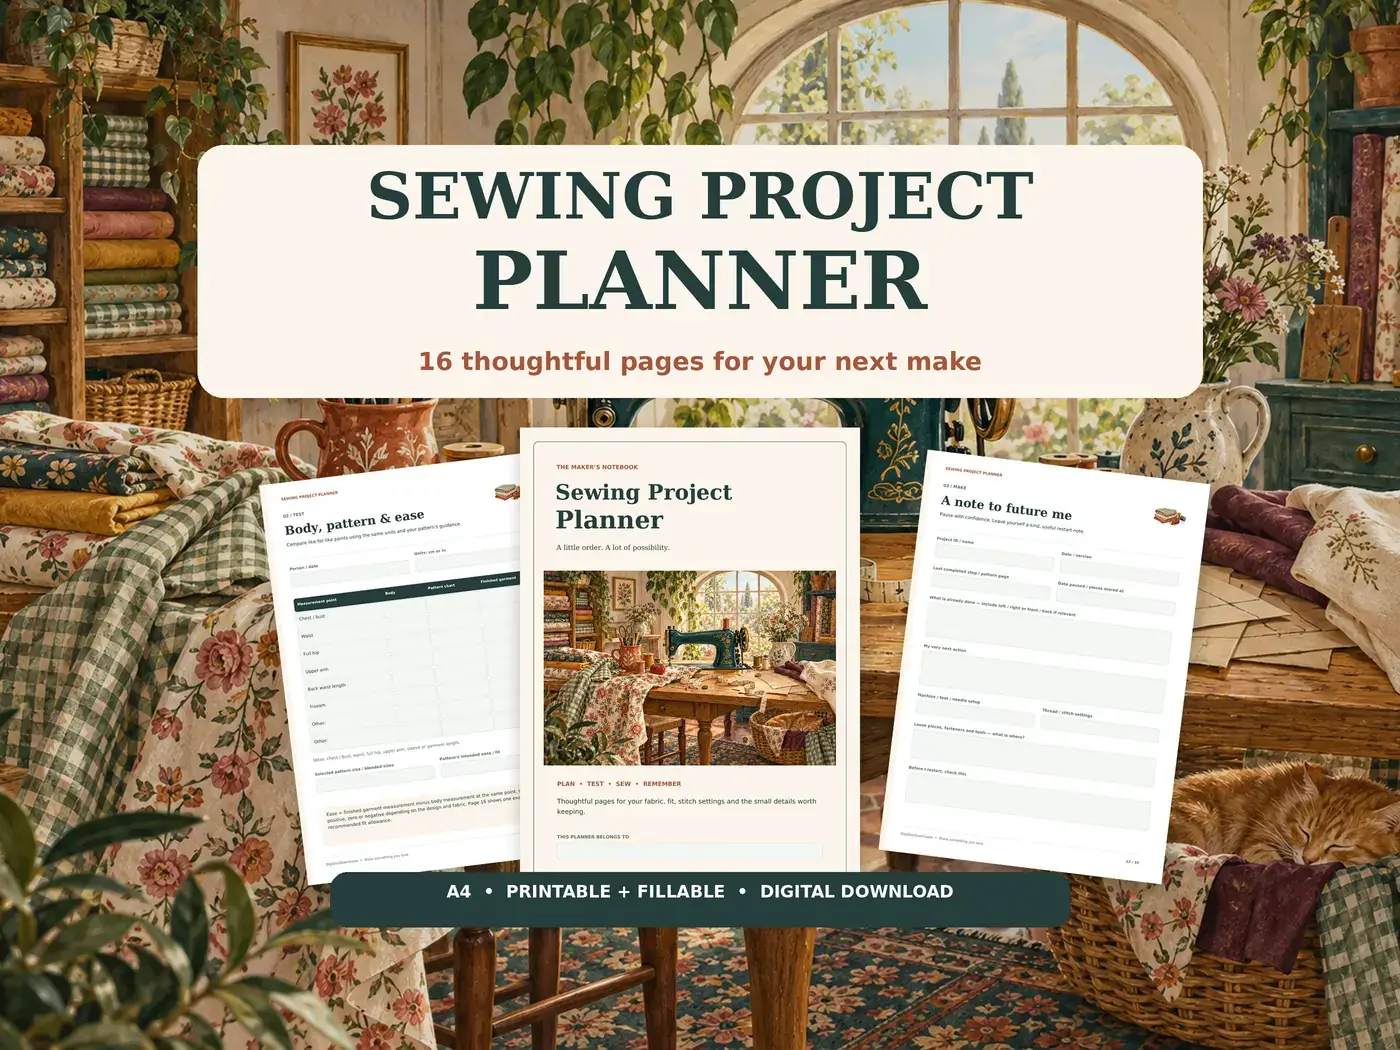
If you enjoy keeping a project record, the same principle appears in our guide to planning a sewing project before cutting: note the decisions that will matter when you return to the work. For a pincushion, a few clear measurements and row notes are more useful than a lengthy diary.
Sew and close the fabric liner first
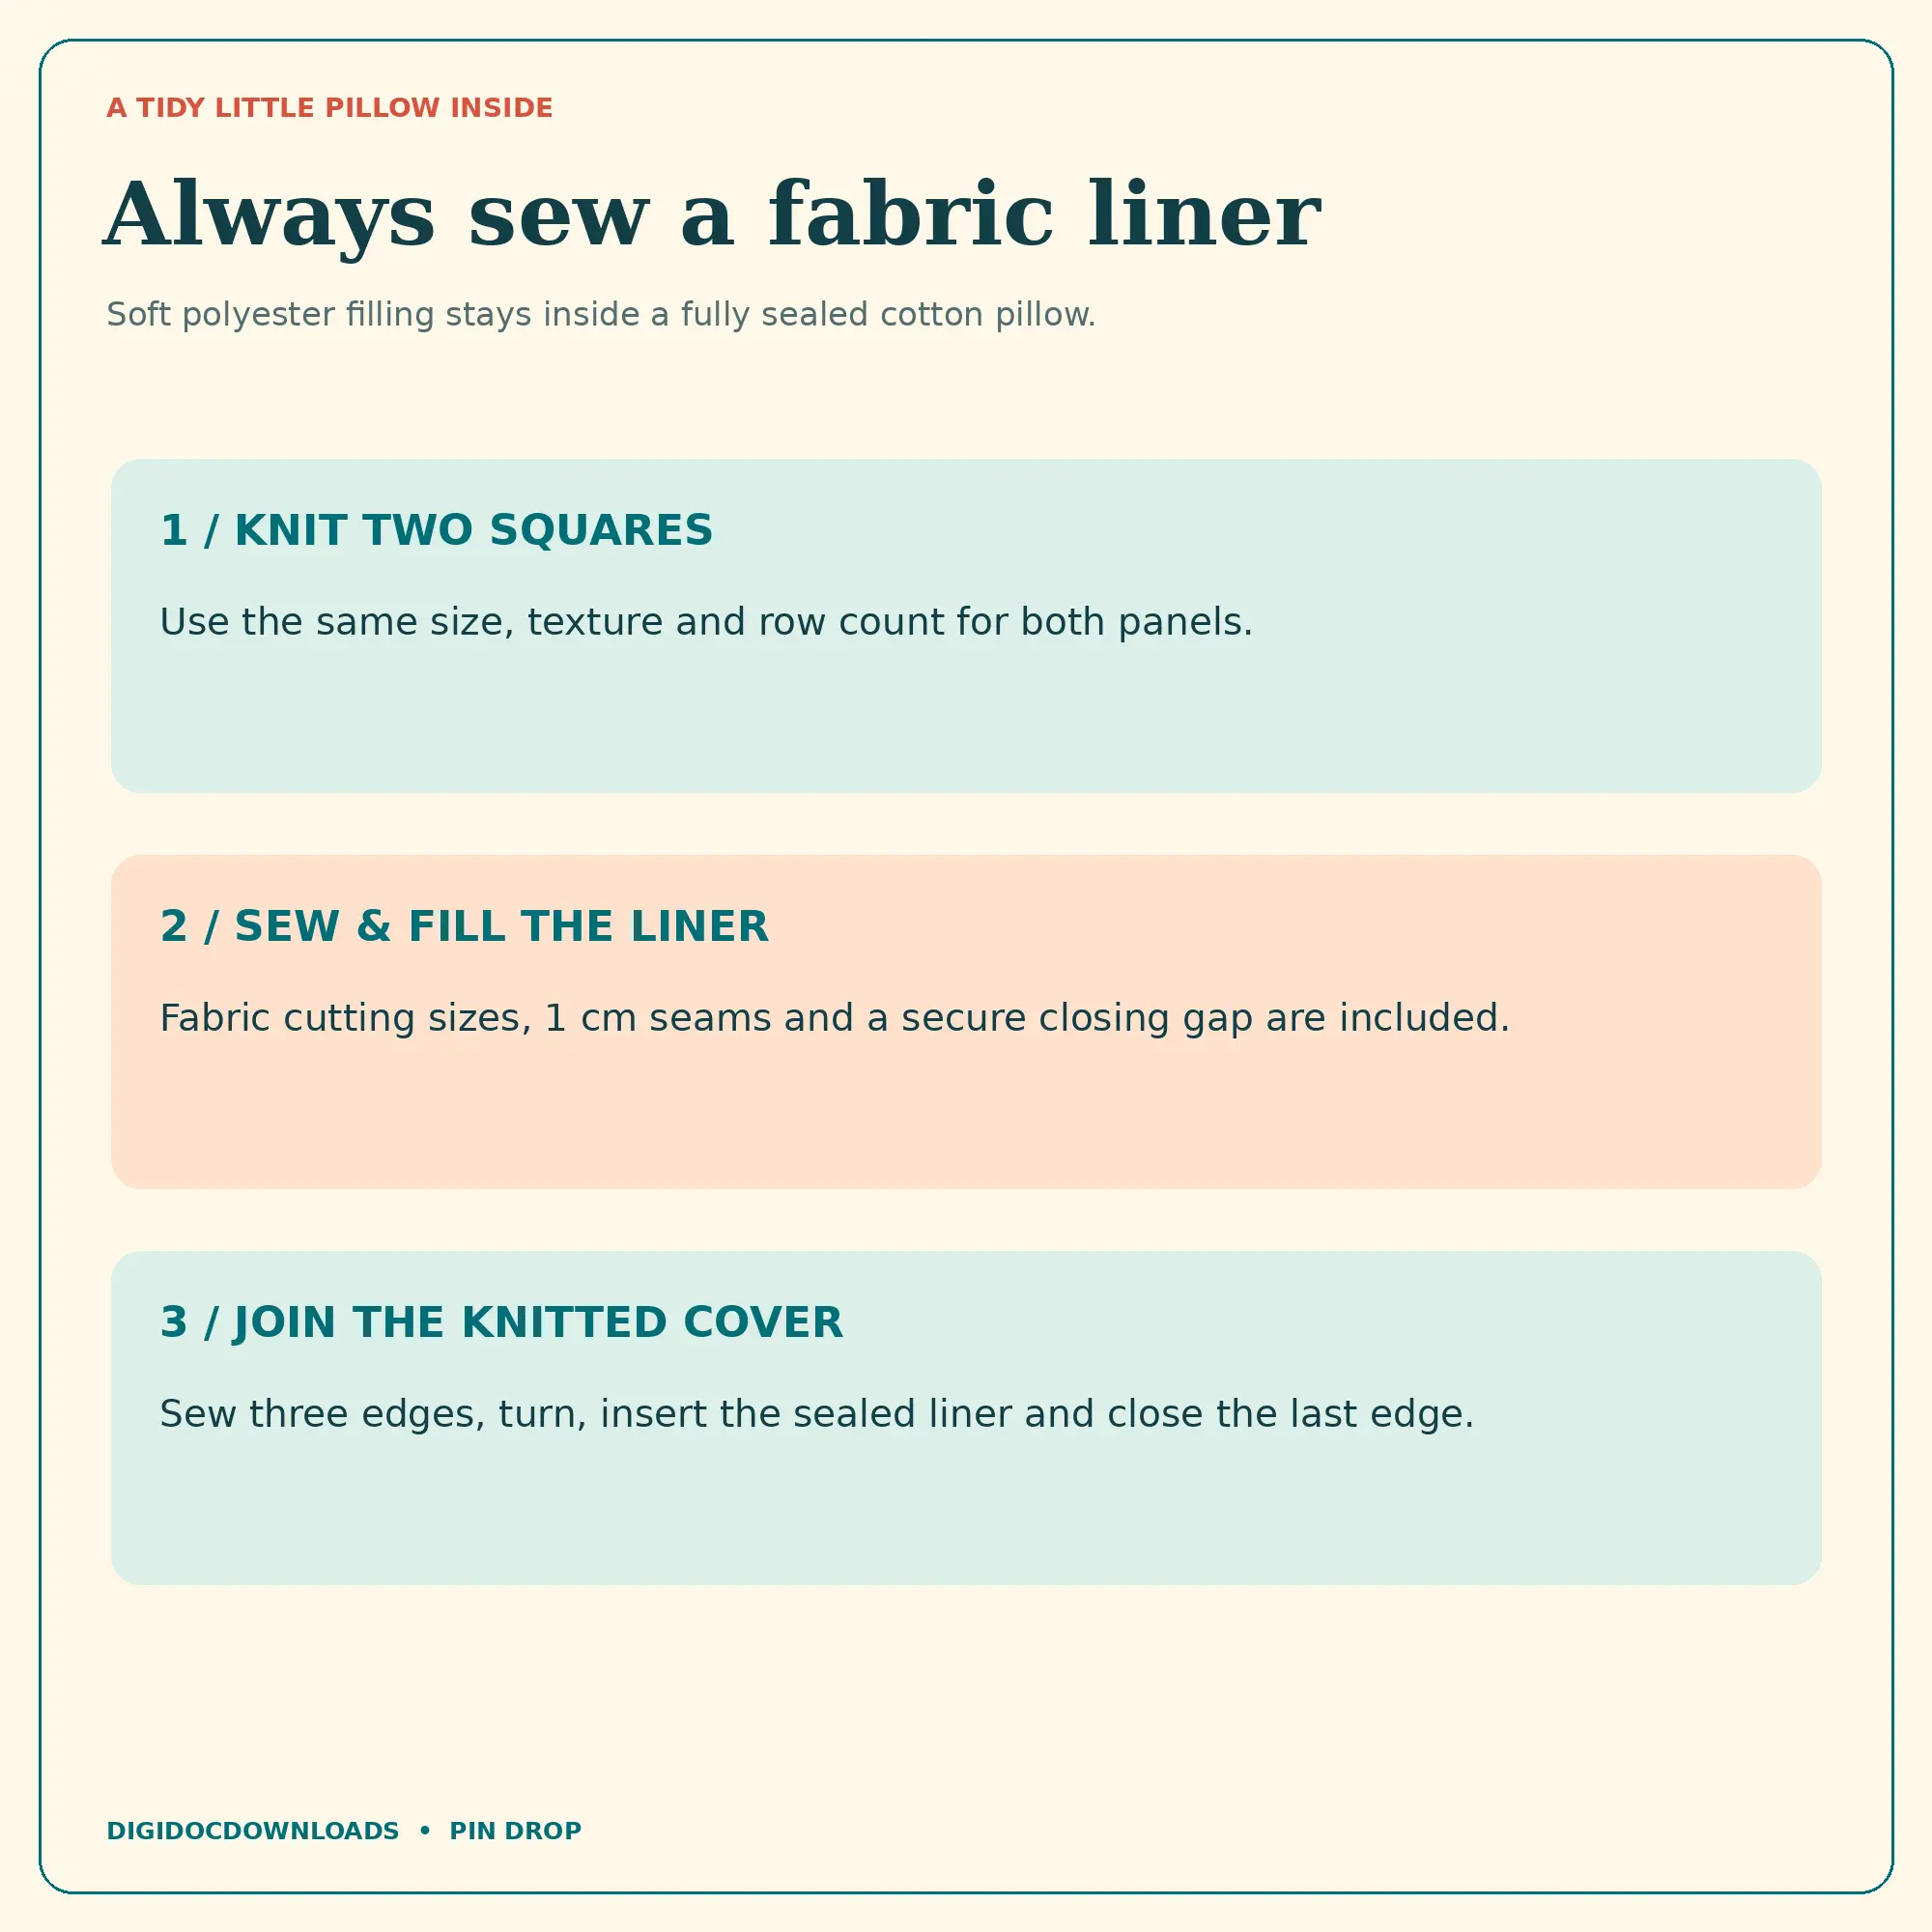
Follow Pin Drop's fabric cutting sizes and seam instructions for the version you chose. Sew the liner, leaving the specified opening for filling. Add the polyester stuffing in small amounts so you can distribute it without creating one firm lump in a corner. Check the shape and the closing edges before sewing the gap securely shut.
The liner should be a complete little pillow before it goes inside the knitted cover. Check all its seams, including the closing gap, and look for any escaping filling. An opening in the liner is not made complete merely because another layer will surround it.
Join the three edges of the knitted cover as shown in the pattern, turn it, insert the closed liner and finish the last edge. Check the corners as you position it. If the liner needs force to fit or the cover is visibly strained, stop and compare your panel measurements, cutting size and seam allowance with the instructions. More stuffing is not a useful remedy for a sizing discrepancy.
Check the finish before putting it to work
Look over the seams, secure loose ends and remove any temporary pins used during assembly. On a stable sewing surface, try a small number of your usual pins carefully and check that they remain accessible without their points reaching through the base. Keep pin heads visible rather than burying whole needles in the cushion. If a point protrudes or the cushion does not hold a pin reliably, set it aside and reassess the construction before using it beside your work.
Pin Drop's listing is open about its testing status: stitch arithmetic is checked, but physical test-knitting, stuffed fit, pin-holding behaviour and yarn consumption remain unverified. Its illustrations show the intended design. Treat your first make as a careful trial, rather than assuming the pictured result establishes those practical qualities.
Before cleaning, remove every pin and follow the pattern's notes alongside the material care information. Check the seams again afterwards. If you give the cushion to another sewer, include the yarn label or a short materials-and-care note, and let them know how your first-use checks went. The useful detail is the one that travels with the gift.
Small problems to catch before the final seam
The panels have different heights: Row counts, repeat position and the chosen texture's row gauge.
The panels are wider than planned: Stitch gauge and whether both panels used the same needles and size instructions.
The liner pulls the cover out of shape: Fabric cutting size, seam allowance, panel measurements and the amount of filling.
Filling appears through the knitting: The liner and its closing seam: the filling should be enclosed there.
A pin reaches through the base or is not held reliably: Stop using the cushion for pins and reassess the finished construction; do not assume decorative fullness proves suitable pin retention.
A pincushion can have a little character
For a purely enjoyable detour, the Metropolitan Museum of Art has a nineteenth-century pincushion made to resemble a tiny bound book, with purple silk and imitation gold-tooled paper details. Even a pin's waiting room can acquire an impressive binding.
Back at the sewing table, a single well-recorded version is a sensible place to begin. Choose the texture you want to practise, check its gauge, compare the two panels and keep the filling inside the finished liner. Pin Drop's three-size pattern supplies the counts and cutting guidance; your measurements and finishing checks complete the preparation.
More to read, make and discover
A few useful, interesting and checked routes into the subject.
- Knitting guidanceCraft Yarn Council: gauge and why it matters
Understanding both stitches and rows when checking a sample.
- Yarn guidanceCraft Yarn Council: yarn questions and label information
Fibre content, length, gauge and care information on a yarn label.
- Yarn standardsCraft Yarn Council: yarn-standard questions
Why the actual knitted sample matters when selecting yarn.
- Museum collectionThe Met: a nineteenth-century book-shaped pincushion
Purple silk, paper binding and imitation gold-tooled details in a miniature sewing object.