Choose the difficulty before choosing the view
For a first paper model, start with a small number of generously sized pieces and clear illustrated instructions. An intricate roofline may be appealing, but tiny tabs and layered parts add work. Read the age guidance, difficulty rating, estimated time and materials list before printing. The right first build is the one whose instructions and parts feel manageable, not necessarily the smallest finished object.
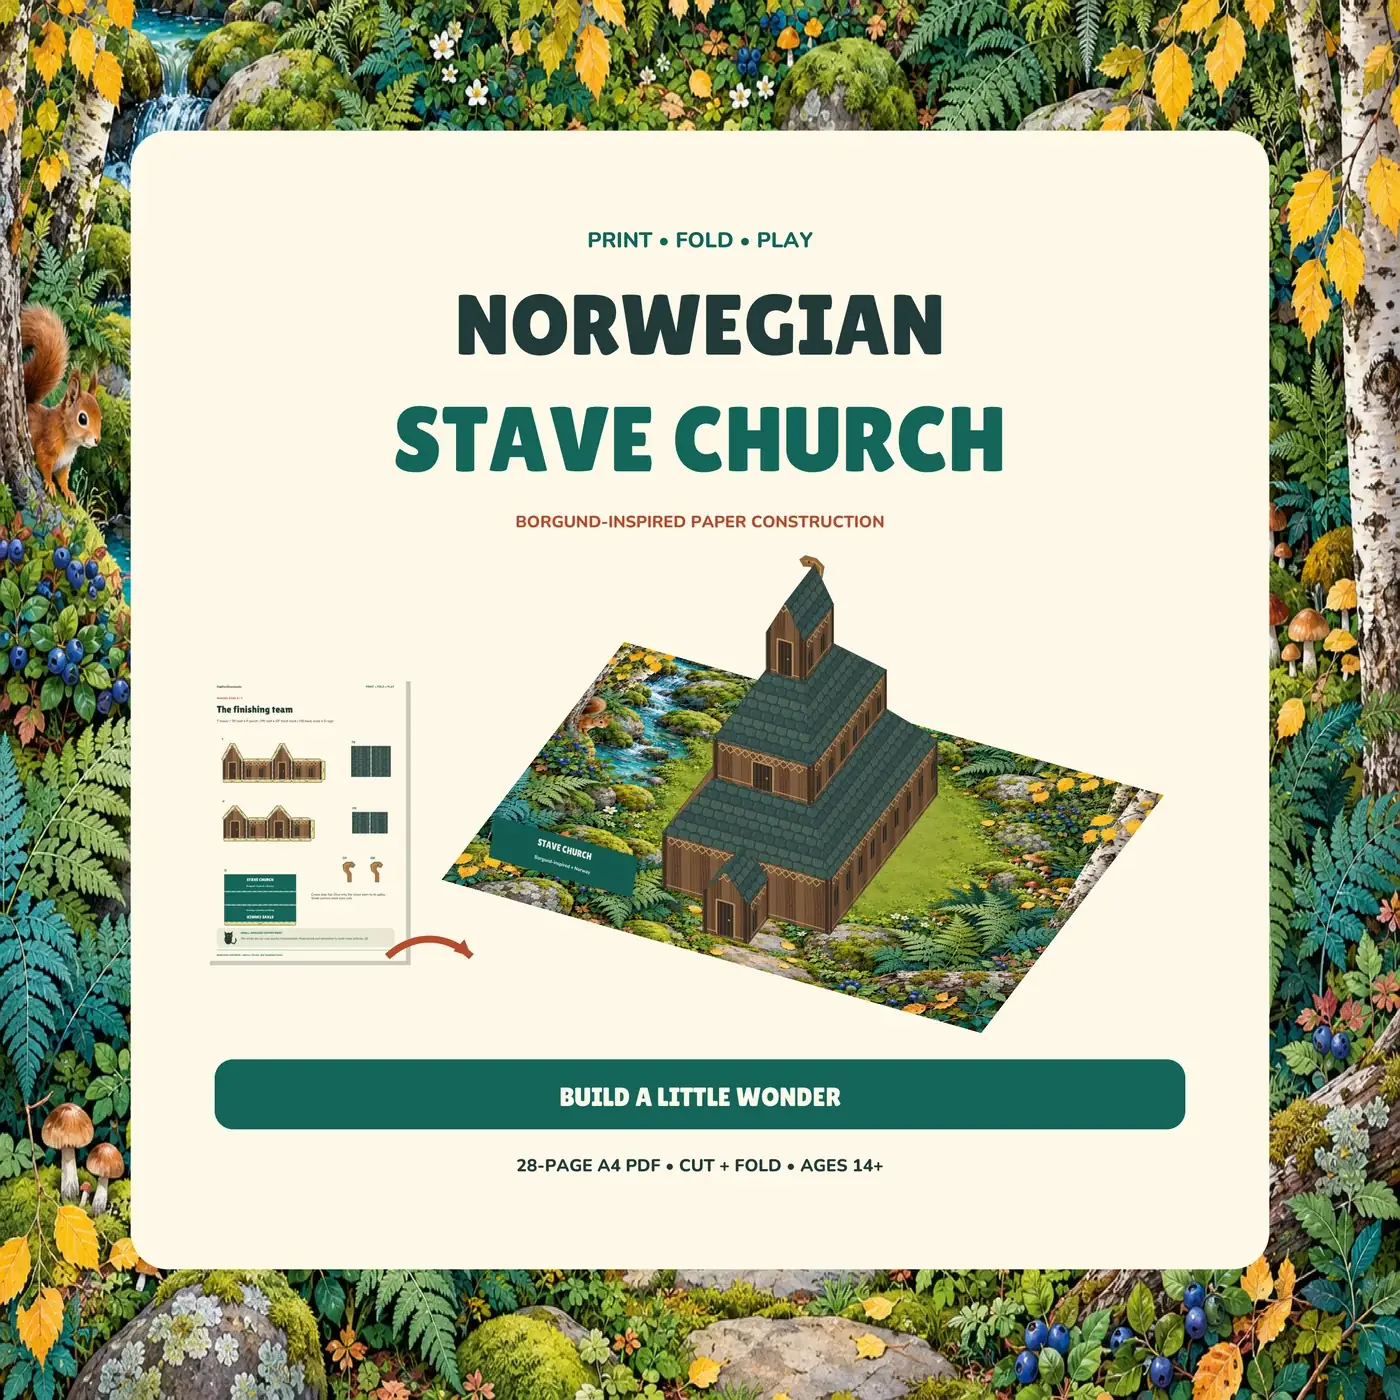
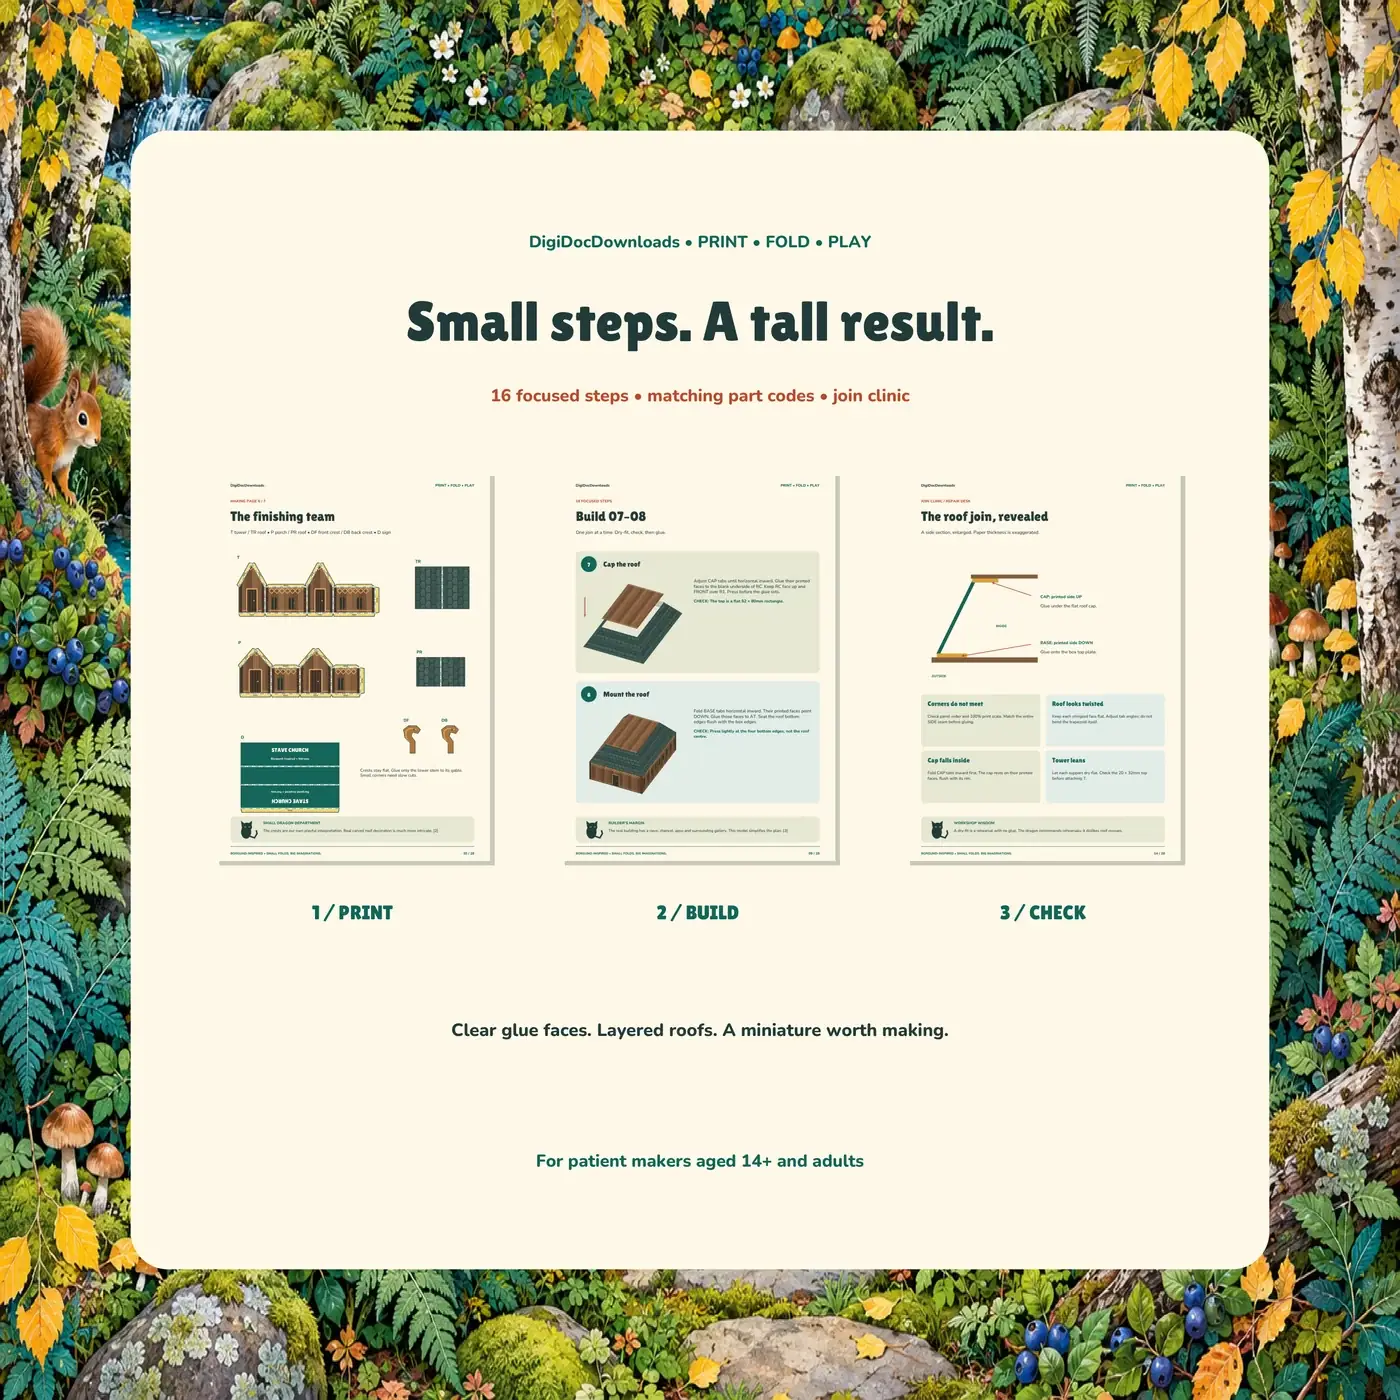
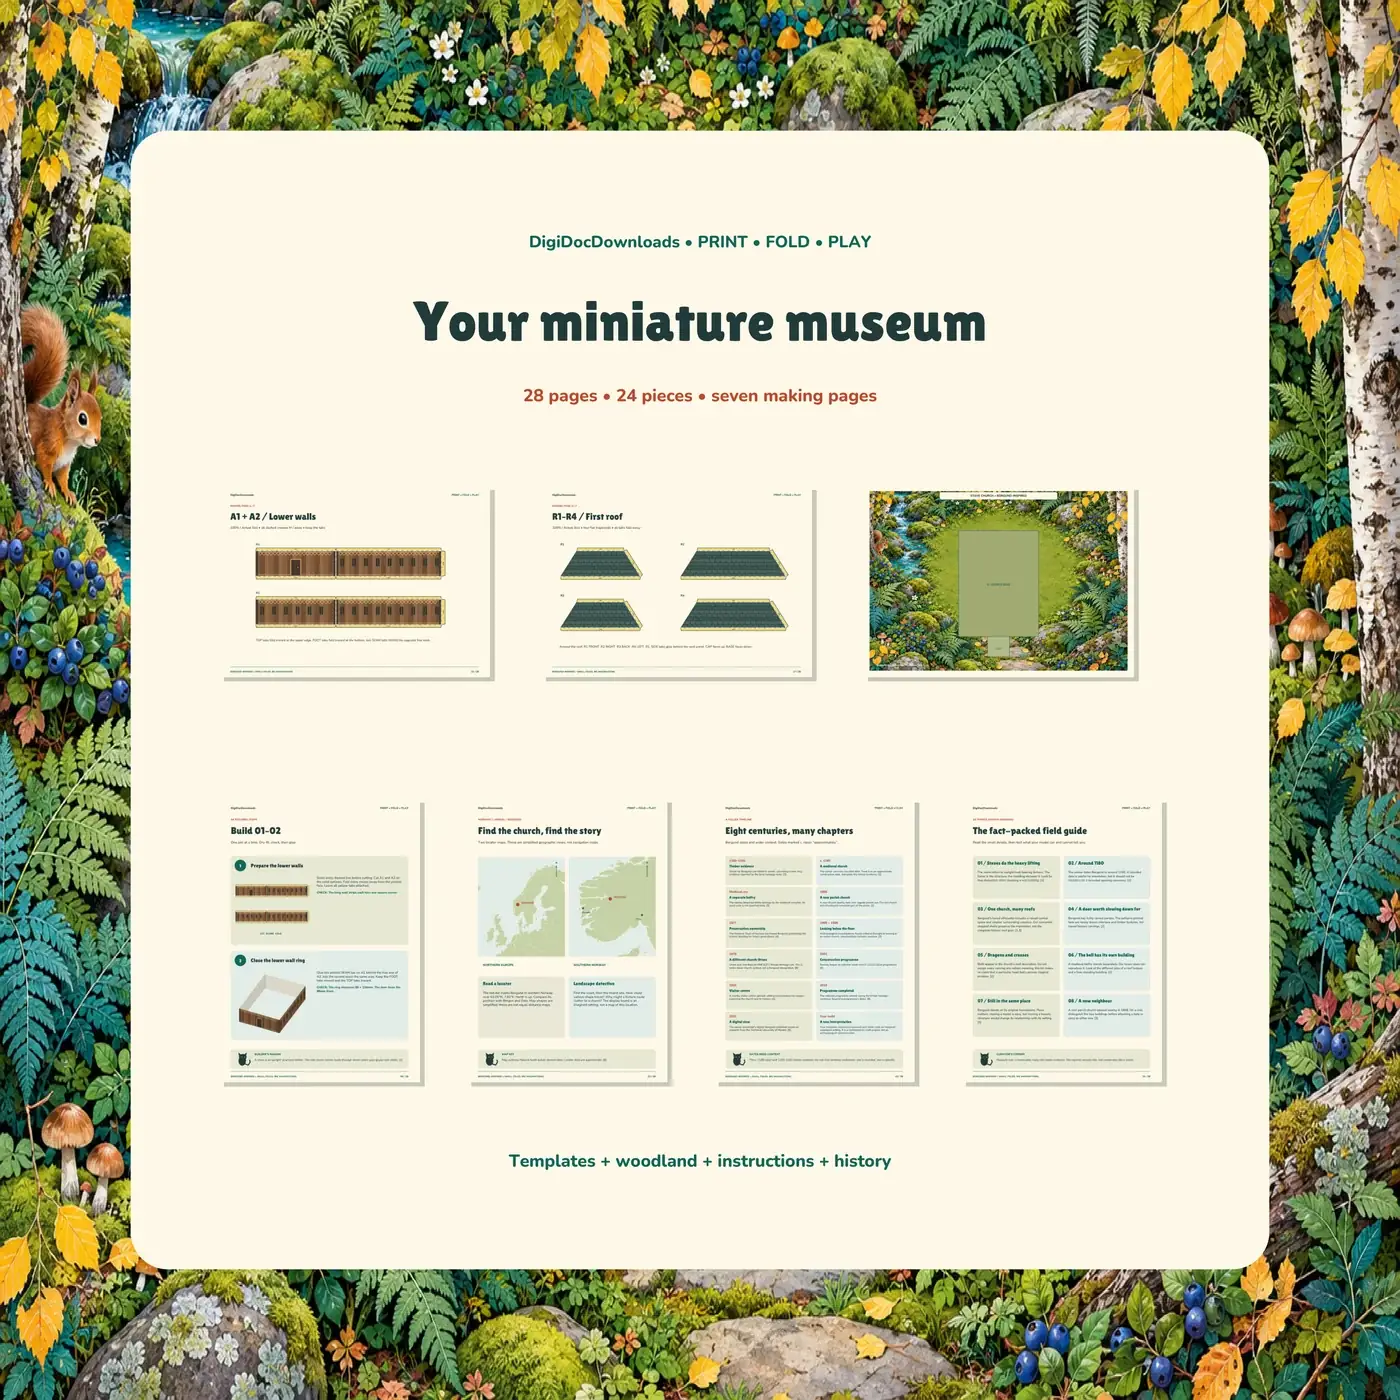
The Norwegian Stave Church shown here is a patient project for ages fourteen and above and adults: difficulty 4/5, with around four to six hours of making plus drying. It has twenty-four pieces, sixteen illustrated assembly steps and enlarged roof-join guidance. Treat it as a more involved build, rather than an effortless beginner kit. The preparation below applies broadly, but the selected model’s own instructions always take precedence.
Make a print test before using the good card
Check the stated paper size and printer compatibility. For the stave church, the instructions call for single-sided A4 printing at 100% or Actual Size on compatible 160–200gsm card. A heavier sheet is not automatically a better choice; it must feed through your printer and still fold as the model expects. Check the printer manufacturer’s supported paper weight rather than guessing.
Adobe’s explanation of page sizing distinguishes Actual size, which does not scale a page, from Fit, which changes the scale to match the printable area. Actual size can crop content outside that area. Print one template page on ordinary paper, inspect its edges and any supplied scale check, and confirm the settings before printing the full set. Do not mix pages printed at different scales.
Prepare a small, well-lit workspace
Gather the tools specified for the model. For this church, that means scissors, a ruler, a blunt scoring tool and paper glue. Keep a scrap sheet for testing folds and glue, and a tray or envelope for loose pieces. Make space for both the printed pages and the partly assembled model; a clear corner for drying saves an awkward relocation later.
Use tools appropriate to the maker’s age and experience, keep fingers clear of blades and do not improvise a sharp scoring tool. If a different model genuinely requires a craft knife, follow its tool-safety guidance and use a suitable cutting surface with adult supervision where needed. The finished model’s delicate parts are another reason to keep drinks and pets away from the working area.
Score, identify and cut in a useful order
Read the line key first. Cutting lines, fold lines and glue tabs are different instructions, even when the page is busy. Canon’s paper-craft demonstrations recommend making fold marks while the parts are still on the sheet and pencilling identifying numbers on the reverse. A supported page is easier to manage under a ruler than a loose, narrow tab.
Test a light score on scrap card, then prepare the indicated folds without slicing through the paper. Cut only the pieces needed for the next stage if that helps keep them organised. Preserve every tab and identifying mark the instructions require. If the model specifies mountain and valley folds, check the direction against its diagrams; a crisp fold in the wrong direction is still the wrong fold.
Dry-fit each join before adding glue
Bring the pieces together without glue and compare them with the assembly diagram. Check orientation, tab position and which surface remains visible. If a join does not line up, pause to check the part number, fold direction and printing scale. Forcing a roof into place can conceal the cause until another piece no longer fits.
Once the fit makes sense, use a small, controlled amount of the recommended glue and hold the join as directed. Keep the model supported while it sets; avoid adding a heavy layer simply because a tab is reluctant. Follow the church pack’s enlarged roof-join guidance for that particular stage, rather than replacing it with a generic technique. Let drying time be part of the plan, not an inconvenience to be defeated.
Finish with a check, not a rescue operation
- Are the visible pieces facing the intended direction?
- Have all necessary tabs been joined, with no loose parts mistaken for spare pieces?
- Is the model stable on its display surface?
- Have the joins had sufficient drying time before the model is moved?
Keep the instructions until the model is complete. The stave church’s woodland board, maps and history pages provide a setting and context as well as a finished display. Compare the model with Borgund’s heritage photographs, or read our story about Norwegian stave churches. Remember that this is a decorative interpretation, not a scale replica. The reward is a building understood through its parts, one careful join at a time.
Explore Norwegian Stave Church
More to read, make and discover
A few useful, interesting and checked routes into the subject.
- Making techniquesCanon Creative Park: how to make paper crafts
Demonstrations of preparing, cutting, folding and gluing, useful alongside the instructions for your chosen model.
- Print settingsAdobe: adjust PDF page size for printing
Explains Actual size, Fit and percentage scaling, including the possibility of cropped page edges.
- Model inspirationFortidsminneforeningen: Borgund Stave Church
Compare the historic building with the decorative Borgund-inspired paper interpretation.