
A tall paper tower is an honest craft project. A tiny angle at the base becomes a visible lean at the roof, and a fold that is almost square can nudge the next three joins out of line. The solution is not stronger glue. It is a measured build: prepare every fold, let each section settle and keep checking the shape from more than one direction.
Big Ben & Elizabeth Tower is a 32-page A4 cut-and-fold kit with 23 labelled pieces on eight template sheets. It includes a 5.6 cm square plinth, 16 illustrated assembly steps, three enlarged join clinics, four clock faces, a removable roof and a folded bell marker. The finished model is approximately 32 cm tall. This guide explains how to organise that particular build; use the kit for its exact cut lines, fold lines, labels and assembly order.
Begin with the name as well as the model
Big Ben is the Great Bell, although the name is commonly used for the whole landmark. The tower is Elizabeth Tower and the timepiece is the Great Clock of Westminster. The distinction is useful while building because the kit separates the tower, four dials, roof and internal bell marker into things that can be noticed rather than one familiar silhouette.
The real tower is 96 metres high and each of its four clock dials is seven metres across, according to UK Parliament's official facts and figures. Your paper version is simplified and not presented as an architectural replica at one declared scale, but those proportions explain why the design feels so vertical: a narrow shaft carries a conspicuous clock stage and an even narrower roof.
Print one careful set on the specified card
Print the template sheets single-sided at 100% or Actual Size on A4 160–200 gsm card, as the kit specifies. Turn off options such as Fit, Shrink oversized pages or Scale to printable area. Check the printer dialogue for the final percentage before committing all eight template sheets. Ordinary copier paper is useful for reading the instructions, but it is not the specified material for the structure.
Keep every printed page in order and leave the labelled pieces on their sheets until needed. Gather scissors, PVA glue, a ruler and a blunt scorer. The kit is intended for ages 12+ with adult help; cutting, scoring and the optional split pin all deserve sensible supervision. Protect the table with a cutting mat or a thick piece of scrap board, and never score directly on furniture.
Read the joins before cutting them
Read all 16 assembly steps once, then study the three enlarged join clinics. Find the matching labels on the template sheets and trace the order in which the tower rises. This is the paper-engineering equivalent of checking the route before carrying a wardrobe upstairs: the object has not become lighter, but the awkward turn is no longer a surprise.
Cut one assembly group at a time rather than producing a large, decorative heap of cream card. Keep offcuts until the corresponding section is complete; a small labelled tab can resemble scrap when it is separated from its neighbours. If a piece needs a light pencil mark on the reverse for orientation, keep the mark small and away from visible edges.
Score first, then fold against a straight edge
Place the ruler exactly on each fold line and draw the blunt scorer along it with controlled pressure. The aim is to persuade the card to bend at the printed line, not to cut through it. Test the scorer on an offcut from the same sheet. If the surface tears or the line becomes fuzzy, reduce the pressure before working on a visible part.
Make each fold deliberately and press it against the ruler edge. Check the printed side after folding: corners should meet cleanly and long edges should remain parallel. A crisp crease is valuable, but repeated hard bending can weaken card, so establish the angle once and avoid working it backwards and forwards.
Build the plinth as a measuring tool
Assemble the 5.6 cm square plinth before the tall body section and let it dry on a flat surface. Measure its diagonals or compare the opposite corners visually; a square base should not resemble a gentle diamond. The plinth becomes the first reference for the tower above it, so correct a lifted tab or skewed corner now.
Apply PVA in a thin, even film to one tab at a time. Too much glue adds moisture and encourages the card to slide while it sets. Hold the join with clean fingers, a paper clip protected by scrap card or another light clamp that does not mark the printed surface. Wipe away a small squeeze-out immediately with the clean edge of a scrap, without rubbing the artwork.
Keep the shaft square as it rises
Dry-fit each tower section before adding glue. Bring the four walls together and check that opposite faces remain parallel. Once the first long seam is joined, place the section upright on the plinth and look from the front and then from the side. A lean visible from only one viewpoint is still a lean.
Let each major section become firm before adding the next. If the model twists, find the first joint where the corners stop stacking vertically; do not correct the roof to compensate for a skew in the lower shaft. Ease open only a join that is still safely adjustable. Forcing a fully dried seam can tear the printed face and create a larger repair.
Use the illustrated sequence and join clinics rather than attaching whichever finished piece looks inviting. The tower's repeated windows make sections appear similar at a glance, while their tabs and destinations are not interchangeable. Label discipline is less glamorous than the clock stage, but it is what allows the clock stage to arrive level.
Align all four clock faces before closing the stage
Dry-fold the clock stage and compare the height of all four printed dials. Their centres should form a level band around the model, with the corners meeting at the same height. Join the first corner, allow it to grip, then work around the stage while checking the opposite face. Do not pull the final tab so firmly that the square becomes a trapezium.
The blue-and-gold detail has an architectural reason. Parliament's conservation team used original drawings and analysis of historic paint layers to restore the dial frames and hands to a Prussian blue and gold scheme. Look closely at the kit's clock stage before gluing it shut; this is one of those occasions when colour carries evidence, not merely decoration.
Fit the bell marker and removable roof without trapping them
Fold the bell marker as shown and place it in the intended internal position before the upper section becomes inaccessible. It represents Big Ben inside Elizabeth Tower; it is not a working bell. Check that the marker does not obstruct a tab or push the walls outward, then continue only when the upper stage still sits square.
Build the roof as its own small model. Bring opposing slopes together in turn so one side does not dictate the angle for all the others. Test the finished roof on the tower before making any final adjustment. It is designed to remain removable, so avoid an enthusiastic dot of glue in the one place that would turn an inspection feature into a permanent ceiling.
Use the learning dial after the glue has dried
The separate learning dial has two movable hands. They may be placed loose, or secured with an optional split pin. If using a split pin, protect the work surface, make the hole under adult supervision and ensure the fastener closes securely without crushing the dial. The dial is an activity piece, not a precision timekeeping instrument.
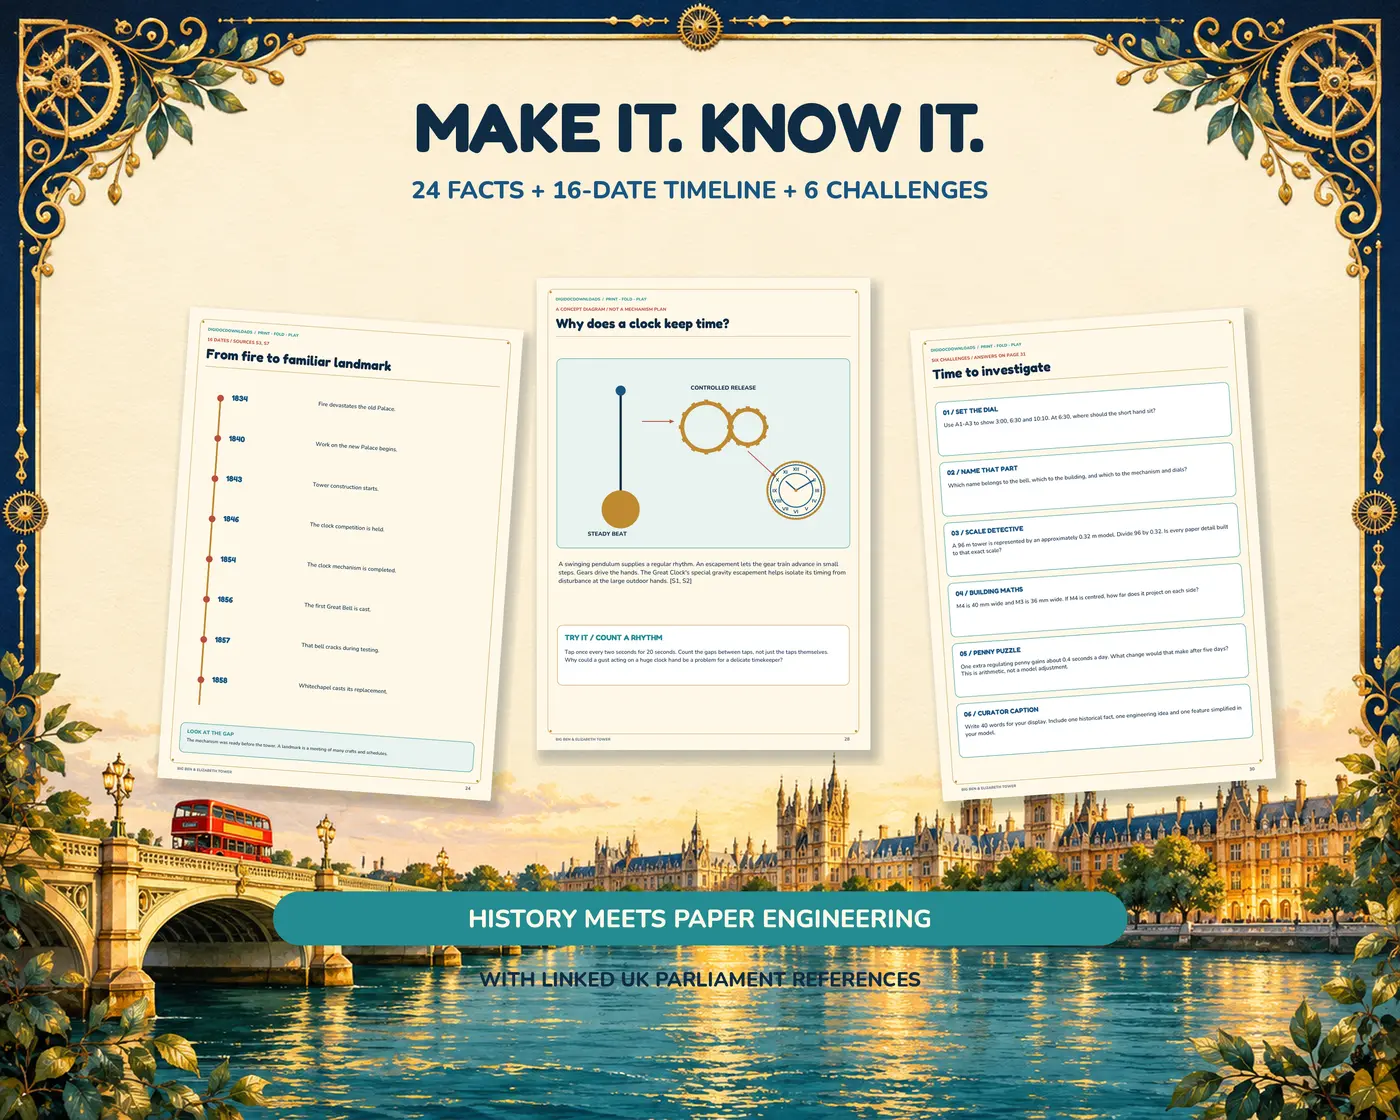
Try the kit's clock and investigation challenges once the model can stand without being held. The included 24 facts, 16-date timeline and six challenges connect the object to the landmark. Parliament's official timeline records that the Great Clock began ticking on 31 May 1859 and the Great Bell first struck on 11 July that year. Dates become easier to discuss when there is a visible tower, clock and bell to point to.
Turn the display board into a compact architecture study
Place the tower on its Westminster display board with the learning dial, one chosen fact and one open question. The official overview of Parliament's towers is a useful next stop: it distinguishes Elizabeth Tower from the Palace's Central and Victoria towers and credits the clock-tower design to Charles Barry with clock details by Augustus Pugin.
For a wider display, pair the model with the practical ideas in Make a small architecture exhibition at home. If this is a first cut-and-fold project, keep our careful first-build paper-model guide nearby. Neither replaces the Big Ben kit's exact sequence; they provide the working habits around it.
Treat the first build as evidence, not a promise
The kit's templates have been checked digitally, while physical assembly and independent novice testing remain unverified. Its assembly images are digital model views. Allow the stated three to five hours plus drying, work in stages and stop if a tab, label or fit is unclear. Photograph each completed section before closing it; those images create a useful record if the roof needs to come off or a later join needs diagnosing.
Final checks before display
- The plinth sits flat and its four corners are square.
- The tower appears vertical from the front and the side.
- Long seams are closed without puckering or excess glue.
- All four clock faces form a level band around the tower.
- The bell marker is inside without distorting the walls.
- The roof sits neatly and can still be removed.
- The model is fully dry before it is moved to the display board.
The real Elizabeth Tower is an elaborate Victorian structure of stone, brick, iron, glass, mechanics and bells. A paper version is necessarily simpler, but careful construction preserves the feature that matters most to its silhouette: a tall, square rhythm rising cleanly to four clock faces and a pointed roof. Measure the base, respect the drying time and let the tower earn its height one straight section at a time.
Explore Big Ben & Elizabeth Tower
More to read, make and discover
A few useful, interesting and checked routes into the subject.
- Official landmark factsUK Parliament: Big Ben and Elizabeth Tower facts and figures
Official dimensions and details for the 96-metre tower, four seven-metre clock dials, Great Clock mechanism and bells.
- Official architectureUK Parliament: the towers of Parliament
Identifies Elizabeth Tower, its architect and designer, its four-faced clock and its place within the Palace of Westminster.
- Official conservation historyUK Parliament: turning Big Ben's clock dials blue
Explains how drawings and paint analysis supported the restoration of the original Prussian blue and gold dial scheme.
- Official timelineUK Parliament: a brief history of Big Ben and Elizabeth Tower
Official chronology for the Palace fire, tower construction, the Great Clock and the Great Bell's first strikes.