1. Let the kit’s sequence lead
Read the supplied assembly guide before preparing several roof levels at once. Different models use different tabs, overlaps and joining orders; a general tip cannot replace a particular diagram. Mark the current stage with a removable bookmark so that the next roof is not assembled from memory.
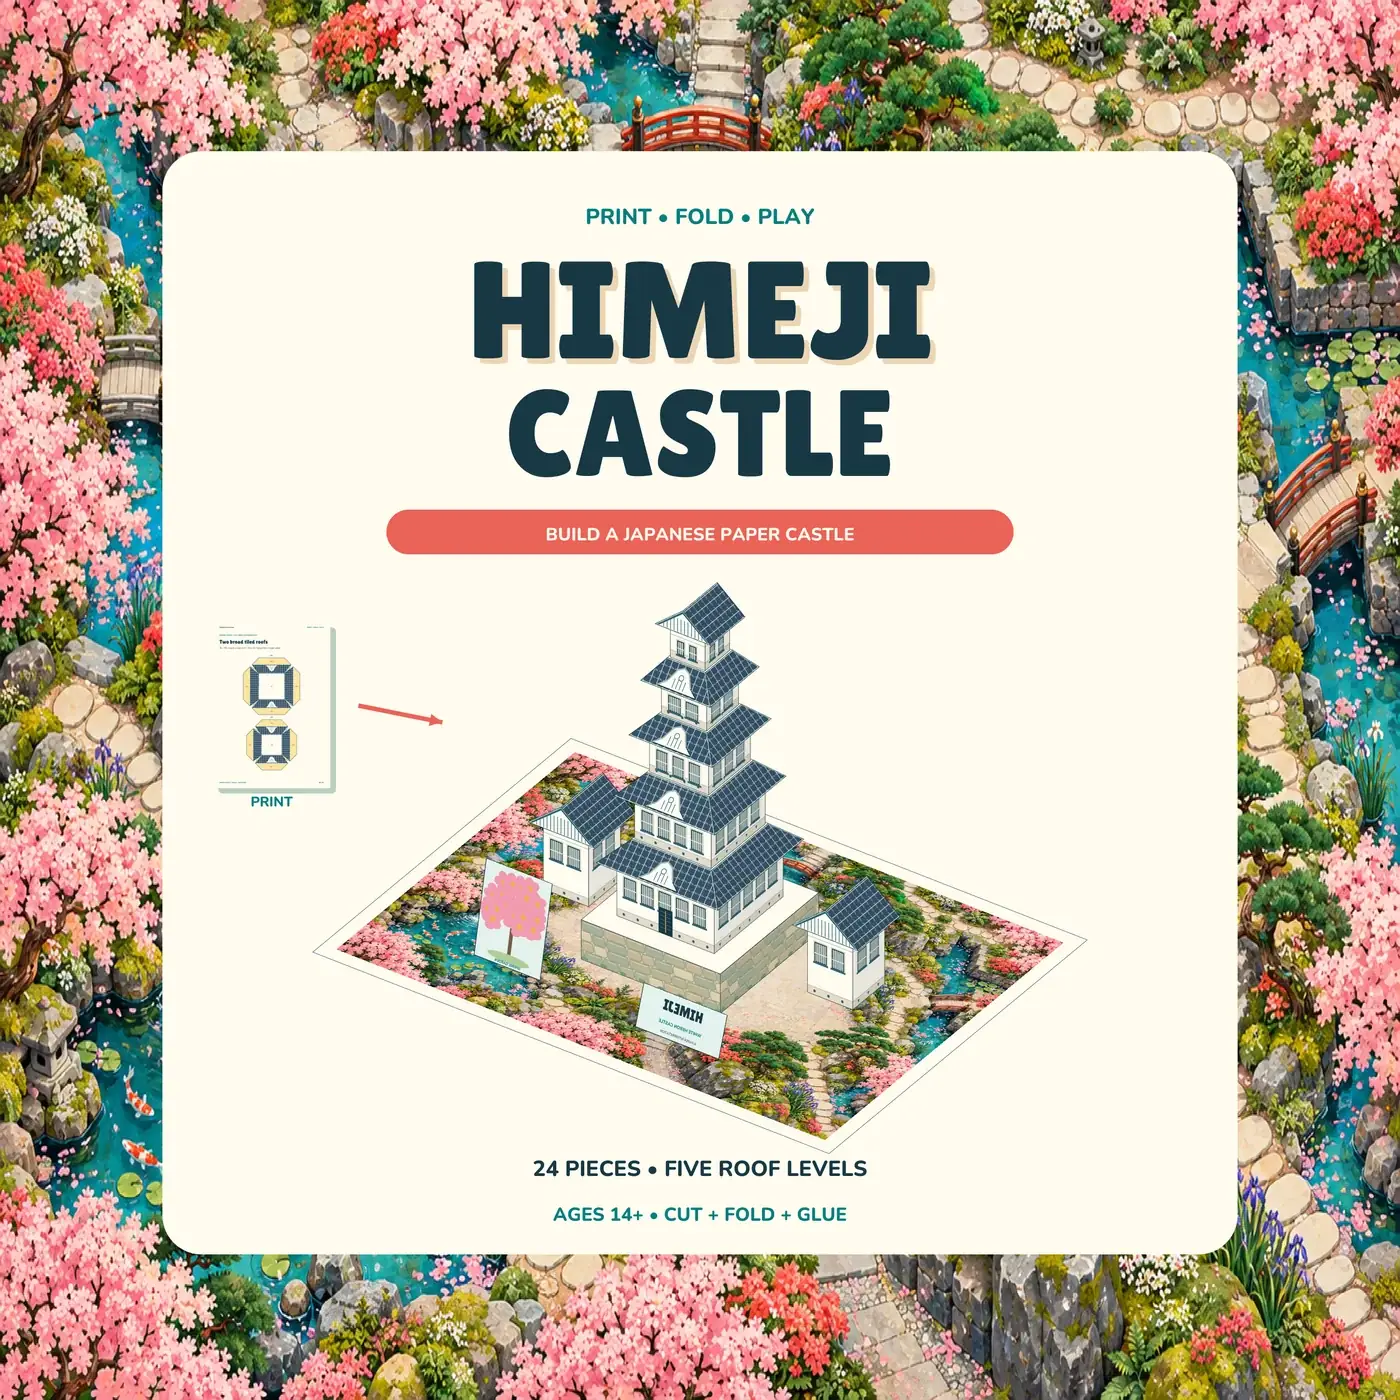
Our Himeji Castle construction kit includes twenty illustrated stages for its five-roof main castle and other pieces. It is an advanced, stylised project for ages 14+, not a scale reconstruction. Allow its estimated three to five hours plus drying rather than treating each pause as lost time.
2. Keep print scale consistent
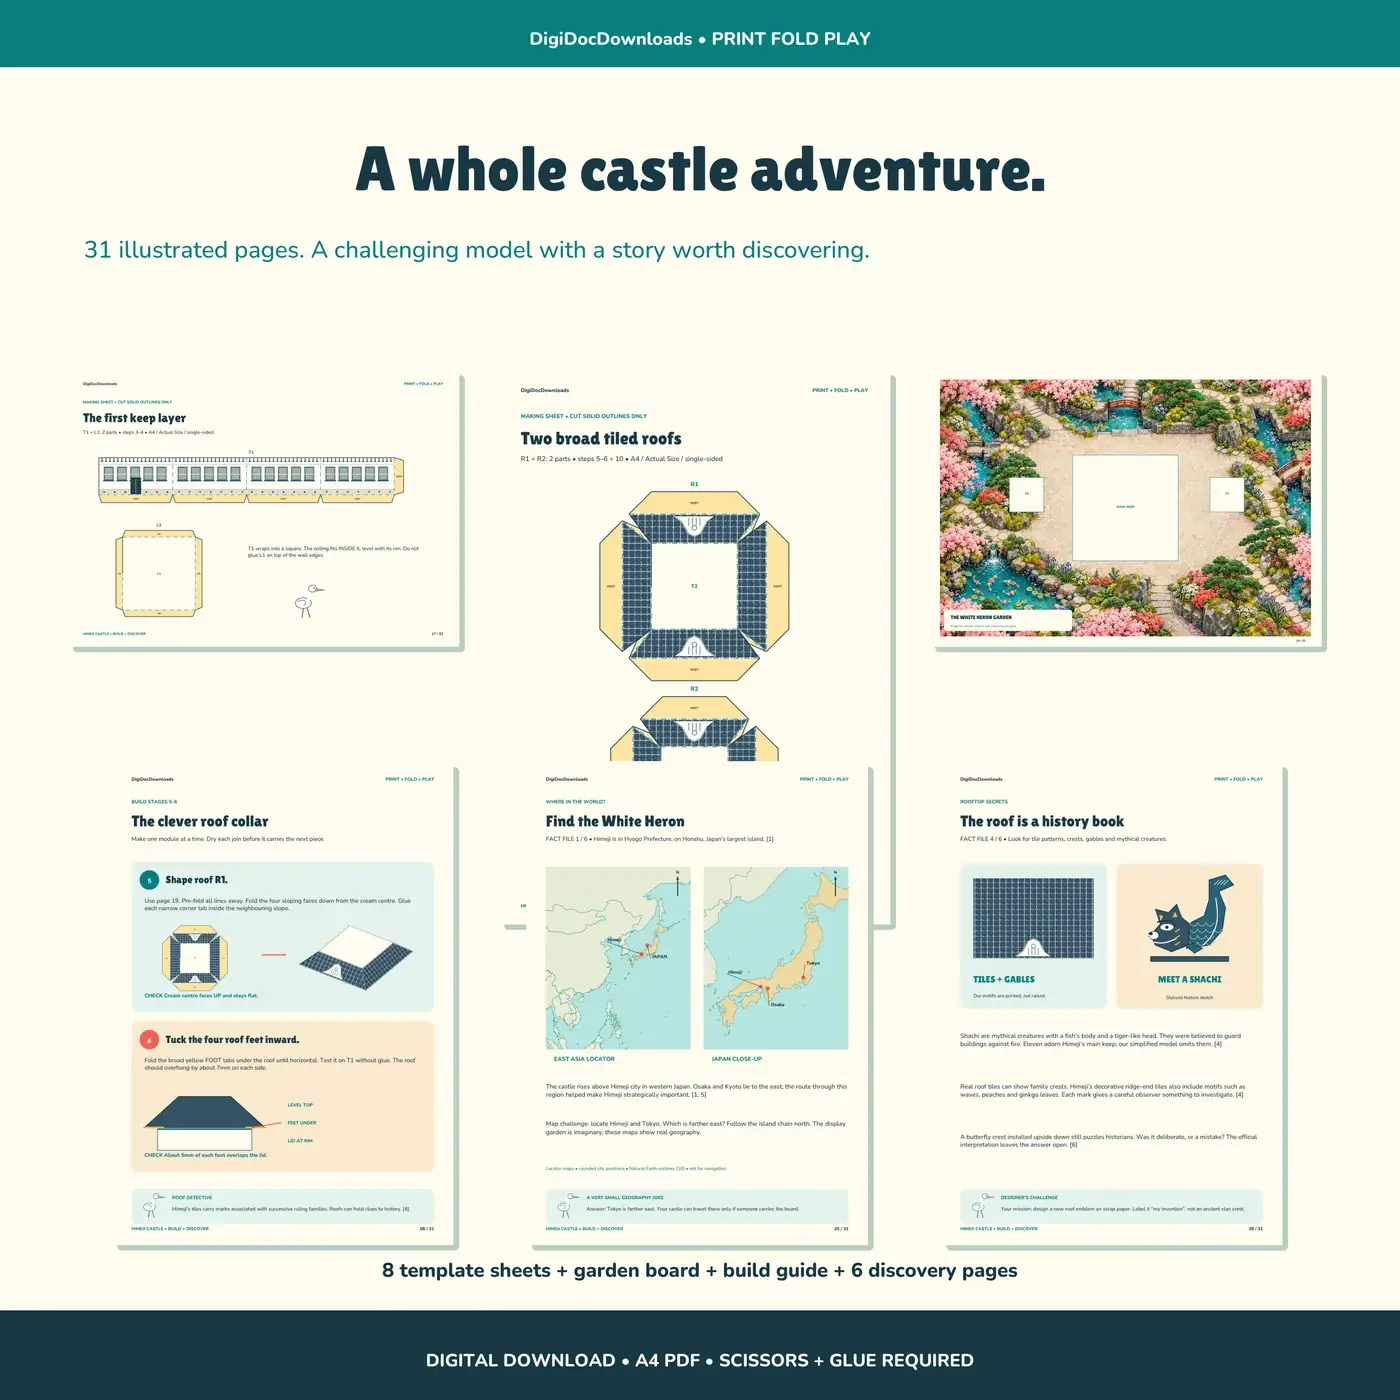
Print all required templates at the stated 100% or Actual Size, with portrait and landscape pages handled as instructed. A single page printed with a different scaling option may create a fit problem that better folding cannot solve. Use only card weights compatible with the printer and permitted by the kit.
Before cutting, compare the page labels and piece numbers with the guide. Keep instructions and history pages separate from templates. If a replacement is needed, reprint the relevant page with the same settings rather than adjusting the new piece by eye to match an unnoticed scaling error.
3. Score and pre-fold deliberately
Use the specified blunt scoring tool with a ruler where the kit calls for scoring. Adult supervision is appropriate for cutting and scoring. Avoid replacing a blunt tool with a sharp blade simply because a crease seems stubborn; the aim is a controlled fold, not a cut through the material.
Pre-fold the roof and tabs, then bring the intended joins together without adhesive. Check that the shape matches the diagram and that no tab is trapped outside where it belongs inside. This stage is a rehearsal: discovering a mistaken orientation now is considerably cheaper than discovering it after drying.
4. Check the roof against the wall beneath
Dry fit the roof to its intended support. Look from above and from each side, comparing the centre line, corner positions and overhang shown in the instructions. Do not assume an overhang must be equal on every model; follow the actual design.
The Japanese tourism guide to Himeji offers photographs that help explain the layered appearance, while its castle overview gives the surrounding context. These are visual references for the real building, not measurements to impose on a deliberately simplified paper interpretation.
5. Glue one manageable join at a time
Apply the paper adhesive as directed by the kit and its manufacturer, keeping excess away from printed surfaces. Support the join until it holds, then allow the recommended drying time before adding weight or another level. A heavy object used as a clamp can distort a delicate roof; choose support appropriate to the piece.
Recheck alignment while an adjustment is still possible. If something is visibly wrong, stop and consult the diagram rather than forcing the next level to compensate. UNESCO’s Himeji account is useful later for distinguishing the actual wooden architecture from this miniature construction method.
6. Inspect before stacking the next level
Place the assembled part on a flat surface and check that it sits as intended. Confirm the next piece number, direction and joining points. Keeping a short note of the last completed stage helps when the project is spread across several sessions.
For preparation before any cutting, see our first paper-model guide. For cultural context, the Himeji architecture story explains what the layered silhouette can help us notice. A little assembly patience leaves more room to appreciate the finished arrangement.
More to read, make and discover
A few useful, interesting and checked routes into the subject.
- Further readingJapan National Tourism Organization: Himeji-jo
A Japanese source explaining the White Heron name and distinctive appearance.
- Further readingJapan National Tourism Organization: Himeji Castle
Photographs and an introduction to the castle and its surroundings.
- Further readingUNESCO: Himeji-jo
The wooden construction, white plaster and layered roof composition.