1. Choose one building and one question
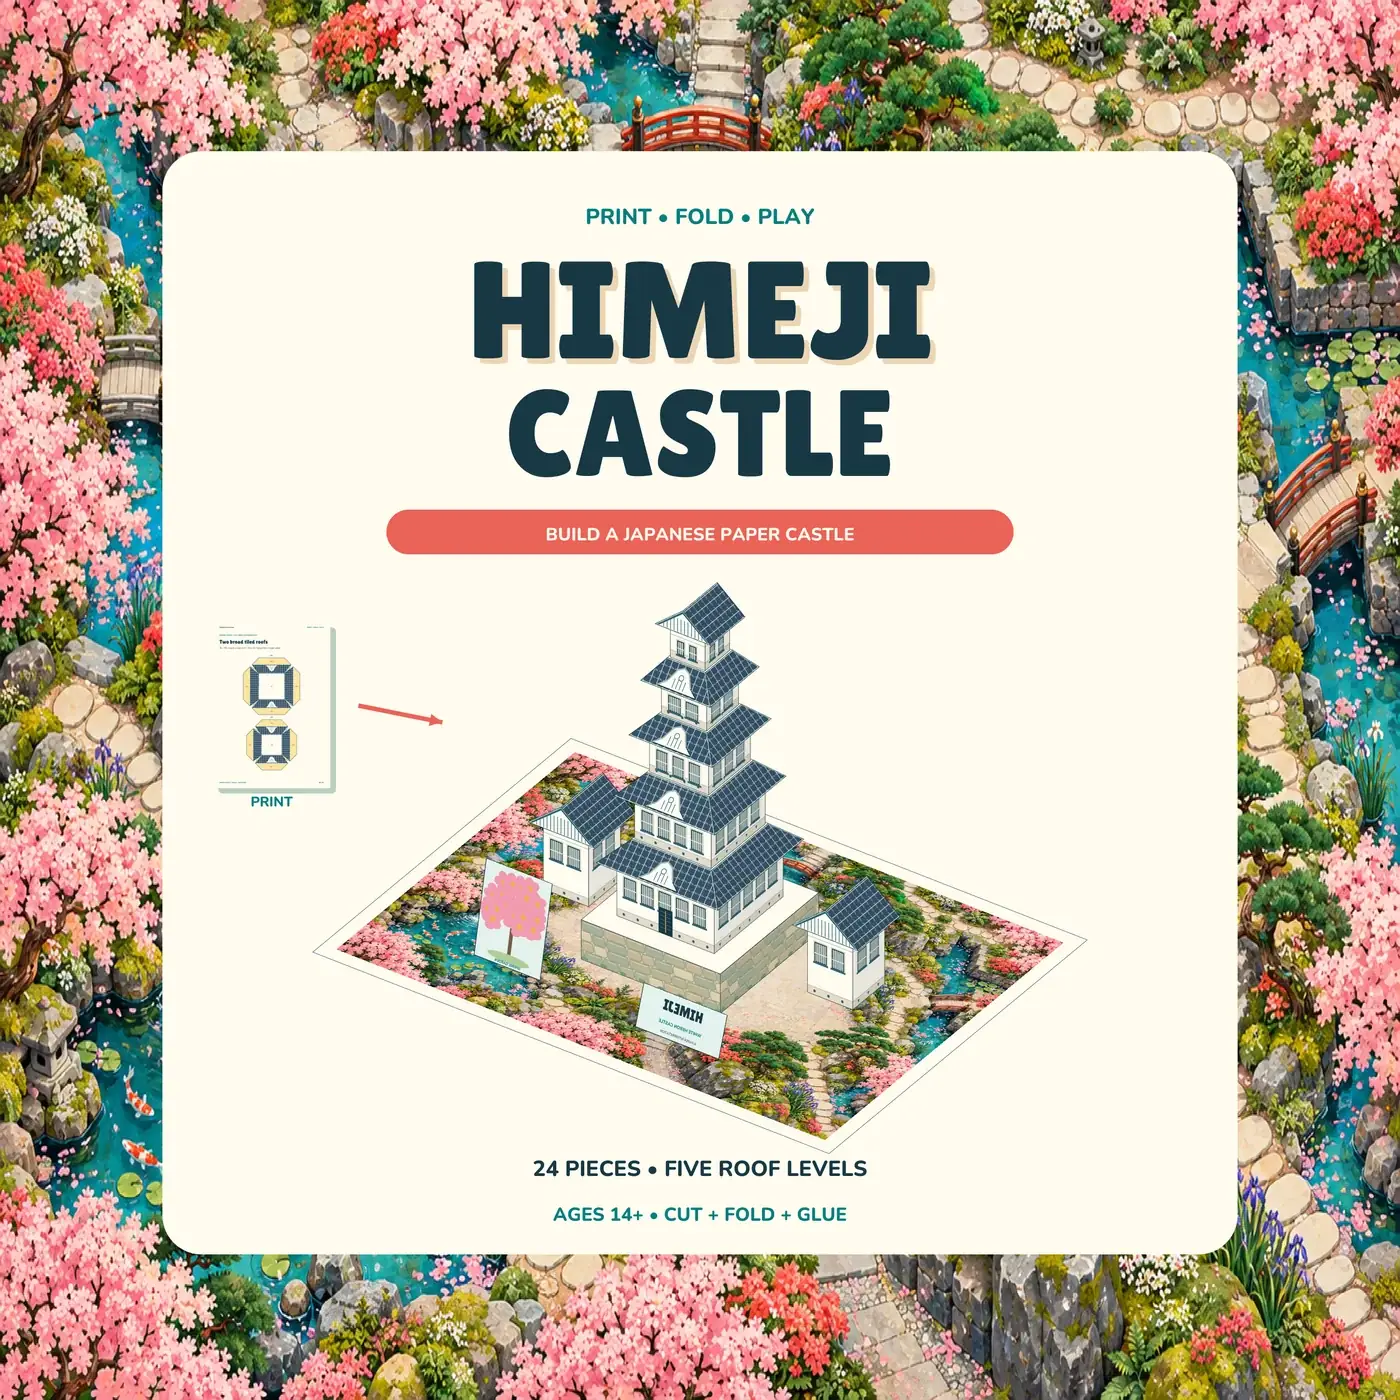
Begin with a question the display can answer clearly: what was this structure for, how is its outline organised, or where did it sit in the landscape? One model with a useful explanation is more engaging than a crowded shelf of miniatures accompanied by dates nobody has had time to understand.
For the Pont du Gard, use “How did water cross this valley?” That question connects the bridge, its channel and the longer route. It also keeps the activity focused on engineering and everyday life rather than an unnecessary tour through every part of Roman history.
2. Assemble only the model you can manage
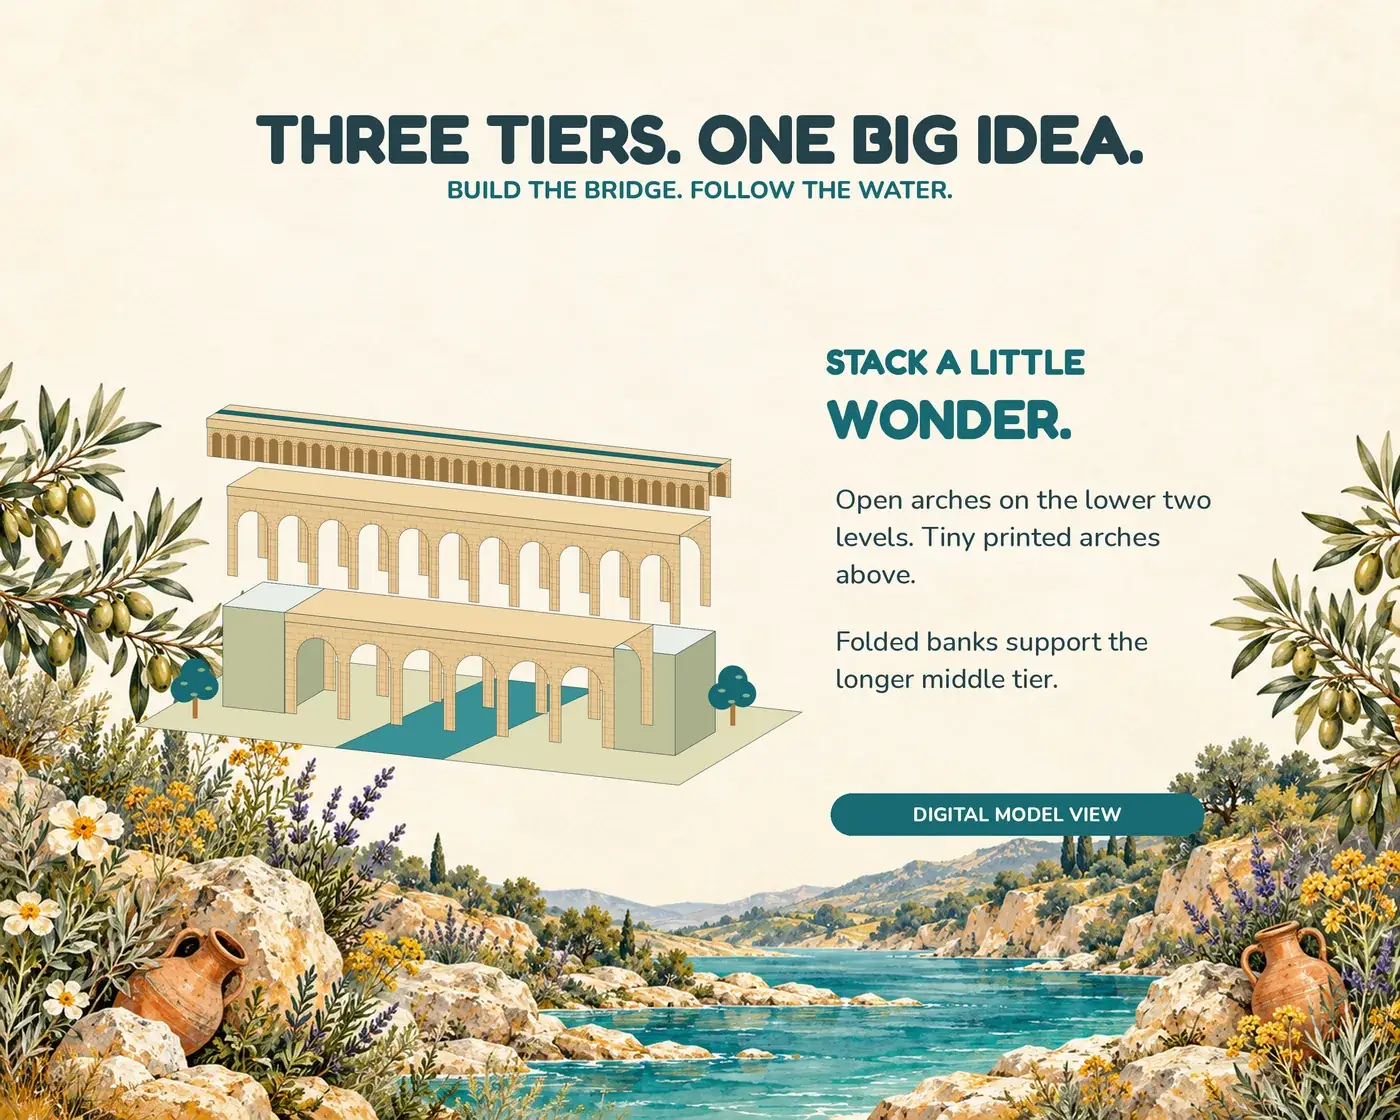
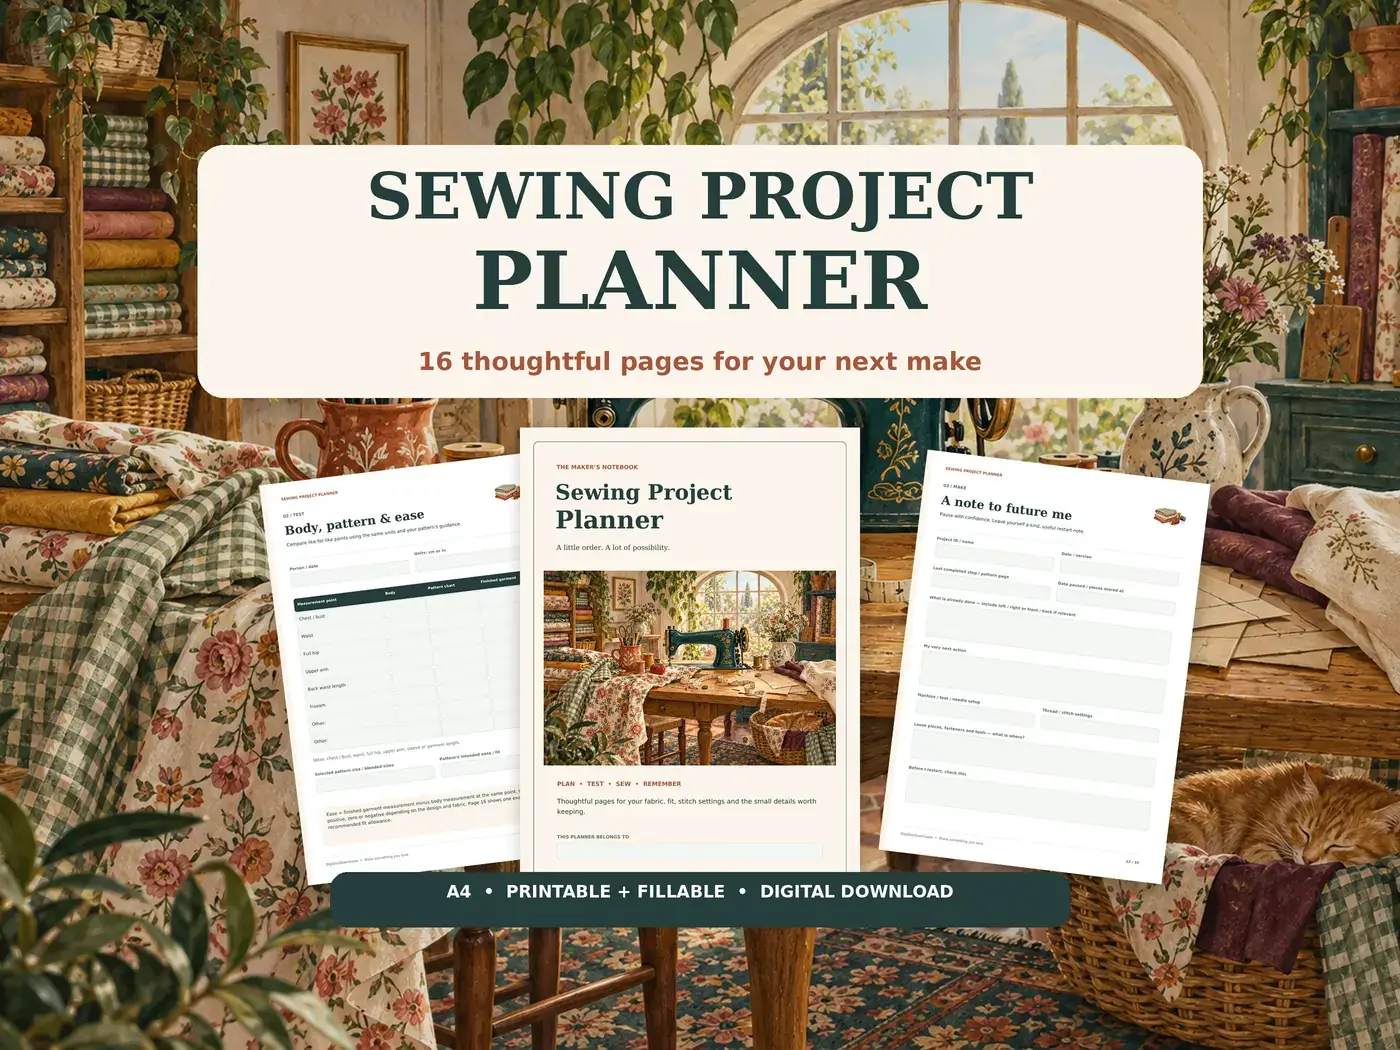
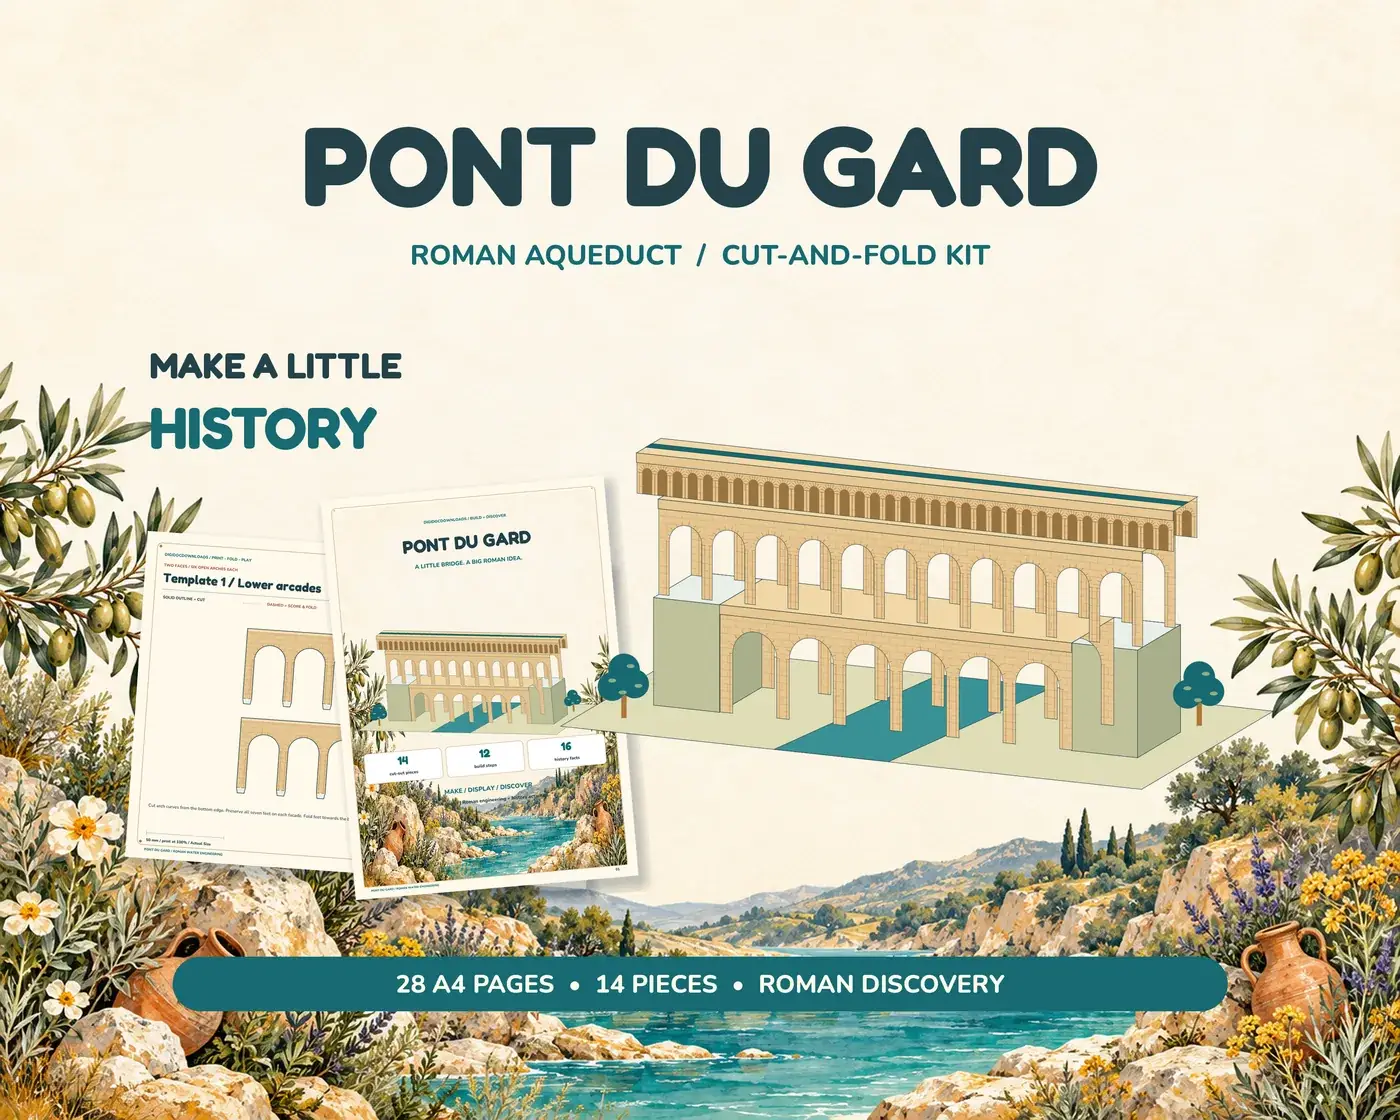
Our Pont du Gard kit is a simplified display model in a twenty-eight-page A4 PDF, with six template sheets and a board. It specifies 160–200 gsm matte card and an estimated two to four hours plus drying, for ages 12+ with adult help. Use the supplied construction guide and appropriate tools.
Do not make completion a condition of taking part in the exhibition. Someone can draw the route, prepare the label or choose a photograph while another person works on assembly. A partly made piece can even demonstrate the difference between a flat template and a finished form.
3. Put the structure back into its landscape
Use the Pont du Gard monument page to sketch a simple route from the spring near Uzès towards Nîmes, with the valley crossing marked. Label the sketch “simplified route” unless it follows a verified map accurately. Avoid inventing distances between individual points.
The site describes an average gradient of roughly 25 centimetres per kilometre across the aqueduct route. Write “average” on the label and explain that gravity carried the water. A flat display board cannot reproduce that whole system; the map supplies the context the miniature leaves out.
4. Write three facts and their sources
Choose a purpose, a visible feature and one interesting detail. For example: the aqueduct supplied water to Nîmes; the bridge has three tiers of arches; a small average gradient mattered along the route. Link each historical claim to a checked source, rather than presenting the model’s appearance as the evidence.
The monument’s history page and UNESCO’s World Heritage entry offer useful context. Keep the label in your own words. A short, accurate explanation is easier to read at a display than a copied block of institutional text.
5. Name the model’s simplifications
Add a separate line explaining that this is a paper interpretation, not a working channel, measured replica or tested load-bearing structure. If a decorative scene includes imagined activity, identify it as an interpretation rather than a documented moment.
Our Pont du Gard story shows how the small slope and large bridge fit together. Invite visitors to compare the model with a photograph: which shapes are recognisable, and what has been simplified to make assembly possible?
6. Give visitors something to do
Place a pencil and plain paper beside the display. Offer one task: draw the spaces beneath the arches, trace the roofline of another model, or write a question the label does not answer. A response can be spoken instead of written, and nobody needs to produce an accomplished drawing.
If the exhibition happens this October, The Big Draw Festival’s Make a Mark theme gives a relevant connection to observation and drawing. The finished display is your own activity, without implying official endorsement. Leave it with one question worth carrying into the next building you look at.
More to read, make and discover
A few useful, interesting and checked routes into the subject.
- Further readingPont du Gard: the monument
The aqueduct bridge and the small gradient carrying water to Nîmes.
- Further readingPont du Gard: history
French site interpretation of the aqueduct’s history.
- Further readingUNESCO: Pont du Gard
World Heritage context for the Roman aqueduct bridge.
- Further readingThe Big Draw Festival 2026
October 2026’s Make a Mark theme celebrates drawing as a process.