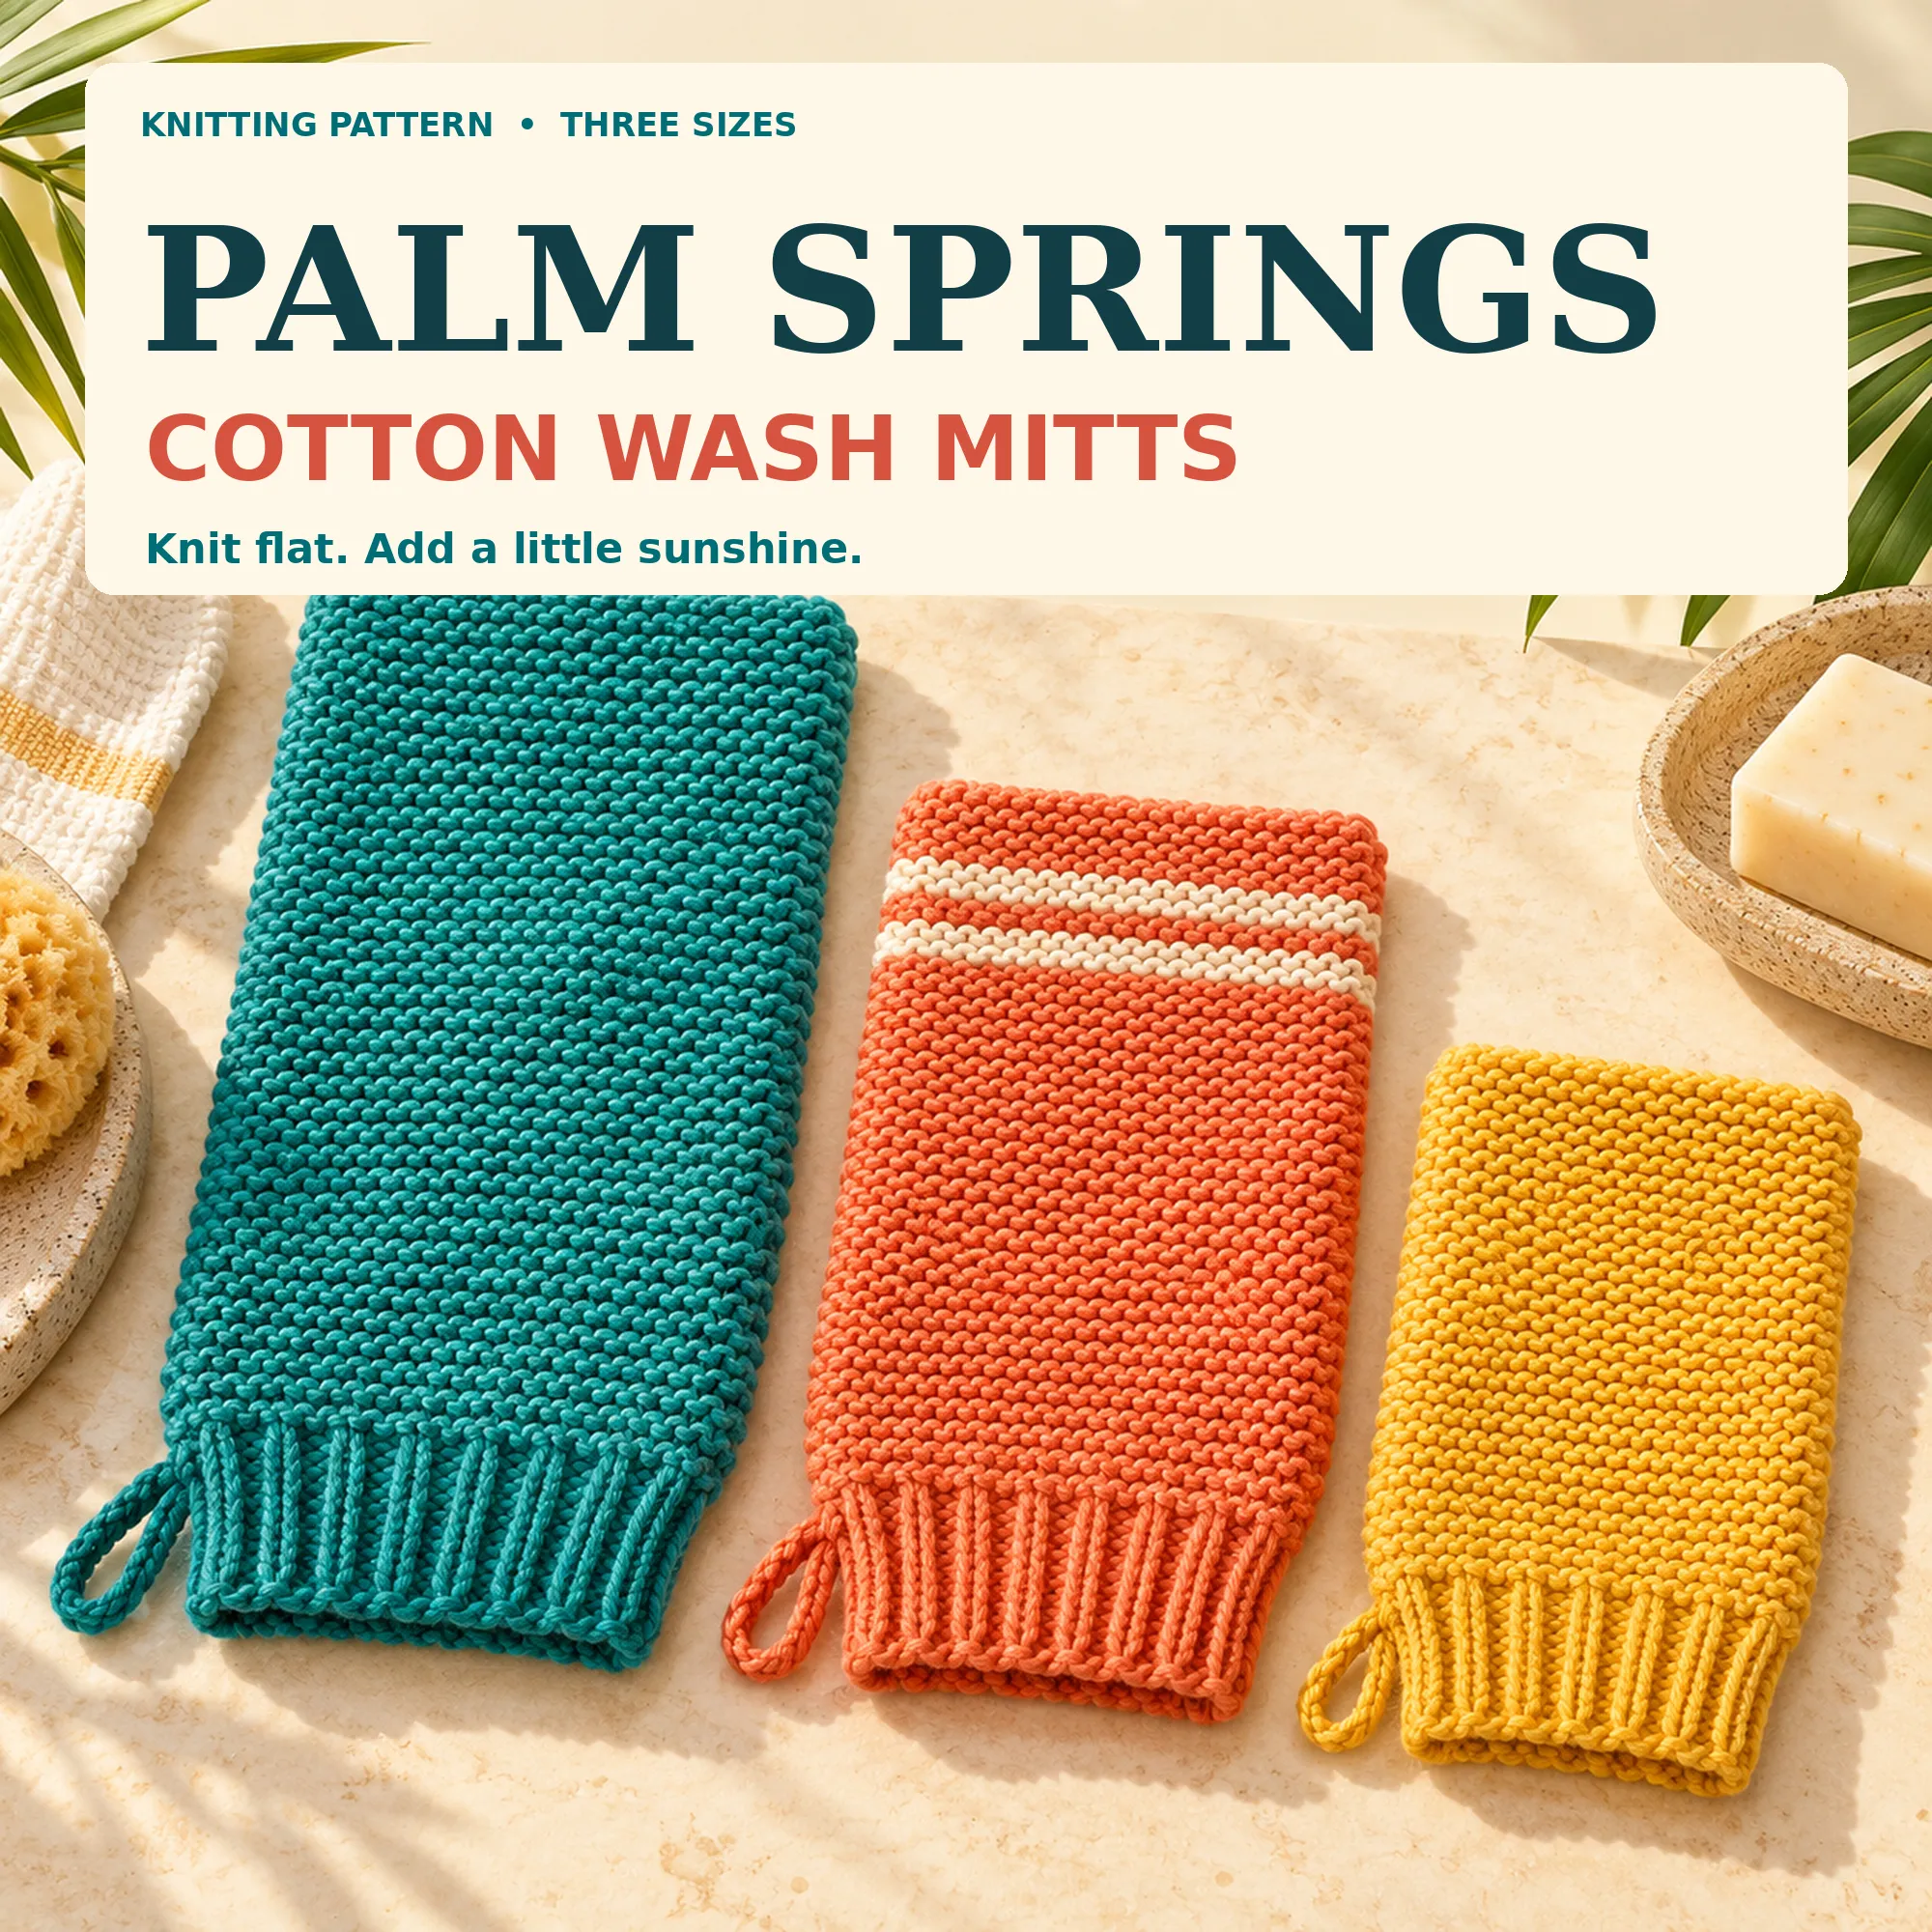
A wash mitt is small enough to look forgiving, but its usefulness rests on measurements. The cuff must open comfortably, the body must cover the hand without dragging at the fingertips, and the seams should remain tidy when the cotton is wet. Add an optional loop and there is one more practical question: can the finished mitt hang somewhere with air around it?
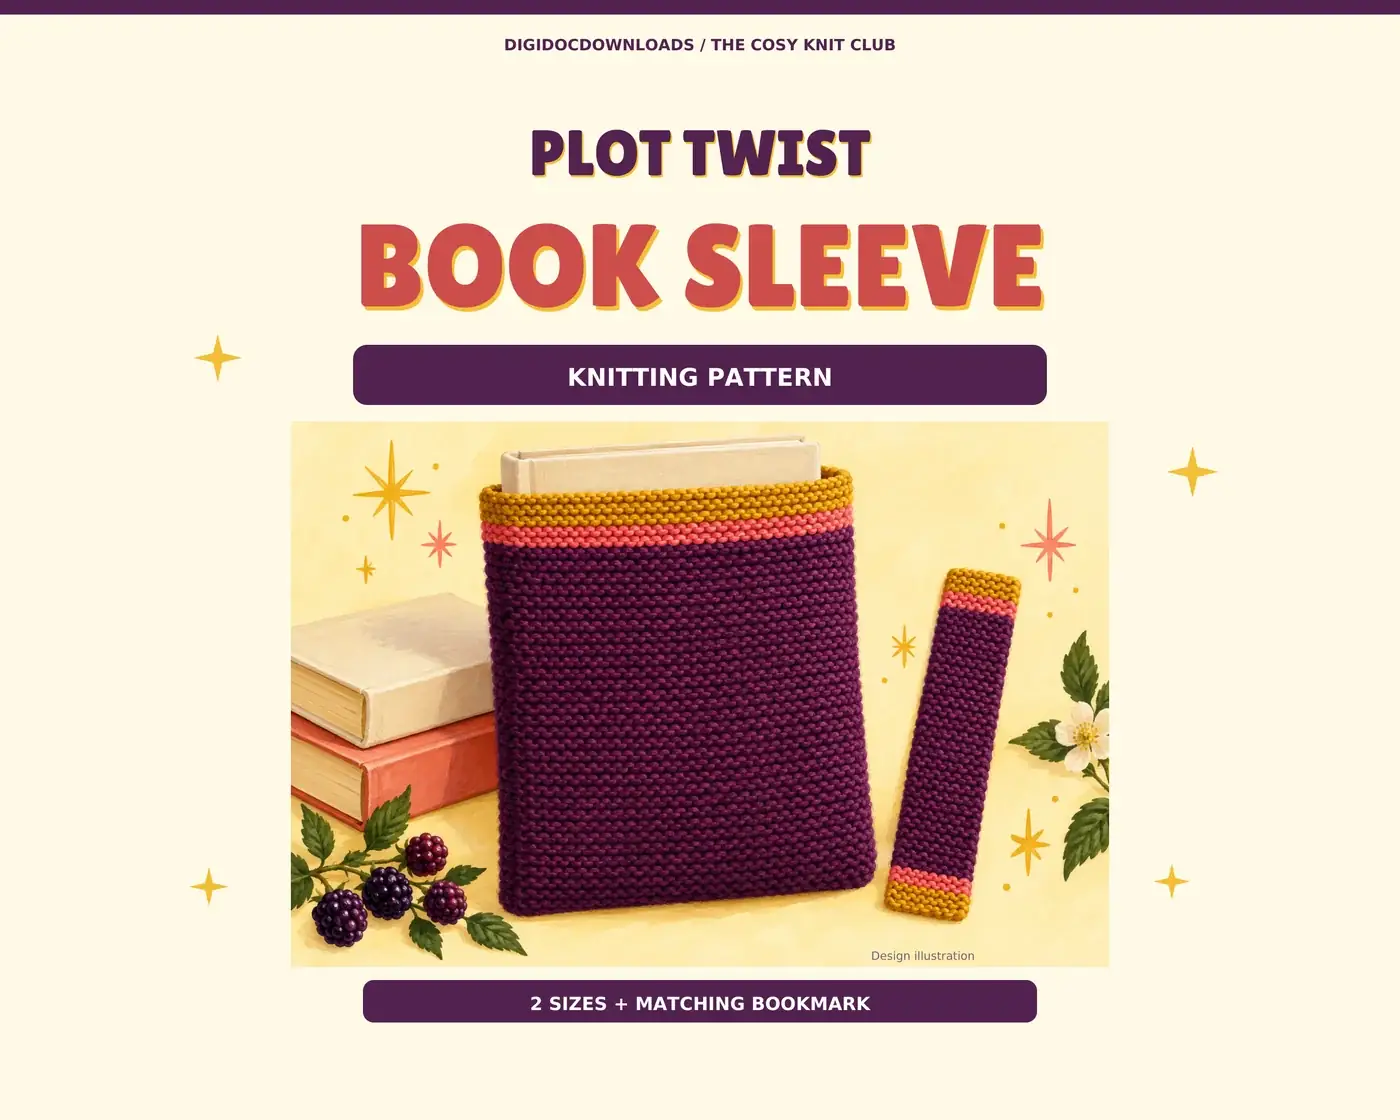
Palm Springs is an eight-page A4 pattern for a thumb-free wash mitt knitted flat in DK cotton. It supplies Small, Medium and Large instructions, a worked custom-fit calculation, separate cuff and body gauge checks, a two-band stripe table, illustrated assembly, an optional hanging loop and care notes. This guide explains how to make those decisions in order; use the pattern for its exact stitch and row counts.
Measure the hand where the mitt actually has to move
Begin with two relaxed measurements: around the widest part of the hand and from the wrist crease to the fingertip. Do not pull the tape tight. A mitt needs enough room to pass over the knuckles and to move during use, so the hand-entry measurement is at least as important as the finished body width.
Compare the measurements with the three pattern sizes before reaching for the custom calculation. A standard size is simpler to follow and already has its cuff, body and row counts coordinated. Use the custom route only when the hand falls meaningfully between the options or when a different amount of ease is genuinely needed. Write down the chosen route; 'roughly the middle one' becomes less helpful when the second panel is on the needles.
Choose smooth, washable cotton and keep the label
Palm Springs specifies smooth DK cotton. The smooth surface helps the garter ridges and ribbed cuff stay legible, while cotton suits a project intended to be washed. DK describes a useful yarn-weight family, not a promise that every ball will produce identical fabric. The Craft Yarn Council's yarn-weight system places DK in its light category; the actual knitted sample still decides the gauge.
Keep the ball band beside the project. The Craft Yarn Council's yarn-label guide identifies fibre content, weight, gauge and care instructions among the details worth checking. Follow the chosen yarn's care guidance rather than assuming all cotton can be washed and dried in precisely the same way.
If you plan stripes, choose two washable cotton yarns that behave similarly and make the sample with both. A colour that sheds dye or a yarn that relaxes very differently when wet can turn a tidy band into a separate experiment. For a first mitt, one colour is a perfectly complete design; the bathroom will survive without a ceremonial stripe.
Check the cuff and body separately
A 2x2 ribbed cuff and a garter-stitch body do not make the same fabric. Rib draws in and stretches across the hand; garter forms the main width and length. Palm Springs therefore gives separate gauge instructions. One sample in garter stitch cannot prove that the cuff will open comfortably, and a stretched piece of rib cannot establish the body's relaxed width.
Use the yarn and starting needle named by the pattern, then follow each specified sample. The Craft Yarn Council's instruction guide recommends making a gauge swatch with the yarn, needles and stitch pattern called for. UK Hand Knitting describes the tension square as fundamental to reaching the intended result.
Measure the samples relaxed and flat, without persuading them to match the ruler. If the garter sample is too wide, a smaller needle may make a firmer fabric; if it is too narrow, a larger needle may help. Recheck the feel as well as the number. A wash mitt should be comfortable, not a stiff little gauntlet. Record the final needle and gauge for each section.
Use a paper hand-entry check before committing to the cuff
Cut a strip of scrap paper to the planned relaxed cuff circumference, overlap its ends and test whether the hand can pass through the loop without crushing the paper. This is not a substitute for the ribbed gauge sample, but it is a quick warning if the selected opening is obviously too small.
When the first cuff is knitted, test the opening gently before continuing into the body. Keep the stitches secure and do not stretch the rib beyond what feels reasonable. If the hand only just passes through when the fabric is dry and carefully handled, reconsider the size or custom calculation before knitting two full panels.
Make the two panels genuinely identical
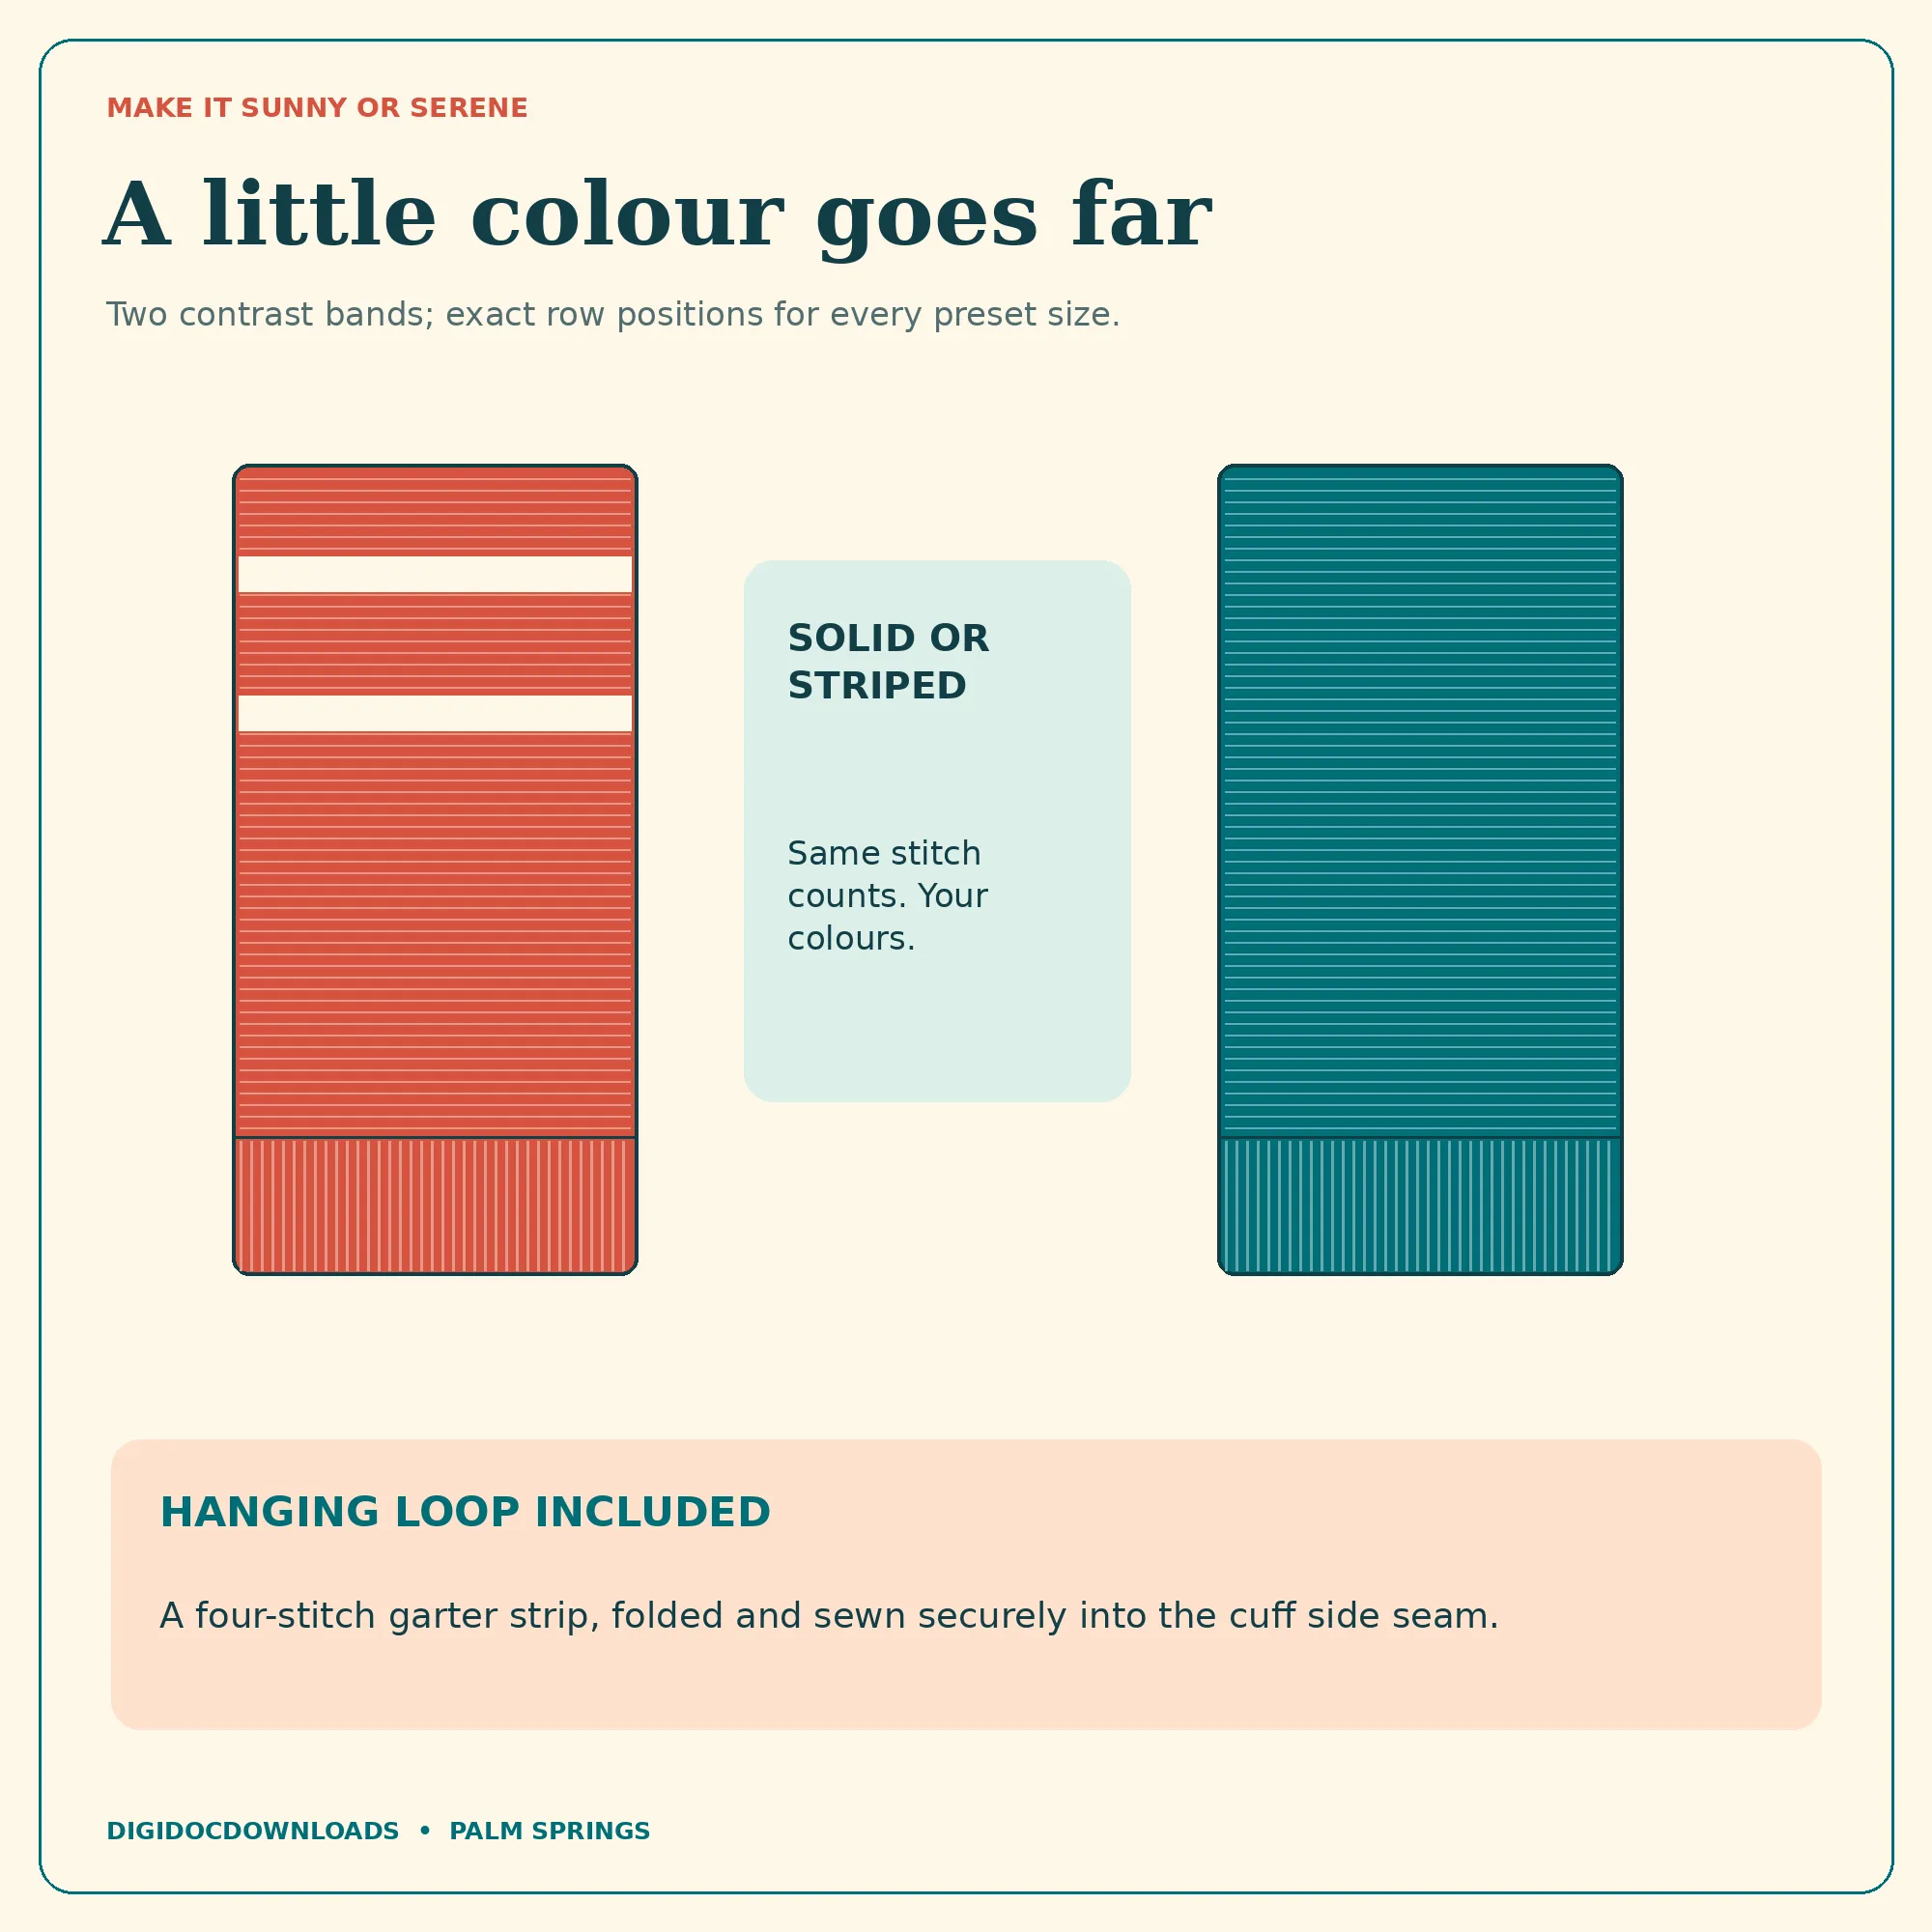
Work the first panel's cuff and body exactly as instructed, marking the transition and counting rows. If stripes are included, record the colour and row at each change. Palm Springs supplies a two-band stripe table; follow it rather than estimating by eye, especially when both panels will meet along the sides.
Before casting on the second panel, write a short production note: size, needle, cuff rows, body rows, colour sequence and any deliberate adjustment. Compare both pieces flat before seaming. The cuffs should align, the body edges should have corresponding rows and the top corners should meet without stretching one panel to accommodate the other.
Sew for comfort, not merely closure
Use the pattern's illustrated assembly and work with a yarn needle in good light. Join corresponding edges with an even tension. A seam pulled too firmly can shorten the side and create a hard ridge; one left too loose can gape when the mitt moves. Check the outside and inside every few centimetres and ease the sewing yarn if the edge begins to pucker.
Keep the cuff opening clear as you finish the lower edges. Turn the mitt carefully, slide in the intended hand and check the fit without force. The top should cover the fingertips with useful movement but should not contain a large empty pocket. If the fit is wrong, compare the finished measurements with the recorded gauge before altering the seam.
Add the loop where it can actually dry
The hanging loop is optional. If you use it, make and attach it exactly as the pattern directs, then test the attachment before the mitt is wet. Choose a hook or rail that lets the fabric hang freely rather than fold into a damp bundle. The loop is a drying aid, not a guarantee of rapid drying; airflow, room humidity and how thoroughly the mitt is rinsed all matter.
After use, rinse the mitt according to the yarn's care requirements, press out water without twisting the seams and arrange it where air can circulate. Let it dry completely before storing it in a closed cupboard or laundry basket. If it develops an odour, colour change, damaged seam or persistent dampness, stop using it and clean or replace it as appropriate.
Treat the first mitt as a careful fit test
Palm Springs is transparent about its evidence: the stitch arithmetic is checked, while physical test-knitting, wet fit and yarn consumption remain unverified. Its images are illustrated designs. Knit one mitt before planning a matching set, record the actual yarn used and compare the dry and damp fit. Those notes are more useful for a second make than an optimistic guess made beside an untouched ball.
Final checks before regular use
- The hand passes through the ribbed cuff comfortably without forcing it.
- The body covers the hand without excessive empty space at the fingertips.
- Both side seams are closed, flexible and comfortable.
- The optional loop is secure and reaches a well-ventilated hanging point.
- The yarn's care instructions are kept with the project notes.
- The mitt can dry completely between uses.
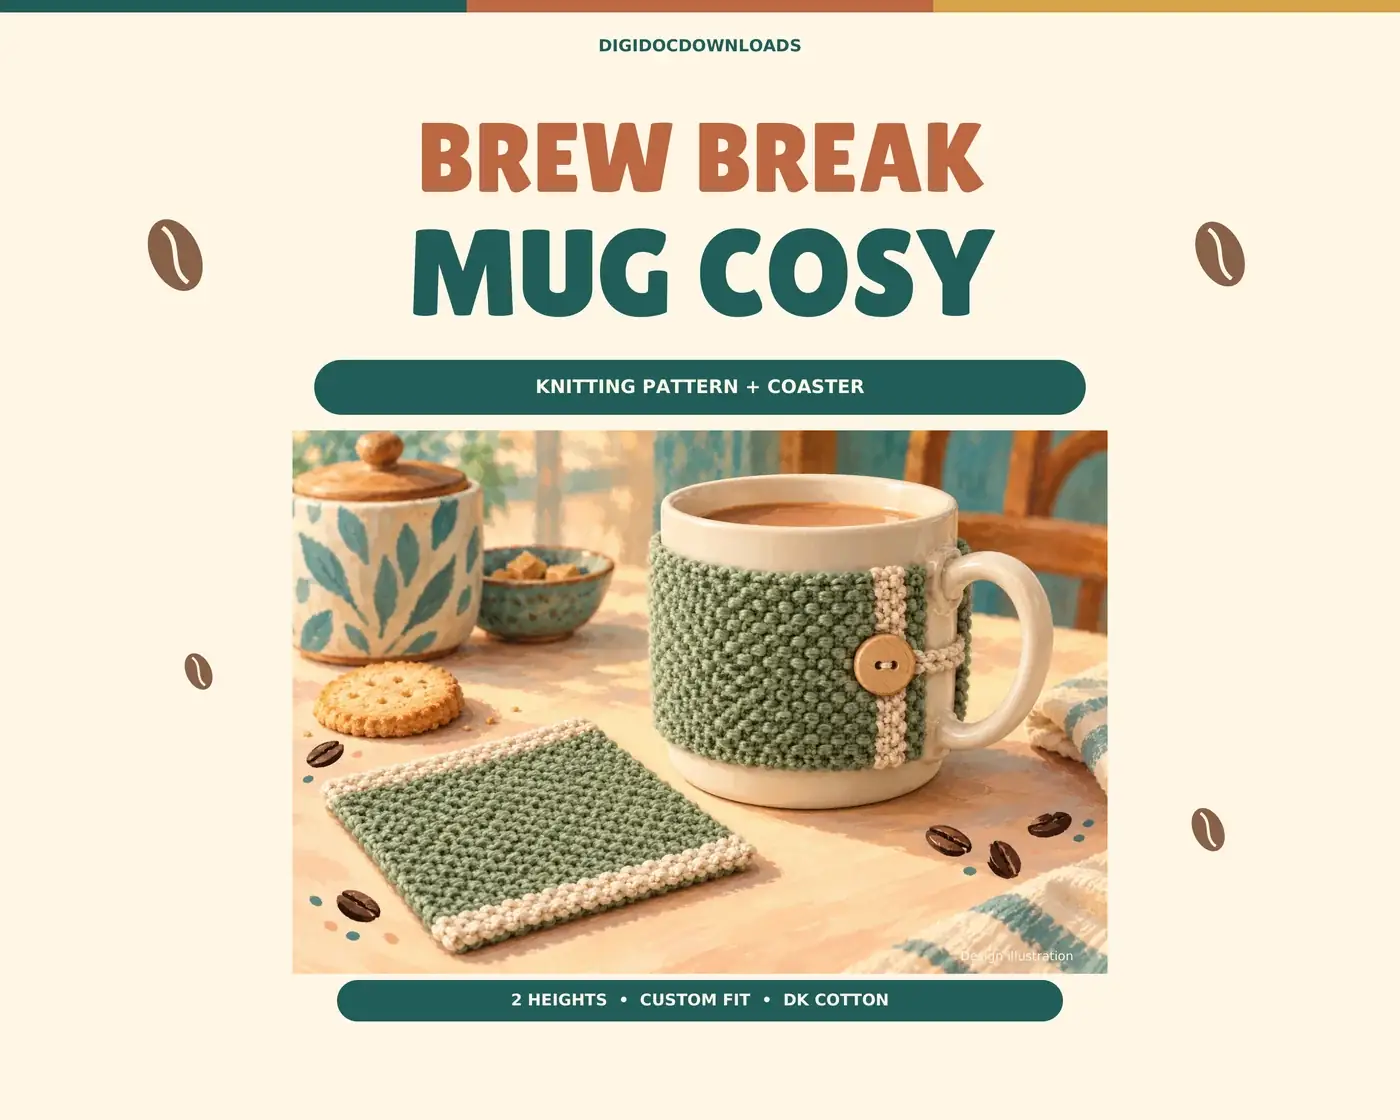
For another flat-knitted cotton project with a useful finish, Brew Break pairs a mug cosy with a coaster. The knitting collection gathers more small projects with their material, size and construction details. Palm Springs remains the place for the exact wash-mitt counts; this guide is the calm checklist that helps those counts become a comfortable, dryable object.
More to read, make and discover
A few useful, interesting and checked routes into the subject.
- Knitting guidanceUK Hand Knitting: frequently asked questions
Explains why a tension square is the foundation for achieving the intended size.
- Knitting guidanceCraft Yarn Council: reading instructions and making a gauge swatch
Describes making a gauge sample with the yarn, needles and stitch pattern specified.
- Yarn standardsCraft Yarn Council: standard yarn weight system
Places DK in the light-yarn category while treating yarn weight as a starting point rather than a finished-gauge guarantee.
- Yarn guidanceCraft Yarn Council: yarn label information
Lists fibre, weight, gauge and care information to check on a yarn label.