
1. Choose a manageable guest group
For the Second Look clothing-swap kit, plan for six to twelve guests, each bringing up to five clean, good-condition items. Ask for likely clothing sizes and broad categories before sending the final invitation. A room full of clothes is less useful when almost none fits the people attending.
State the date, arrival window, item limit and acceptance conditions in the invitation. Describe the swap as a chance to find something useful, with no guarantee that everyone will take home the same number of items they bring. Allow people to decline without explanation. A small guest list makes it easier to check in clothing properly and give each person time to browse.
2. Explain the credit rule before arrival
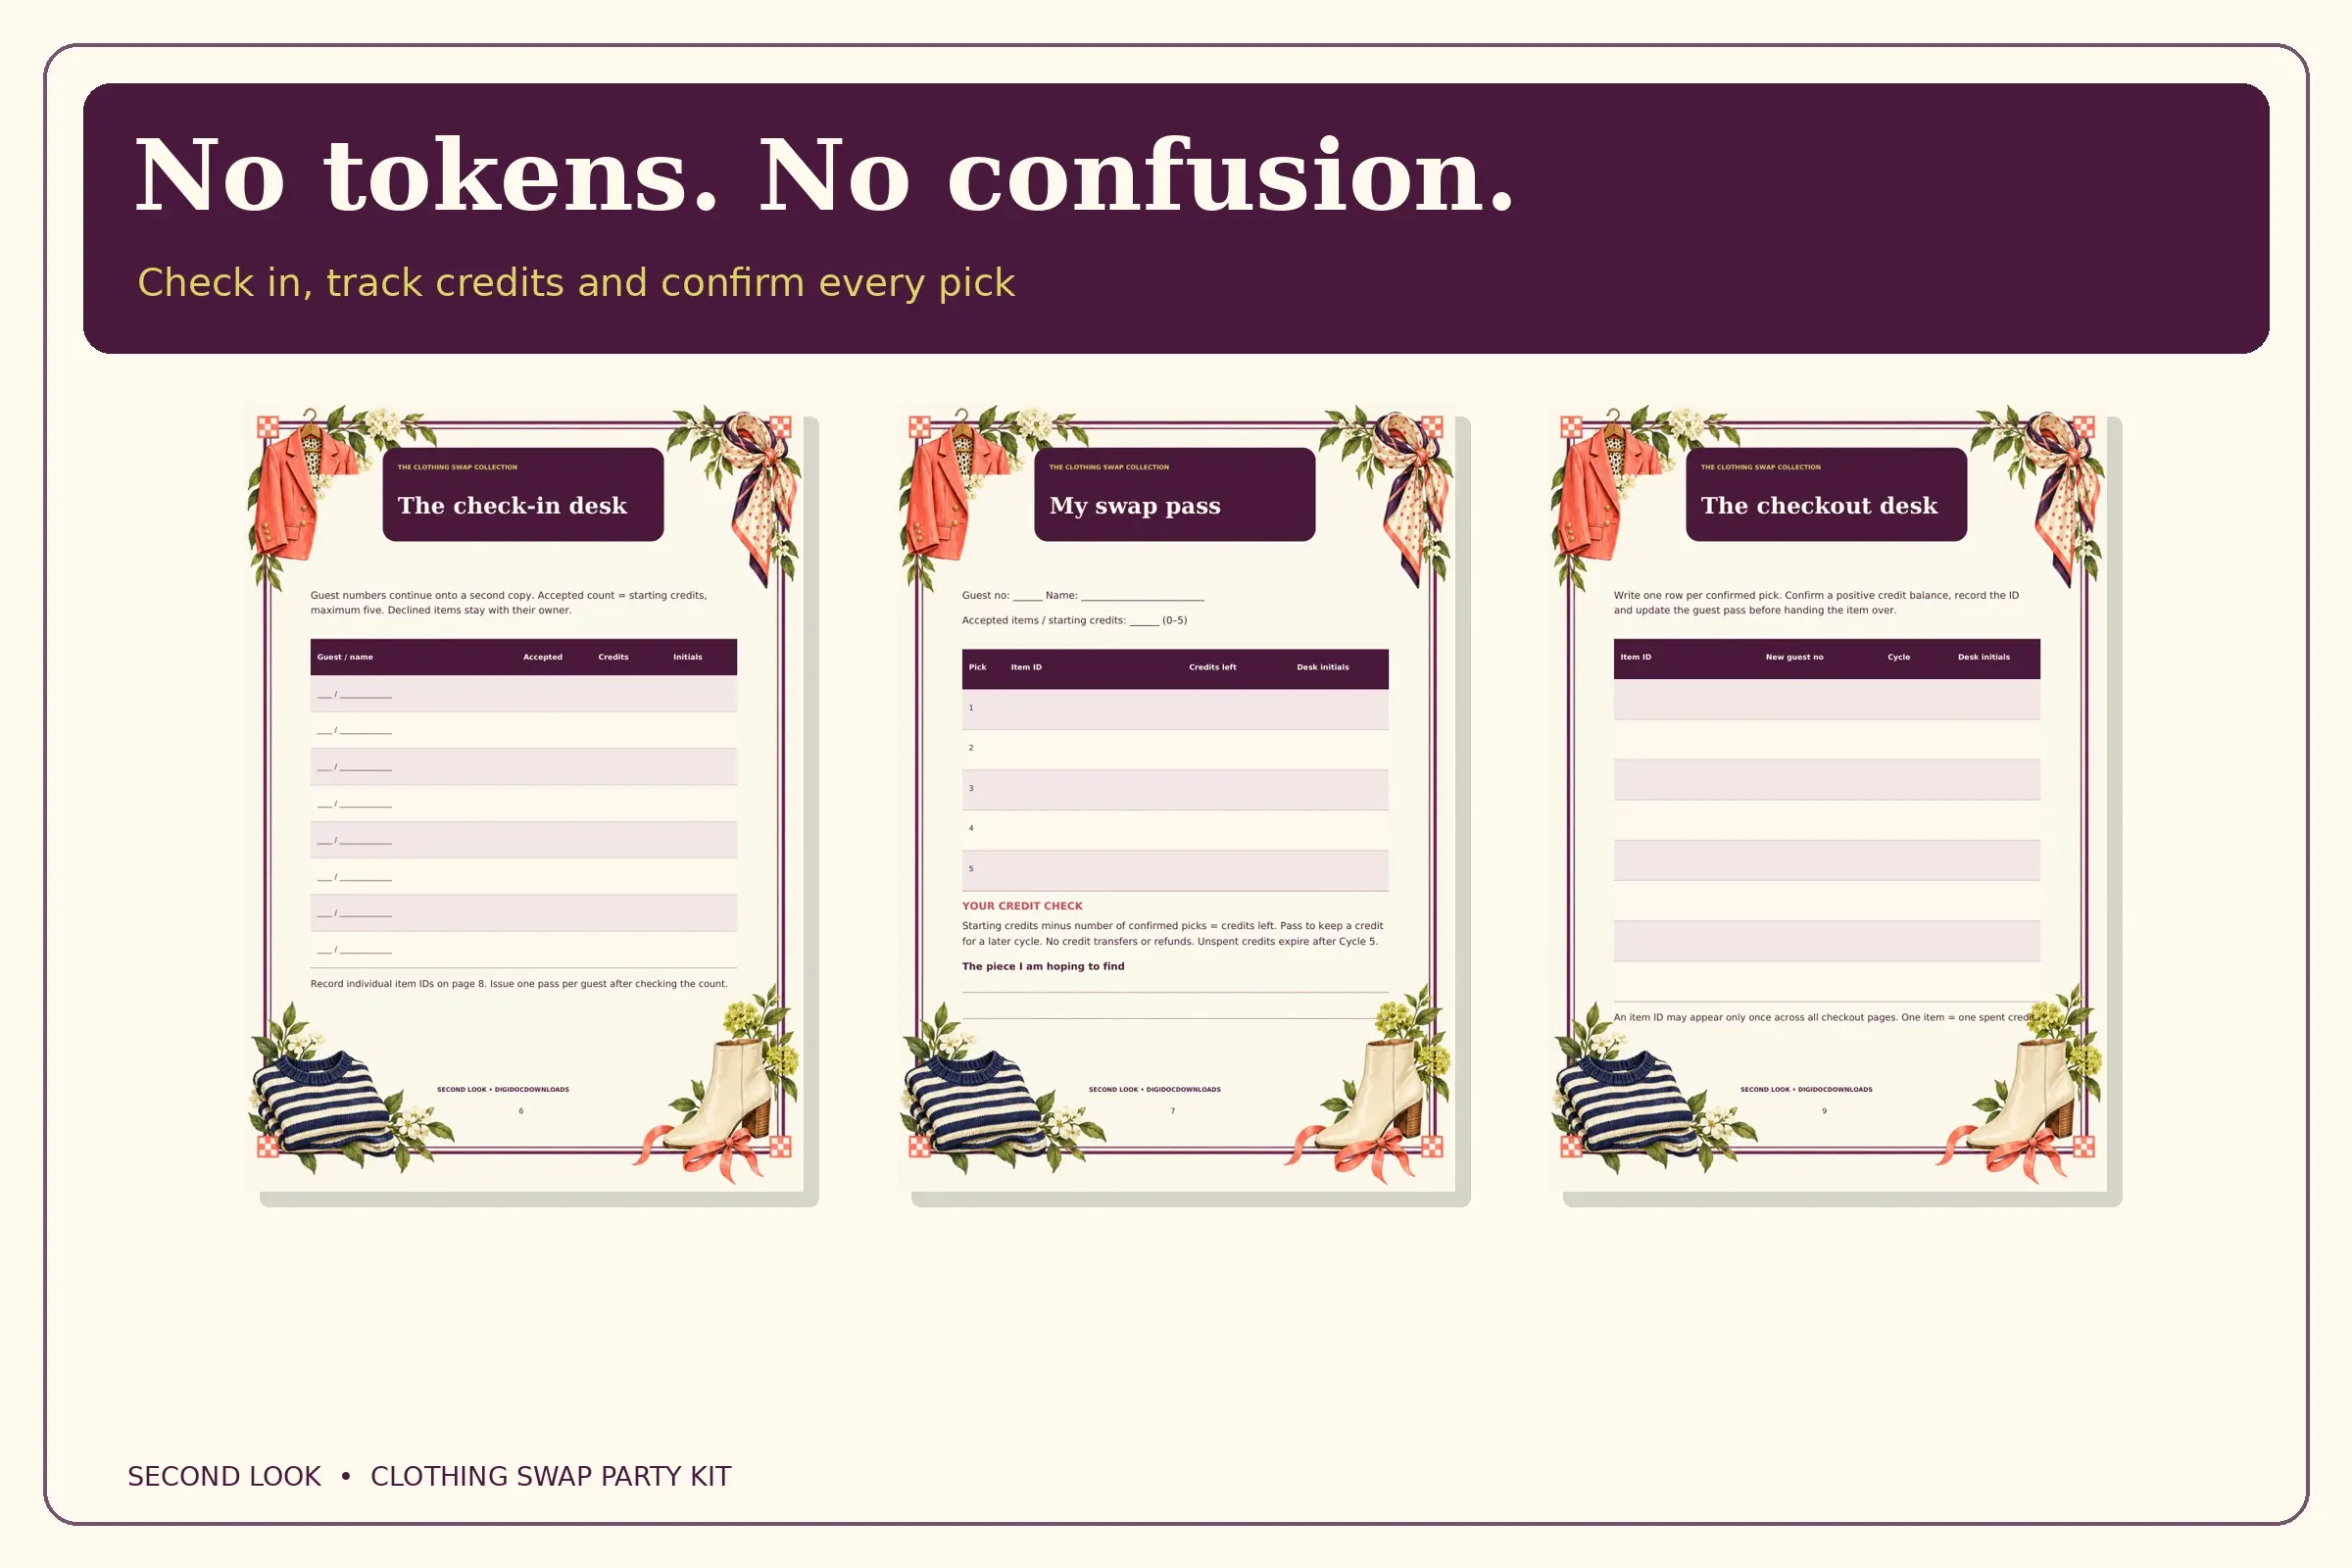
Second Look uses one pick credit for each accepted item. Three accepted items therefore earn three credits; an item that does not meet the agreed condition earns none. Keep the system equal rather than assigning different values to brands or negotiating prices at the door. Guests should know this before deciding what to bring.
The kit includes equal-credit rules and a read-aloud briefing. Use those supplied instructions to explain how credits, turns and checkout work. The Tearfund clothes-swap guide offers another event-planning reference, but its fundraising arrangements are different. Choose one coherent system for your own event rather than mixing fees, tokens and credits halfway through.
3. Prepare the room and print a working set
Make a check-in area near the entrance, display zones for clothing and a separate checkout point. Add a mirror and a genuinely private fitting space. Keep walkways clear and avoid making the fitting area double as the route to the refreshments. Labels should be readable without lifting every item off its hanger.
Second Look is a fixed-layout 24-page A4 PDF completed by hand. Read its host print menu for copy quantities, then print the needed pages at Actual Size. The kit includes five rail and fitting-area signs, a check-in register, credit passes, item records and a rotating turn tracker. Clothes, hangers or table zones, removable labels, pens and bags are supplied by the host and guests; no cutting or glue is needed for the kit.
4. Check items in before browsing begins
Give each guest enough time to show their items, identify any visible condition issues and record what is accepted. Keep a person's declined items with their belongings rather than placing them on the shared rail. Acceptance should follow the invitation's conditions consistently; it should not depend on whether the host happens to like the colour.
Enter accepted items in the item register and record the corresponding credits on the guest's pass. Label items so they can be matched to the records later. With eight guests bringing at most five items each, the upper limit is 40 incoming pieces; the accepted total may be lower. This arithmetic is a planning limit, not a prediction of turnout.
5. Run the five picking cycles in order
Use the kit's rotating turn tracker to run all five picking cycles according to its supplied rules. Read the briefing aloud before the first cycle and keep the order visible. Rotating the starting position prevents the same person receiving the first opportunity every time, but it cannot guarantee that every preferred item remains available.
Let guests browse and try on clothes at the appropriate points, following the kit's instructions. Keep a pick within the guest's remaining credit balance and record it at checkout. If two people want the same item, apply the established turn order consistently. Do not create a new auction, reserve system or extra credit because the decision feels awkward in the moment.
6. Make participation comfortable
Keep comments about clothing practical: fit, fastening, fabric and care. Avoid remarks about bodies or pressure to model an outfit publicly. The kit's styling challenges and outfit-sketch page can fill a quiet moment for anyone who wants them; they are optional activities, not an admission requirement.
The Fingal clothes-swap guide provides a wider community perspective and encourages welcoming language. For a home swap, simple choices help: a chair near the fitting space, clear signs and enough time to decide. A guest who finds nothing suitable has still taken part. Unspent credits should not become a reason to take home unwanted clothes.
7. Agree leftovers item by item
Second Look includes a leftover permission record. Use it before anything leaves for donation. Unclaimed items return to their owners unless donation has been explicitly agreed; silence, departure or an abandoned-looking bag is not permission. Keep items awaiting a decision separate from the donation pile.
If donation is agreed, check the chosen organisation's current acceptance requirements and arrange the handover. Do not promise that everything can be accepted or sold. WRAP's textiles work offers broader context on clothing reuse and durability, but it does not provide a measured environmental saving for your particular evening. Keep any event claims modest and factual.
8. Close the records while the clothes are present
Check the item register against the checkout record and the remaining items. Separate pieces taken by guests, returned to owners and explicitly assigned for donation. Record unresolved items with the person responsible for collection, rather than making the totals appear complete before they are.
Use the closing-totals page to note what happened and one improvement for a future event: an earlier drop-off window, clearer size labels or more fitting time. Reuse the kit with fresh records next time. If conversation is the part guests want to continue, our Tell Me More family-story guide offers a quieter gathering activity without another wardrobe clear-out.
More to read, make and discover
A few useful, interesting and checked routes into the subject.
- Further readingTearfund: clothes-swap hosting guide
A charity guide covering venue preparation and organising incoming clothing; its fundraising model differs from this private swap.
- Further readingFingal County Council: clothes-swap guide
A local-authority resource for planning a welcoming community exchange.
- Further readingWRAP: transforming textiles
Broader work on clothing durability, reuse and textile systems; no event-specific savings are claimed here.