Give the set one clear purpose
Begin with the kind of note you are most likely to write. You might want a small thank-you set, paper for keeping in touch with family, or a few sheets ready for birthdays and thoughtful check-ins. A specific purpose helps you choose designs, lines and quantities without printing every page in the collection. The finished set should make one useful action easier, not become another craft project waiting to be completed.
Choose lined or blank before choosing the border
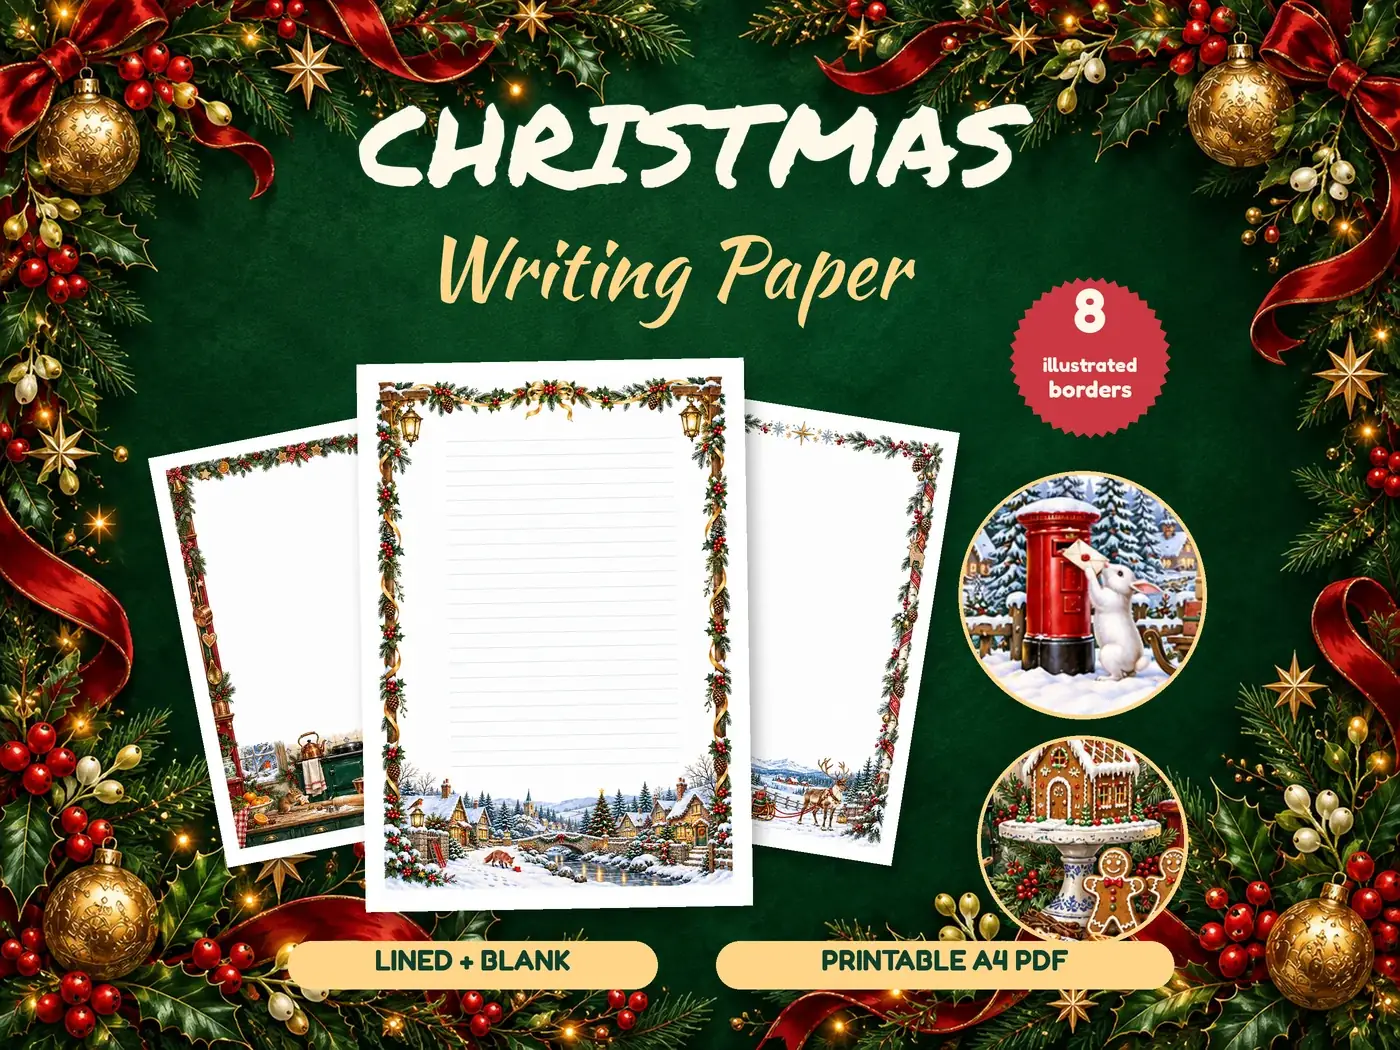
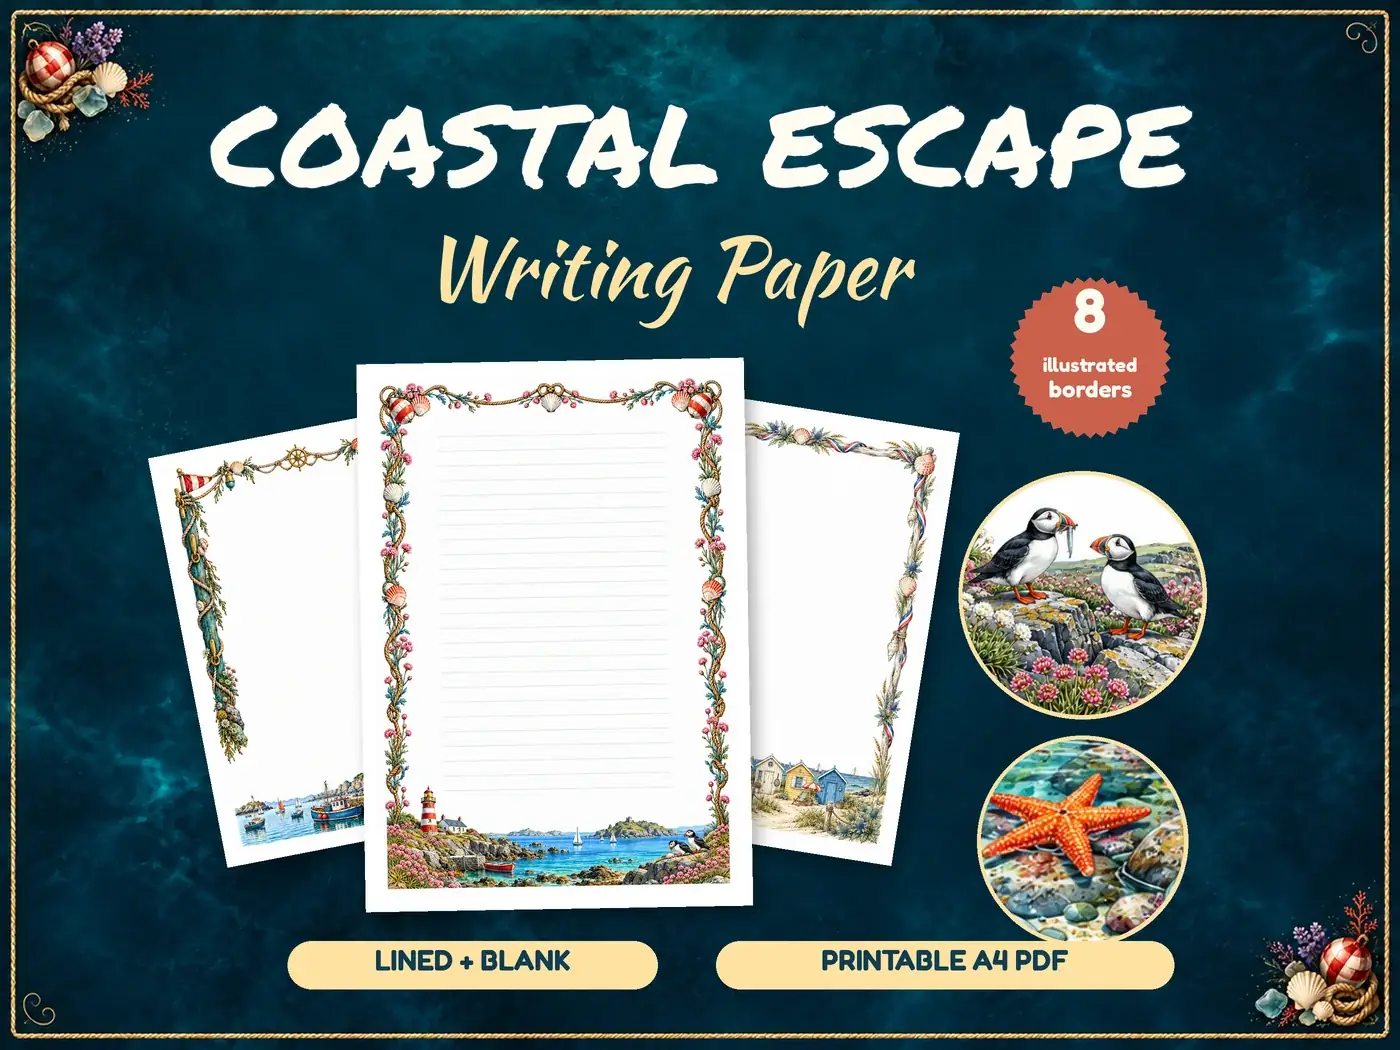
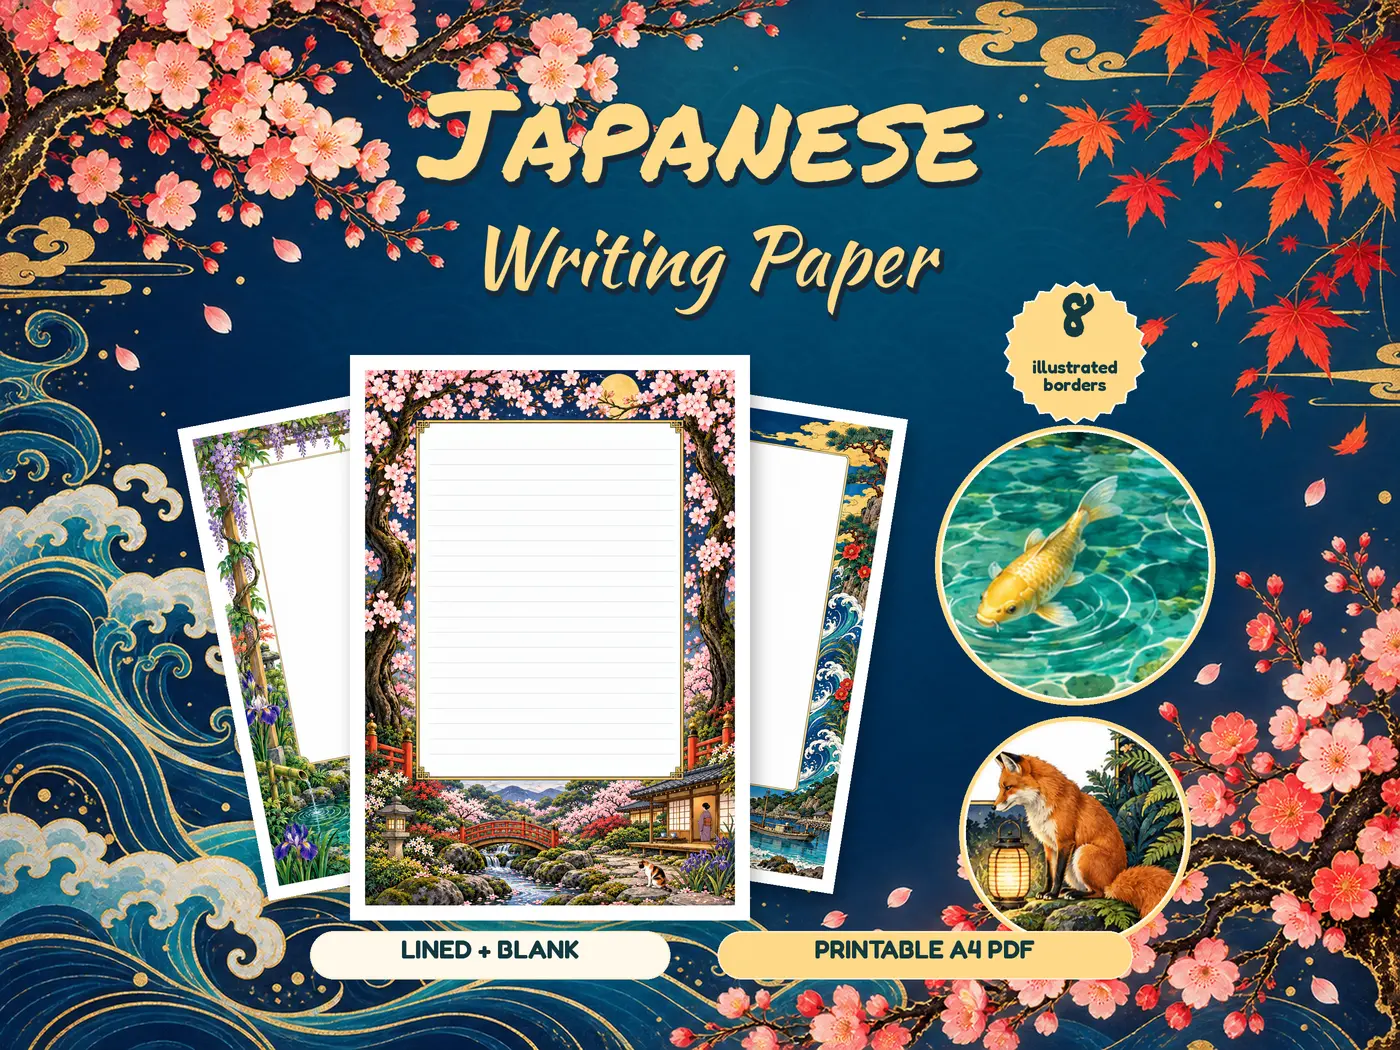
Lined paper is helpful for a longer letter or whenever you want the writing to stay even. Blank paper leaves more room for a drawing, a short poem, a recipe or a note with an unusual layout. Japanese Writing Paper supplies each of its eight illustrated borders in both versions, with quiet 8 mm lines on the lined pages. Decide which page style fits the message first, then choose the artwork; decoration is the supporting cast, not the entire production.
Start with three designs, not all eight
Pick a small group that can cover different moods. One quiet design might suit a thoughtful letter, a brighter border can work for a celebration and a simple scene can become your everyday choice. The collection includes Sakura Teahouse, Koi Garden, Lantern Lane and Waves & Fuji among its eight Japanese-inspired borders. You can return to the other designs later rather than making the first set so large that it is difficult to store or use.
Print one test page
Open the PDF, select one chosen page and use the A4 paper setting shown in the guide. Print at Actual Size, then check that the full border, writing area and colours appear as expected. Adobe’s Acrobat Reader printing guide explains page selection, preview and scaling controls if a printer has other ideas. Look at the sheet in ordinary daylight and try the pen intended for the set. One test page is enough; there is no prize for discovering a cropped border on copy twelve.
Build a useful first batch
- Print two or three lined sheets for letters that need a little structure.
- Add one or two blank sheets for drawings, poems or shorter notes.
- Keep one test sheet for checking pens or planning a layout.
- Choose only the borders you can imagine using in the next few weeks.
The aim is a small reserve, not a permanent stockpile. If one design is used quickly, print a few more of that page. If another remains untouched, leave it out of the next batch. Replenishing from the PDF when needed keeps the set matched to the way you actually write.
Add only the tools that remove friction
Keep the printed sheets with a comfortable pen, a few plain note cards for very short messages and the envelopes you normally use. Store stamps separately if their value or suitability may change, and check current postage before sending anything. You do not need ribbons, seals or a large box unless you enjoy using them. The most helpful set is the one you can open and begin using in a minute.
A ready sheet and a familiar pen can turn ‘I should write’ into a letter on its way.
Protect the writing space
Store unused pages flat in a clean folder so the edges and illustrated borders are not bent before use. Keep them away from food, drinks and direct damp. When you write, put a plain spare sheet underneath if the table surface is uneven or marked. Let the ink dry before folding the letter, especially after testing a new pen on the paper.
Use a ten-minute starting routine
Choose one person, one sheet and one reason for writing. Put the address or delivery plan beside you, then write the opening sentence before deciding how long the note should be. For an international perspective, Japan Post’s illustrated English-letter guide identifies the date, greeting, closing and signature, with example phrases for thanks, congratulations and keeping in touch. If ten minutes is enough, stop there; a complete short note is more useful than an ambitious letter that remains unfinished.
Reset the set after each letter
When the note is finished, return the pen, replace the sheet if supplies are low and note anyone worth writing to next. The collection contains sixteen stationery pages across eight lined and eight blank designs, plus a cover and visual printing guide in one eighteen-page A4 PDF. Use that range as a flexible source rather than a stockpile. For historical ingenuity, the Postal Museum’s account of Jane Austen’s letters includes folding, sealing and cross-writing to save paper and postage. Admirably economical; decidedly lively to read.
Explore Japanese Writing Paper
More to read, make and discover
A few useful, interesting and checked routes into the subject.
- Writing across culturesJapan Post: the parts of an English-language letter
Japan Post’s illustrated guide identifies the date, greeting, closing and signature, with useful phrases for international correspondence.
- Letter historyThe Postal Museum: how Jane Austen wrote her letters
A closer look at folding, sealing, cross-writing and the cost-conscious mechanics of Regency correspondence.
- PDF printingAdobe: print selected PDF pages and check sizing
Current Acrobat Reader guidance for page ranges, print preview, Actual Size and Fit settings.